21
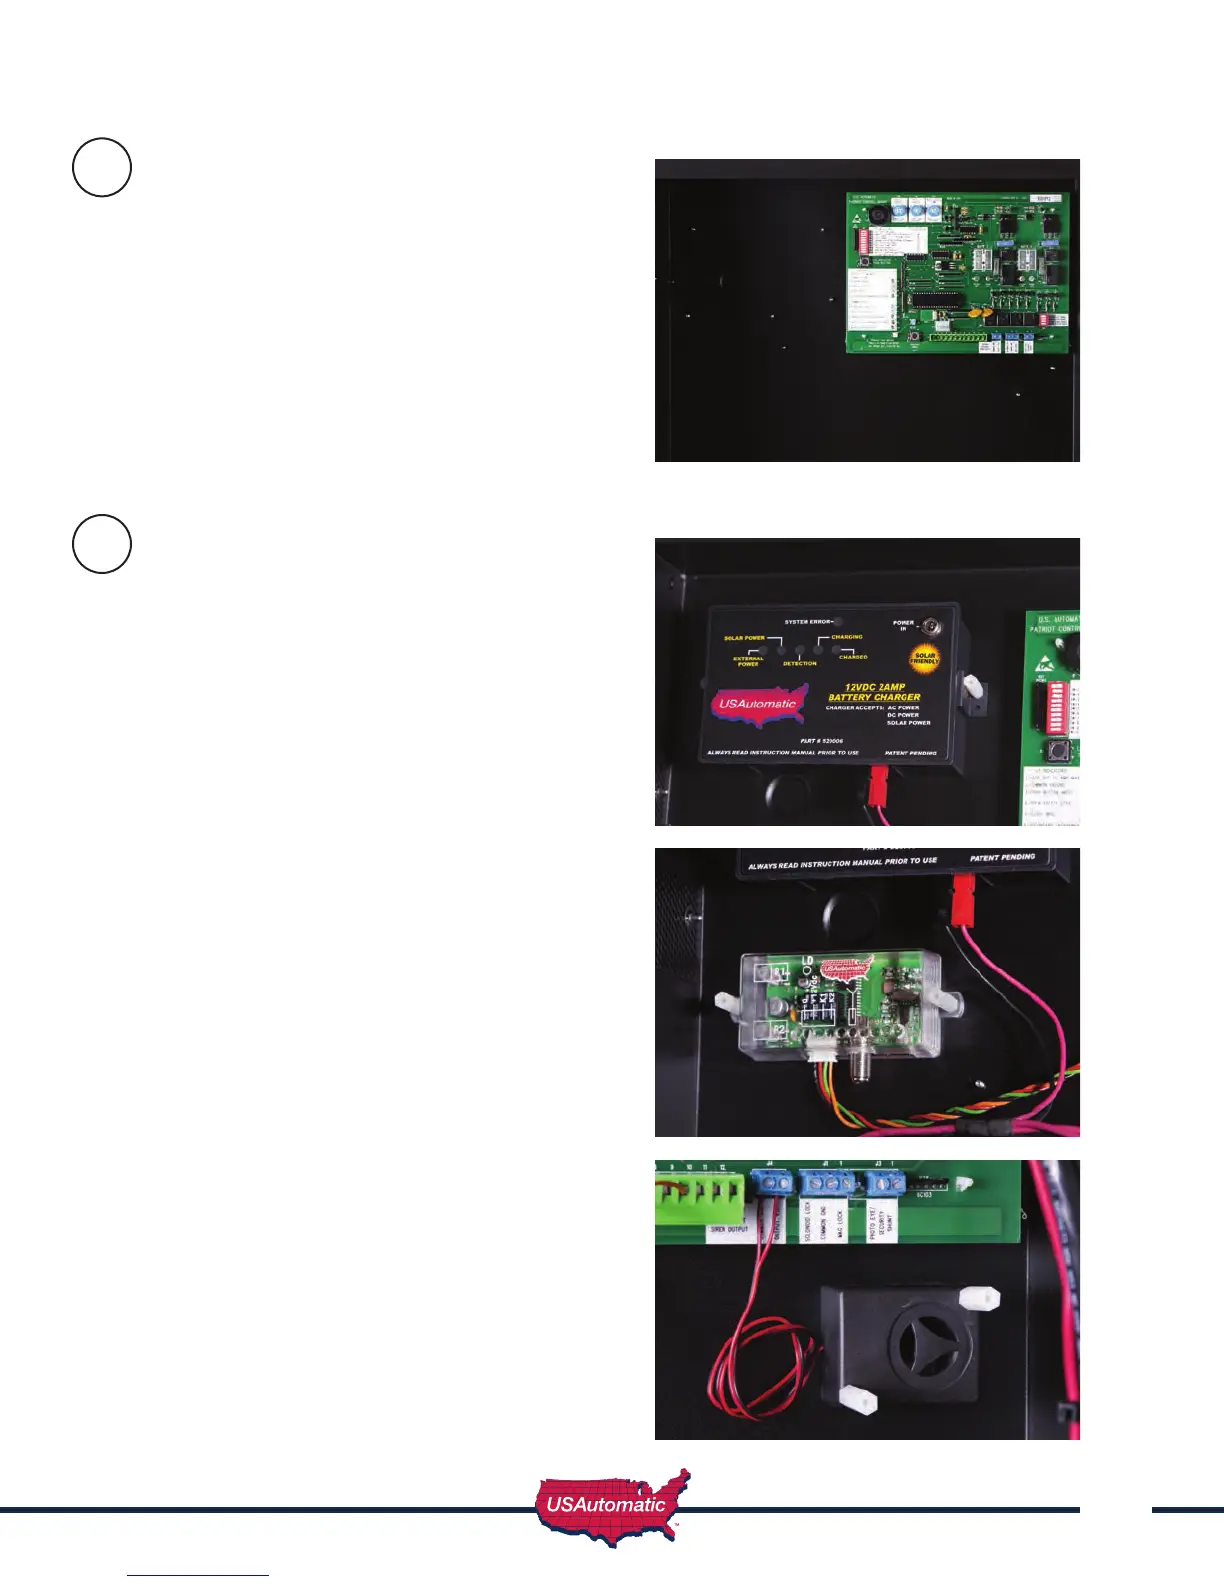
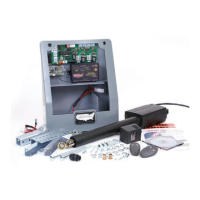
Install Patriot Control Board
Remove Patriot Control Board from cardboard
package and mount on nylon standoffs. Push
lightly at each corner to lock board in place.
Installing Receiver, Smart Charger /
Charge Controller, and
Entrapment Siren
Before installing the charge controller into the
control box connect the wiring harness to the
charge controller as shown.
Using the 2 nylon nuts provided install Charge
Controller into control box in the upper left corner
as shown. Use a ¼” nutdriver to secure.
Install the receiver into the control box below the
Charge Controller using the 2 nylon nuts provided
as shown. Use a ¼” nutdriver to secure.
Plug the green terminal plug into the control board
at J2 connector.
Install Entrapment Siren into the control box using
the 2 nylon nuts provided as shown. Use a ¼” nut
driver to secure. Connect the Siren power leads to
the J4 Terminal as shown.
Black - COMMON GND
Red - OUTPUT 12V
12
11