34
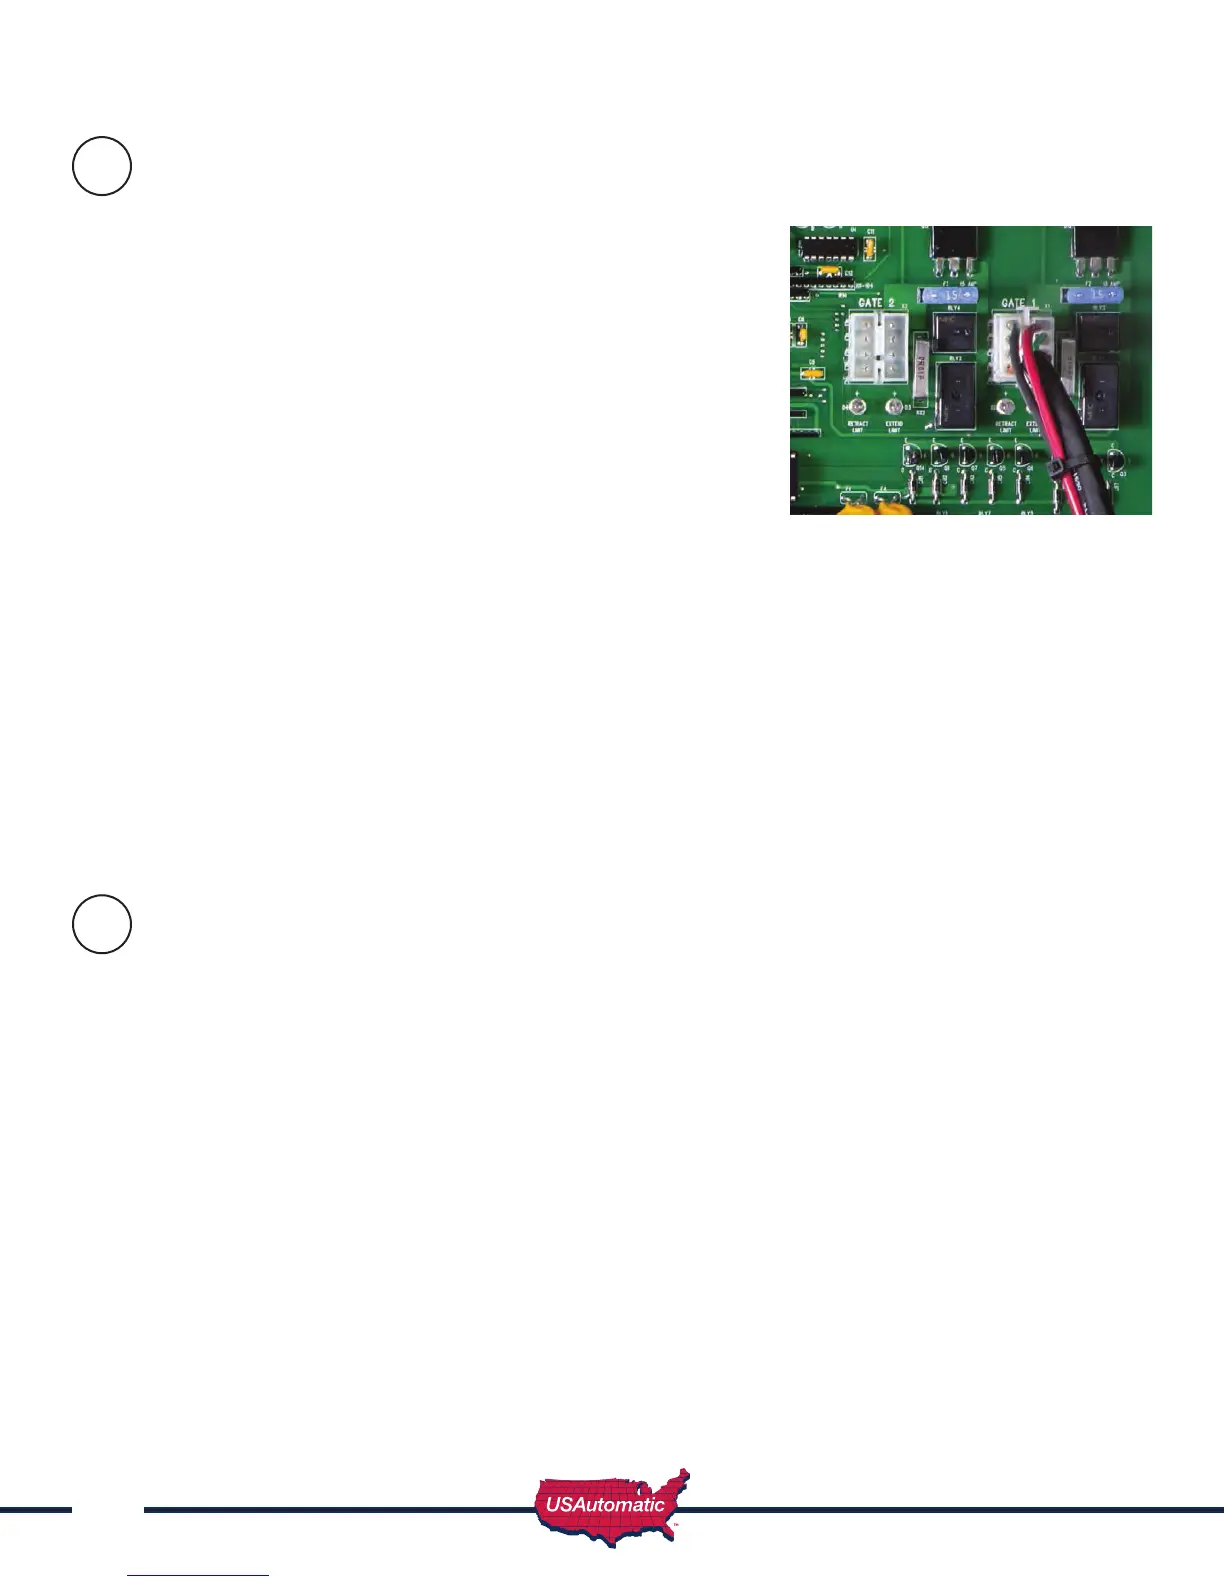
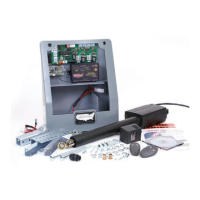
Connect Linear Actuator Cable to Control Board
The 8 pin plug on the linear actuator cable must connect to either
the Gate 1 or Gate 2 connector on the control board. Once cable
is connected verify that the corresponding control switch for Gate
1 or Gate 2 is turned ON. Gate 1 port is recommended for single
gates or the closest gate in a dual gate system.
Before connecting the actuator cable to the control board check
the following:
- Verify that all previous steps were performed.
- Verify that the battery connections are correct red lead to positive
and black lead to negative.
- Verify that nothing is in the path of the gate. If by chance it begins
to move when power is applied, be prepared to disconnect the
actuator cable.
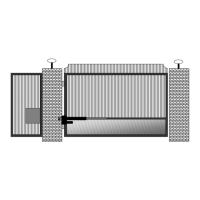
Patriot I (Single Gate)
- Locate the actuator cable and plug it into the Gate 1 actuator connector (see image) on the control
board. You might hear a beep from the control board when power is supplied. This is not a problem.
Patriot II (Dual Gates)
- Locate the closest gate’s actuator cable and plug it into the Gate 1 actuator connector (see image)
on the control board. You might hear a beep from the control board when power is supplied. This is
not a problem.
- Locate the farthest gate’s actuator cable and plug it into the Gate 2 actuator connector.
Patriot II (Dual Gates) with overlapping gates or electrical lock requiring gate delay. See section 20 on
page 32.
Operating Gate for the First time
Before operating the gate for the rst time please verify the following items:
1. Linear actuator is in the retracted position. If dual gate check both.
2. Press LED indicator and verify that the retract limit light is ON. If dual gate check both.
3. Verify that DS1 switches on control board are set correctly for your installation
per the following chart:
22
23