1-3-22
2GM
1-3-5 Installing the fax system (option)
Turn the machine's power switch to OFF and unplug
the machine from the power supply before installing
the fax system.
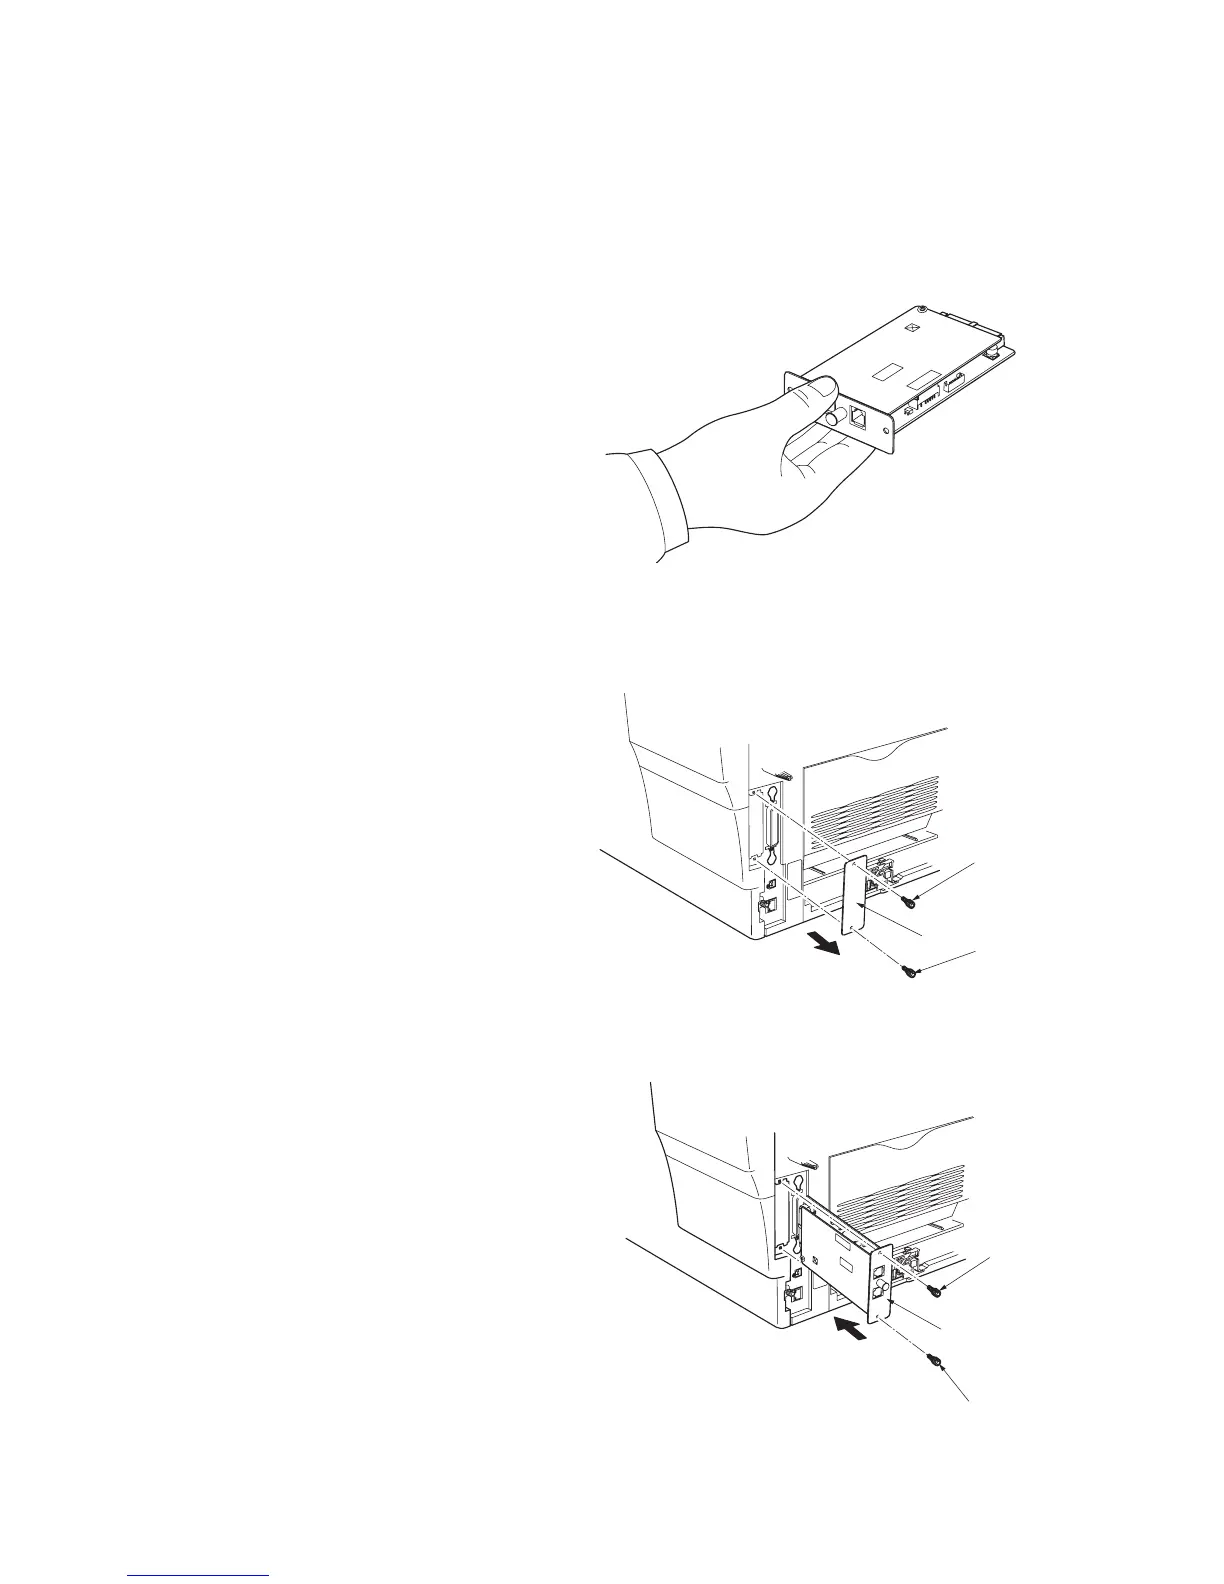
Precautions for handling the FAX assembly
The FAX assembly is delivered in an antistatic air-
padded bag. To prevent any damage, briefly touch a
large metal object to ensure discharge of static
electricity before removing the FAX assembly from
the bag.
Hold the FAX assembly by the metal plate on front as
shown. Do not touch the circuits or electronic
components on the PWB.
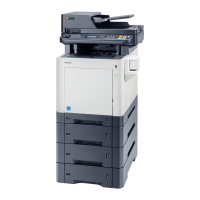
Plate
Screw
Screw
Figure 1-3-49
Procedure
1. On the rear of the machine, remove two screws
and then remove the plate.
Plate
Screw
Screw
Figure 1-3-50
2. Insert the FAX assembly along the rail in the
machine until it clicks in place. Attach the fax
assembly using two screws from step 1.
IMPORTANT: When inserting the FAX assembly,
slide it slowly and firmly all the way in.
Figure 1-3-48