Appendix
60 Vernier Software & Technology
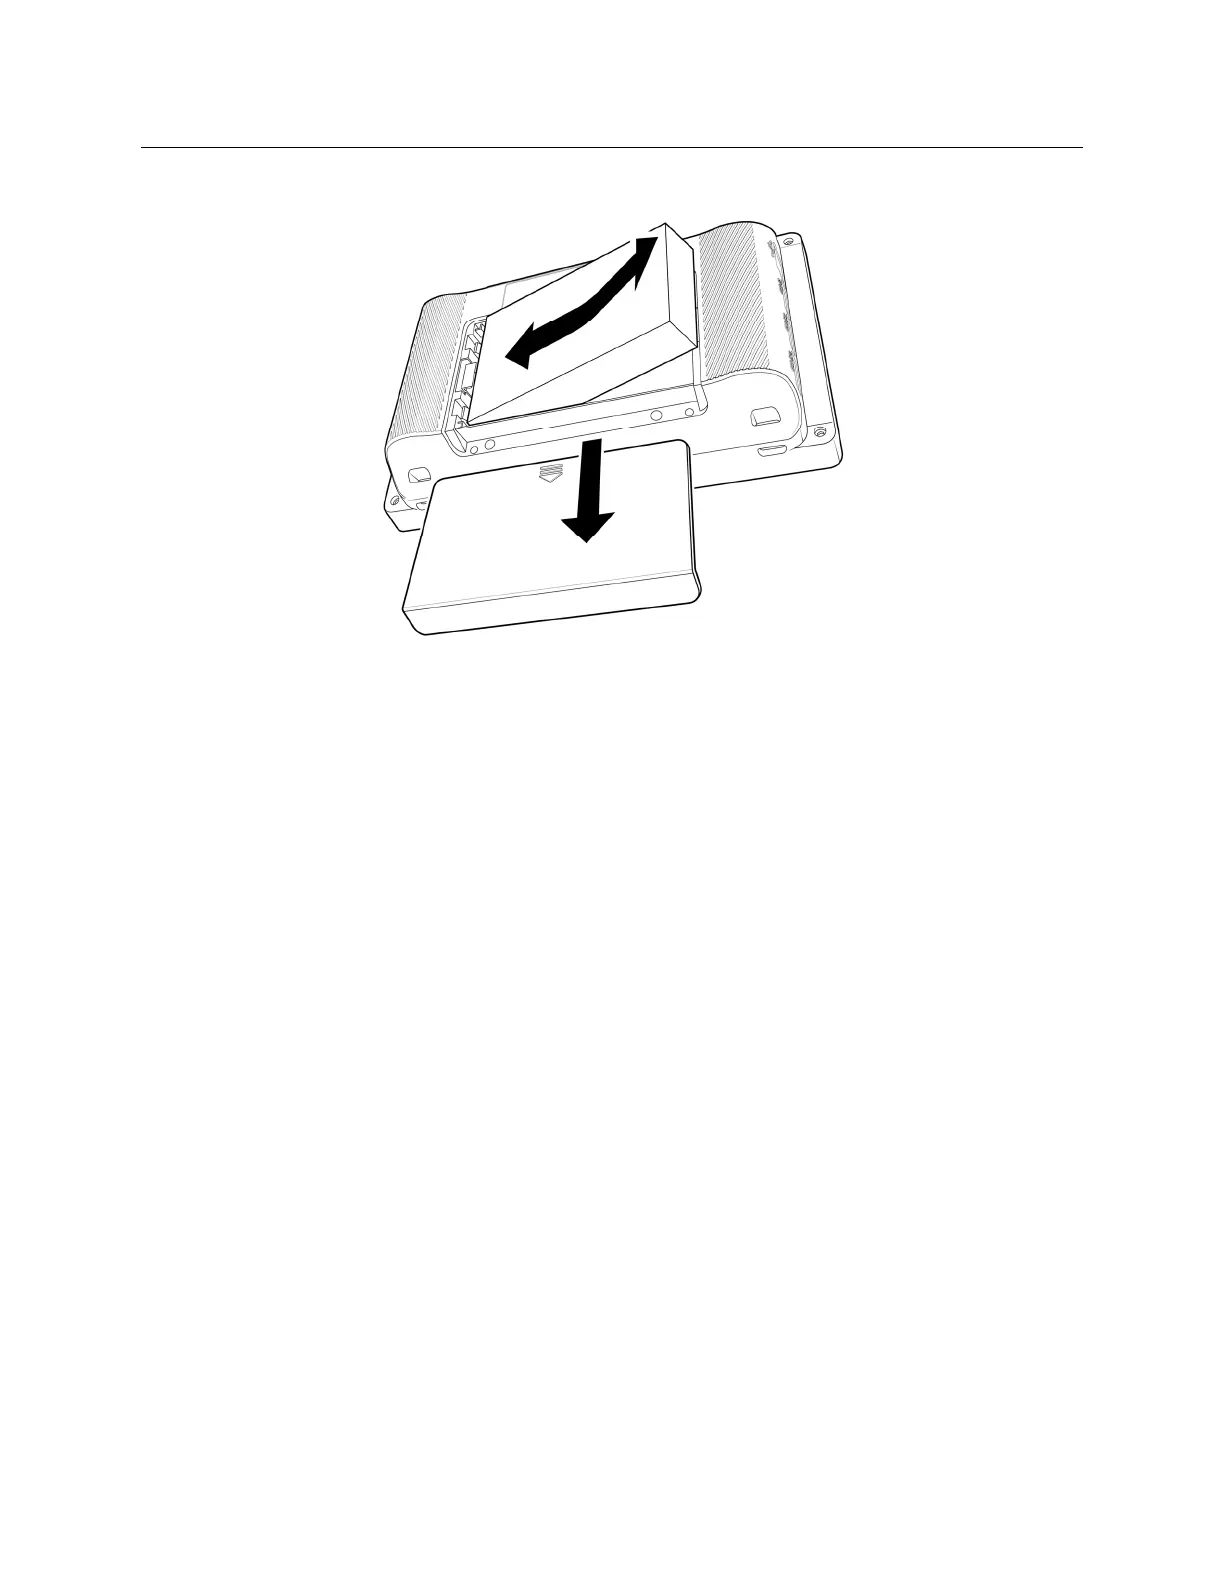
Replacing the Battery
Follow these steps to replace a LabQuest battery:
1. Turn the unit over being careful not to set the unit on something that could scratch the
screen.
2. Slide the battery door cover down until it releases, then lift it off the unit.
3. Lift the battery from the right side and pull the battery to the right as you lift it out of the
unit.
4. When replacing the battery only use a battery provided by Vernier (order code: LQ3-BAT).
5. Make sure the battery contact points on both the unit and battery are clean and free of debris.
6. Insert the new battery label side up, starting by putting the left edge in first.
7. Carefully set the battery in place so as not to damage the battery contacts or plastic tabs that
hold the battery against the contacts.
8. Set the battery door in over the battery just below its closed position, then slide the door up
until it latches.
9. Charge the new battery at least 12 hours to ensure it is fully charged.
LabQuest Power Profiles
There are three power profiles available: Battery, AC, and Automatic. Select the power profile
that best matches how you use your LabQuest unit. While the Battery and AC profile names
suggest when they might be used, these profiles do not depend on how you are powering your
LabQuest. The Battery profile is designed to conserve battery power during times the LabQuest
unit is inactive. The AC profile also applies power saving options; however, there is more time
between the different power saving steps.