Quick Start to Data Collection and Analysis
10 Vernier Software & Technology
IV. QUICK START TO DATA COLLECTION AND ANALYSIS
Follow these steps to quickly get started with basic data
collection. For more detailed instructions, see Using the
LabQuest App.
1. Press and release the power button located on the
top edge of LabQuest to turn on the unit.
LabQuest App launches automatically.
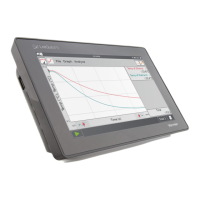
2. Choose New from the File menu, and then connect
your sensor as described in the Connecting Sensors
section.
LabQuest App will auto-ID the sensor, display a
meter, and automatically set the default collection
rate for that sensor.
3. Tap Collect, . LabQuest App switches to the
Graph Screen and data collection begins. Collected
data are displayed in real time for most sensors.
You can stop collection early by tapping
Stop, . Once data collection is complete, the
graph automatically scales to fit the data.
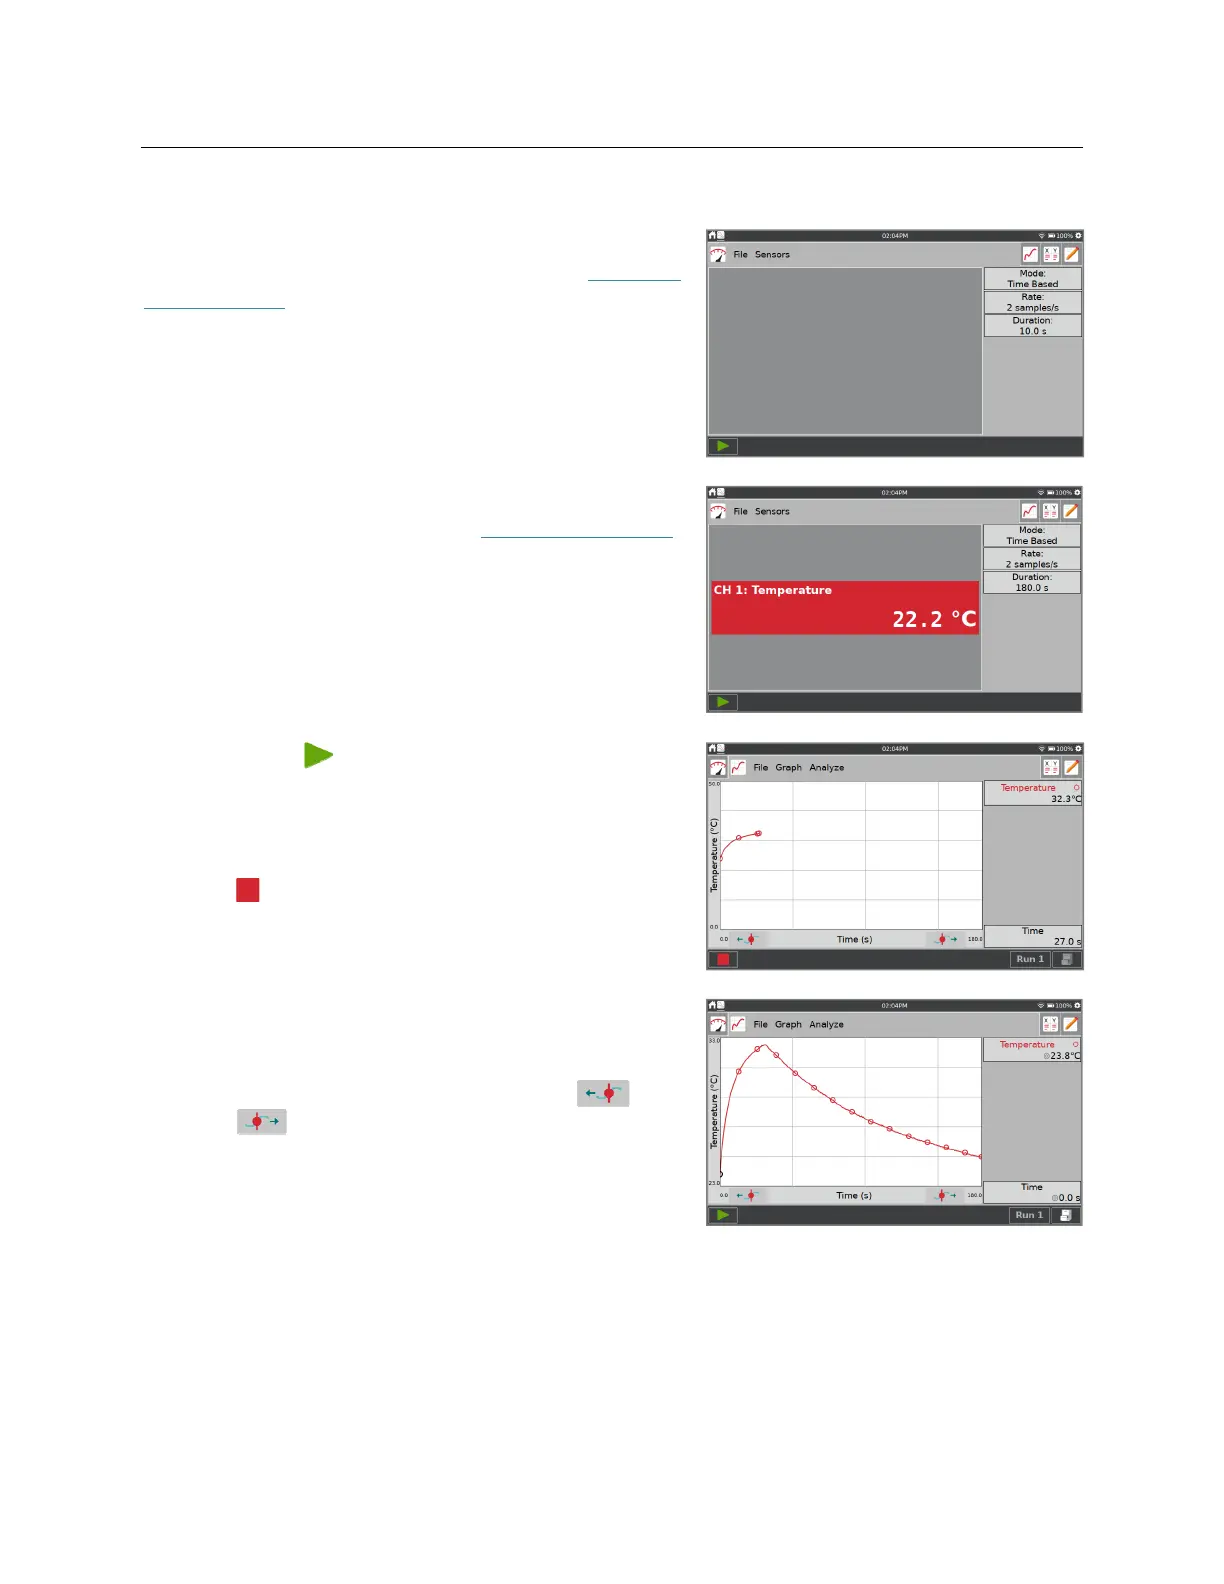
4. Tap the graph to examine a point of interest. The
coordinates of the point are shown in the panel to
the right of the graph. Tap another point or tap the
Examine buttons to move the cursor left, , or
right, .
TIP! You can pan and zoom the graph as desired
using a two-finger pinch gesture. Double- tap the
graph to rescale the graph to fit the data.