Vertiv | Liebert CRV+ | User Manual 36
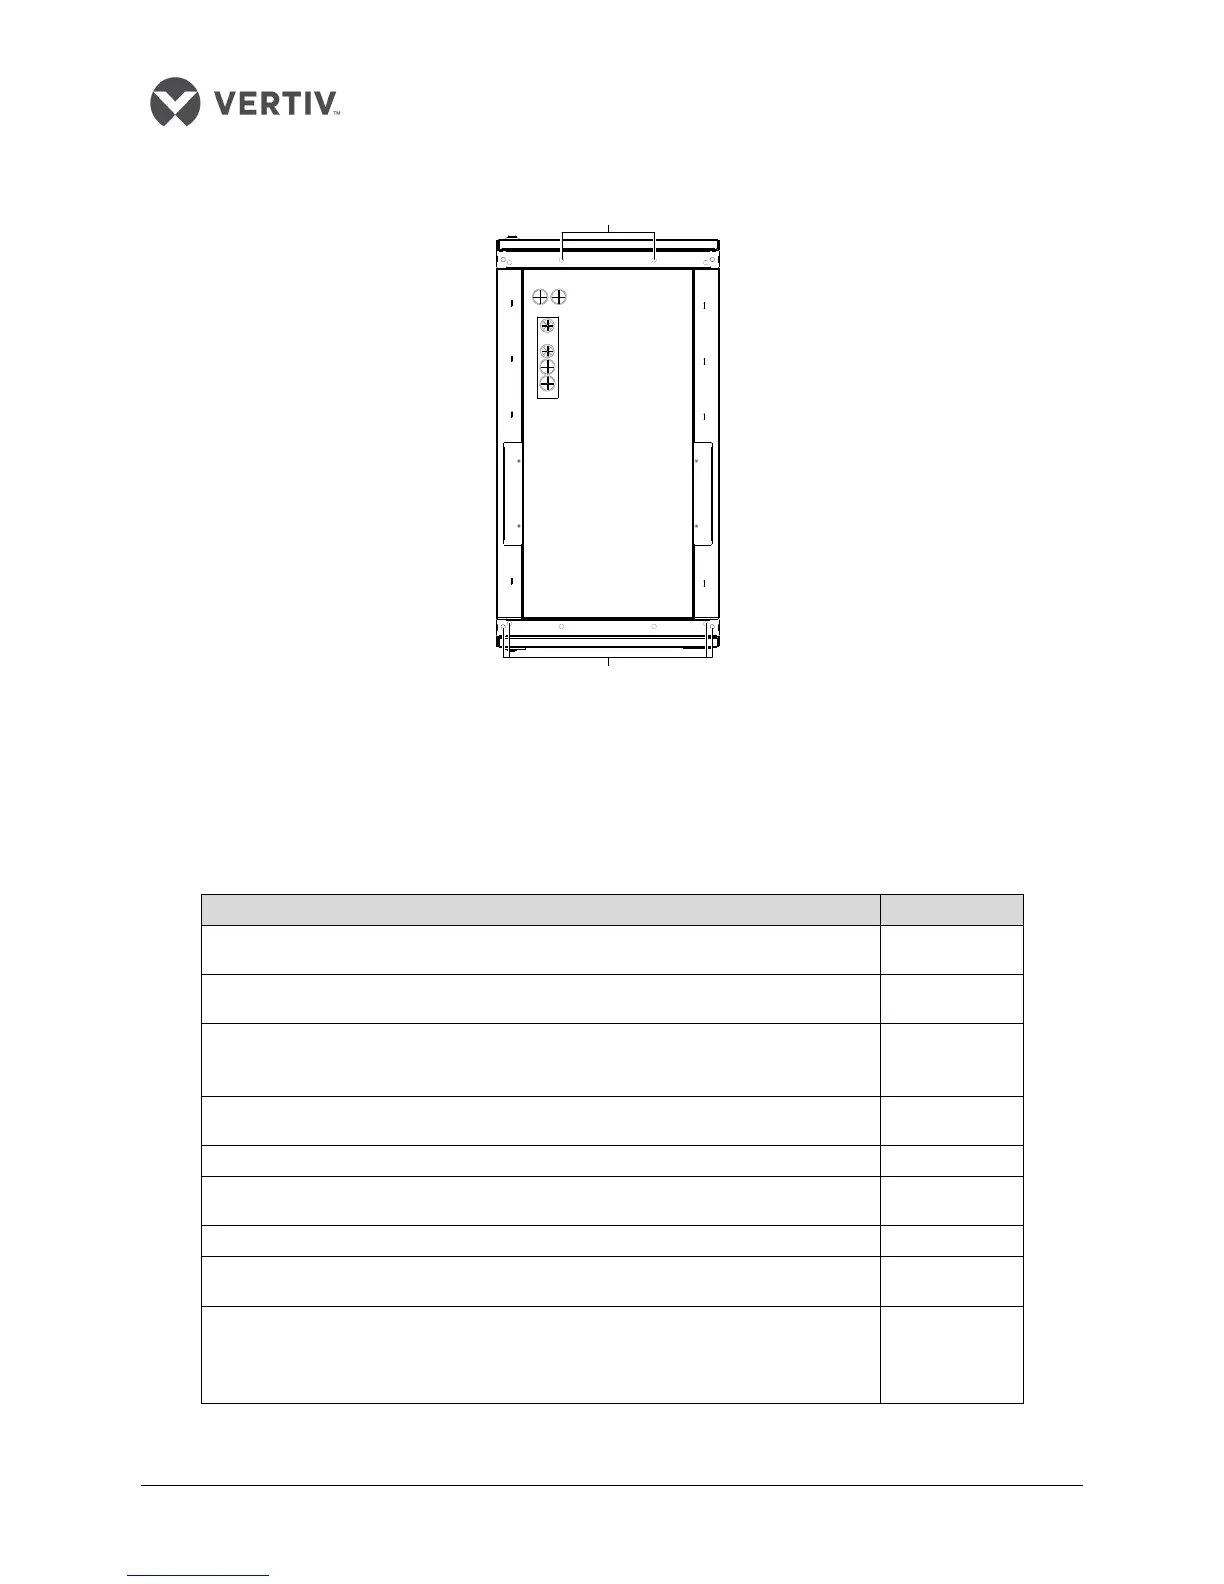
Figure 2-27 depicts the schematic diagram of sealing the holes on the top plate of the cabinet.
Use the provided four M13.5 rubber plugs to seal the holes
Use the provided eight M12 × 30 bolts to seal the holes
F
igure 2-27 Sealing the top holes of the cabinet
2.3.7 Checklist for completed mechanical installation
Following are the points in the checklist (Refer Listing 2.10) that need to be verified and confirmed to
ensure that the mechanical installation was implemented successfully:
Listing 2.10
Sufficient space is kept for maintenance, according to the user manual.
The equipment is placed vertically and mounting fasteners are fastened
The pipes between the indoor unit and outdoor unit are completed. The ball valves
of the indoor unit and outdoor unit are fully opened
The wind direction of the wind-leading grill has been adjusted (if required)
Drainage pipe is connected
Water supply pipe is connected to the electrode humidifier
All pipe connectors are tight
The fasteners used for transportation have been removed
After installation, foreign materials in and around the equipment are removed
(such as shipping materials, construction materials, tools, and so on)