Vertiv | Liebert® CRV4 | User Manual 31
Mechanical Installation
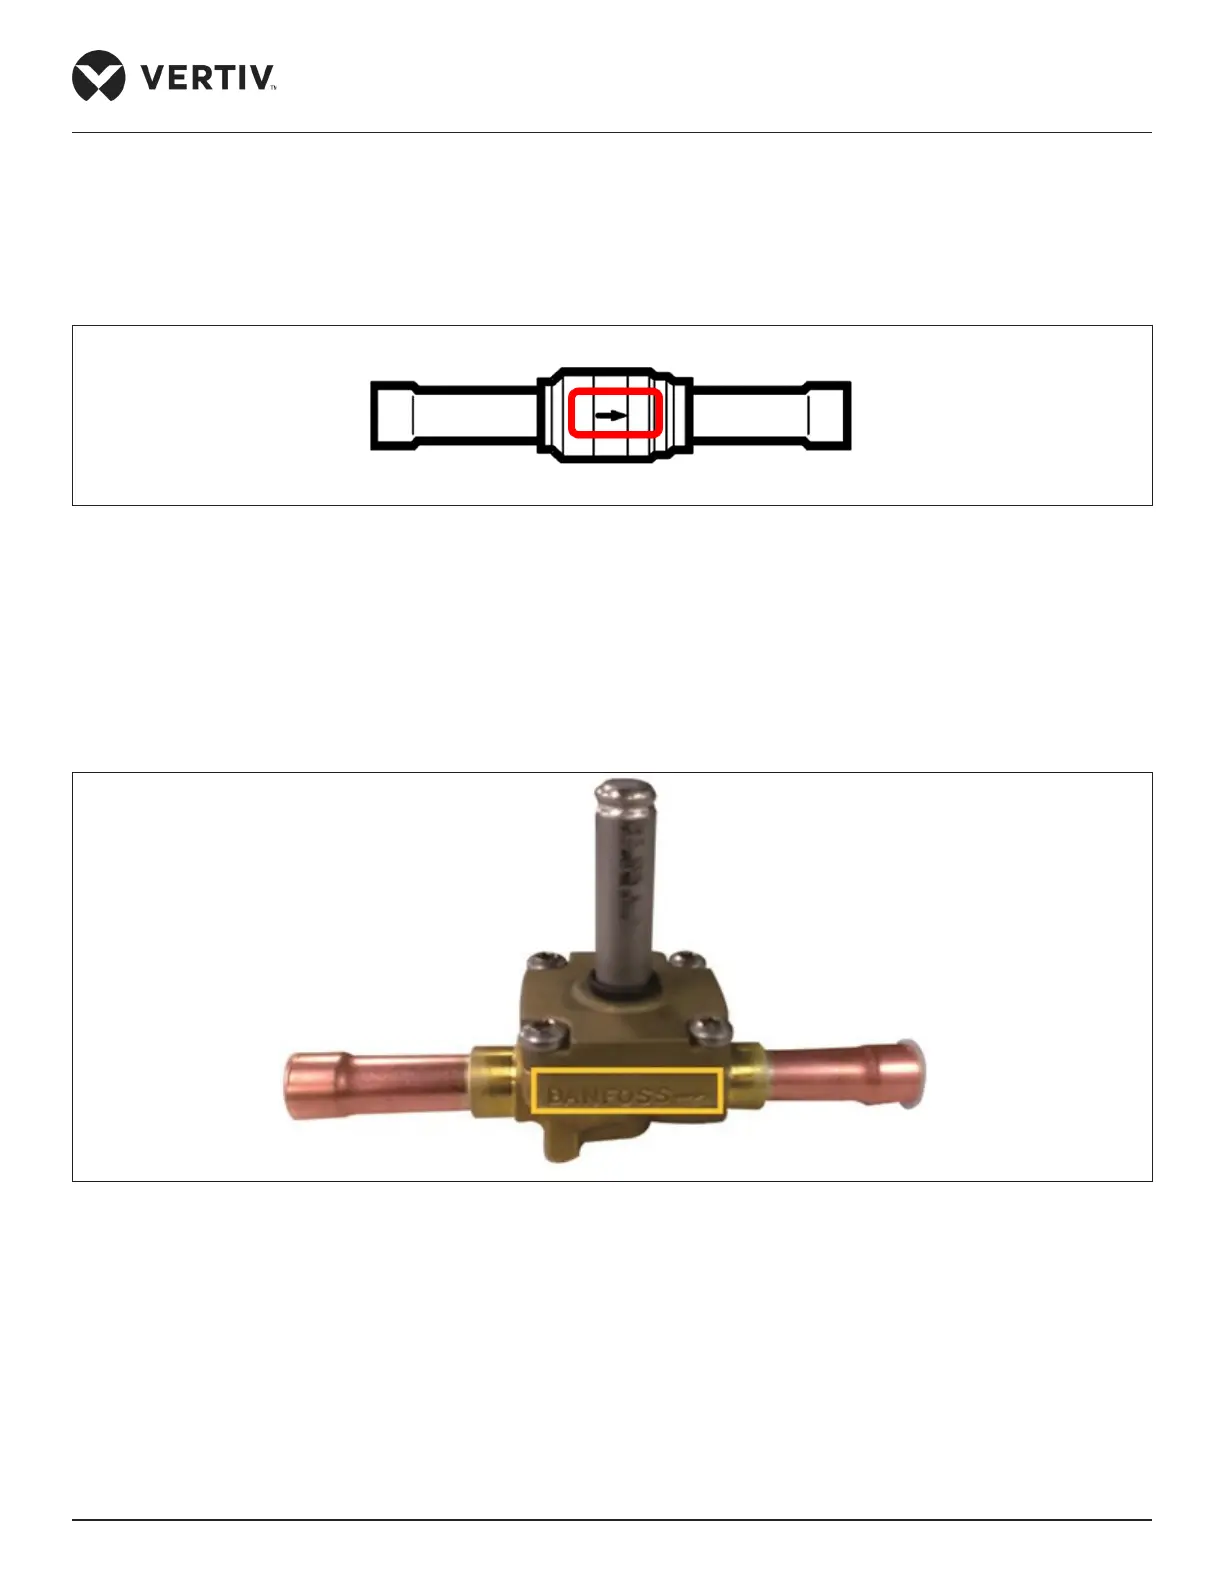
3.3.6. Check Valve Installation
The check valve must be installed closely to the indoor unit, attention should be paid to the arrow on the valve
body while brazing the check valve. The arrow indicates the ow direction of refrigerant in the valve body as
shown in Figure 3-18. Ensure that the arrow points towards the outdoor unit.
Figure 3-18 Horizontal Check Valve Installation
3.3.7. Installing the Solenoid Valve
The solenoid valve must be installed closely to the indoor unit. The solenoid valve is supplied loose to install at
the site. Mount the solenoid valve horizontally in the refrigerant piping as shown in Figure 3-19. Ensure that the
arrow points towards the indoor unit, as the arrow indicates the ow direction of the refrigerant in the valve.
Figure 3-19 Horizontal Solenoid Valve Installation
After brazing, install the coil and remove the cover of the cabling terminals. Direct the cable through the
cable hole in the cover and plug the two terminals and reinstall the cover. Figure 3-20 shows the process of
connecting the cables of the solenoid valve in a liquid pipe
 Loading...