PAGE 8 VIDEONICS DIGITAL VIDEO MIXER
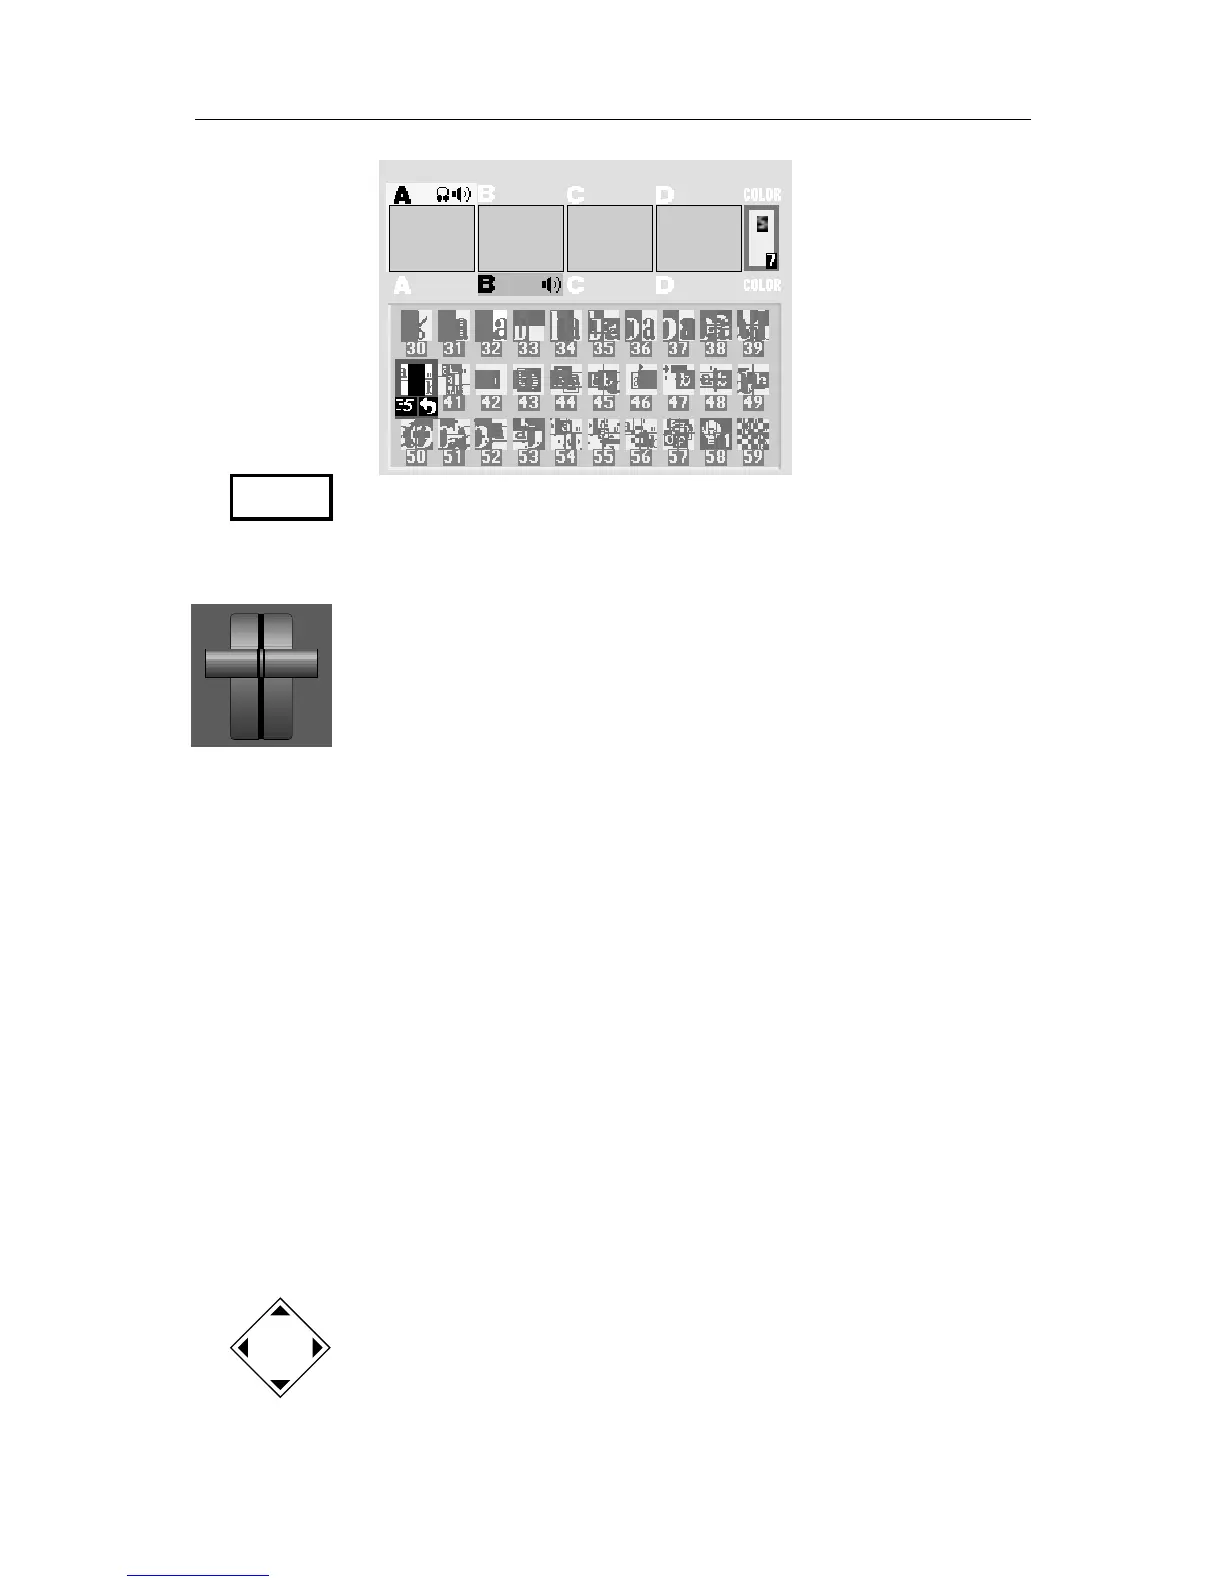
• The screen now shows: The CURRENT source (A), the NEXT source (B),
and the desired effect (the horizontally-moving curtain wipe). Press
PLAY and the wipe will occur. Both the PREVIEW and OUTPUT screens
show the results.
• Notice that at the end of the wipe, B is on the OUTPUT monitor — it
has become the CURRENT source. The yellow highlight above the
preview images has changed to reflect that. Furthermore, A is now the
NEXT source and the green highlight has been changed to A.
You can easily wipe back and forth between A and B: Simply press PLAY
again and again.
Performing Transitions
• The PLAY button causes the effect to occur automatically at a fixed
speed. To change speeds, press the SPEED button. The speed indicator
under the transition effect will change. Press the button again until the
desired speed is displayed. 0 is the slowest speed, 9 is the fastest.
Try this now with various speeds: Change the speed and press PLAY.
• You can also use the manual control (the “T-bar,” or “Take Bar”) to
control the transition. To do this, set up the transition normally but
instead of pressing PLAY, simply move the bar. Nothing will happen
until the bar is all the way up or all the way down. Then the transition
will begin as you move the bar. You can move back and forth as you
wish. Try it!
• Most video productions use simple cuts a majority of the time. To cut
between any two sources (for instance, you could cut from A to C to
COLOR to D), use the CUT buttons.
There’s a quick way to cut back and forth between two sources (such
as A to B to A to B) using just the PLAY button, instead of having to
alternate between two CUT buttons:
• Press 0 to select effect 0 (the simple cut).
• Press PLAY again and again.
SPEED