Document: LT0732 QE20 Fibre Networking User Manual
Issue 1.0 24 May 2023 Page 3-17
PC Setup for Device Configuration
In the following sections it is assumed the PC Ethernet port is set for acquiring its IP
address from a DHCP server.
For configuring the Moxa switch from factory default, a specific IP address will need
to be assigned to the PC Ethernet port and the PC’s Internet firewall may need to be
turned off. Refer to the Windows Network and Internet Settings and Security Settings
for these. Admin access will be required on the PC.
For reliable operation of the networking on the PC (e.g., to use PIB_Finder and the
Moxa Edscfgui utility) it may be necessary to temporarily turn off WiFi operation
(e.g., select flight mode) and disable other “Ethernet” network devices in the PC if
they are configured.
Configuration of ATAs
3.1.12 Steps of Setting up an ATA
The two main stages to setting up an ATA are:
1) Reset the ATA to factory defaults and program the assigned IP address and
other networking parameters. This needs to be done only once.
2) Configure the ATA over the network using its built-in web server.
These are covered in the following sections.
3.1.13 Reset ATA to Factory Defaults & Assign IP Address
One method of programming the ATA is to connect a pushbutton telephone to the
ATA and use the in-built IVR to program the settings. Refer to the ATA Admin Guide
for the instructions.
Otherwise, to reset the ATA to factory default and assign its network settings.
• Power up the ATA.
• Push and hold in the RESET pin on the ATA until the Power LED starts
flashing, then release. Wait until the POWER LED is on steady (~90s).
• Connect the host PC’s Ethernet port to the ATA’s ETHERNET port with a
RJ45 patch cable.
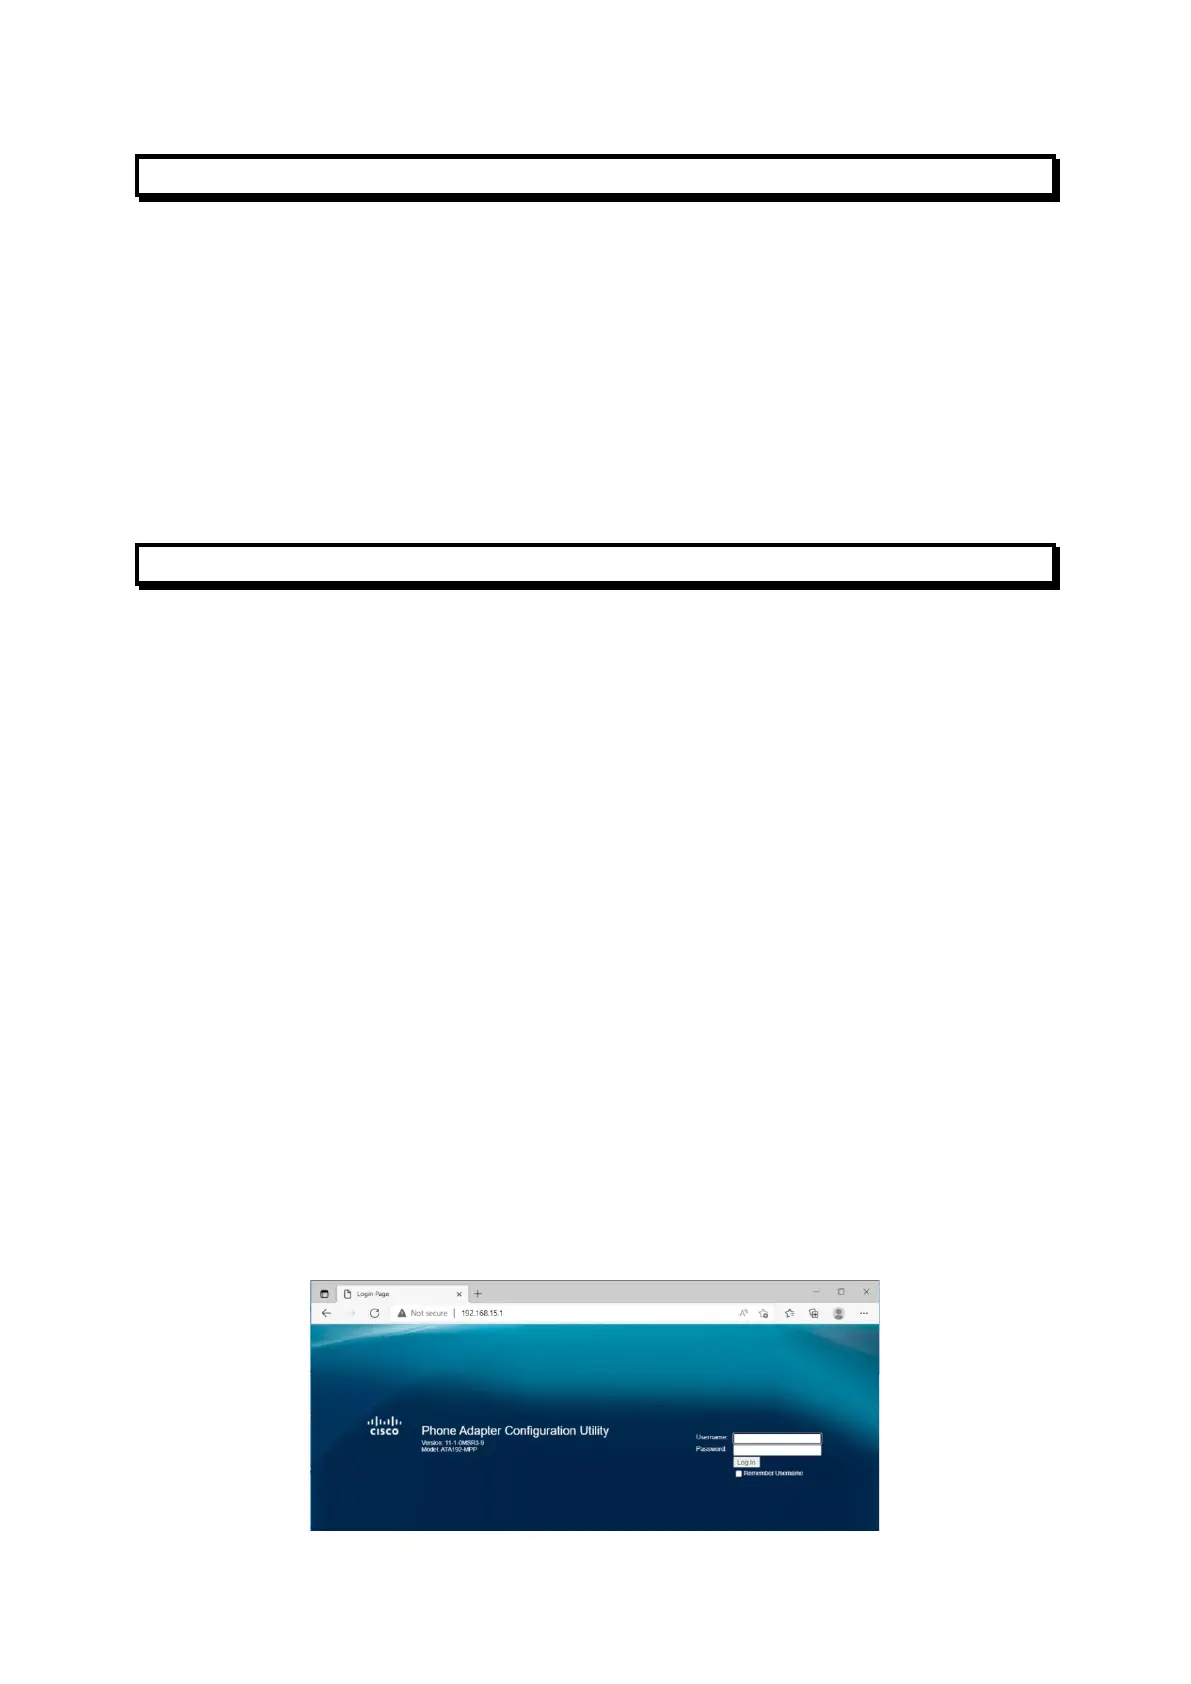
• On the host PC, open a web browser and browse to the ATA’s web server.
I.e, type ‘http://192.168.15.1 into the address box of the browser and press
Enter. The ATA web page should open. [The ATA has an IP Address of
192.168.15.1 and enables a DHCP server on the ETHERNET port by default.]
Screen Sample – ATA Log in page