To avoid risk of electrical shock, personal injury, or death, disconnect electrical power source to unit, unless test
procedures require power to be connected. Discharge capacitor through a resistor before attempting to service.
Ensure all ground wires are connected before certifying unit as repaired and/or operational.
WARNING!
Disassembly
16 ©2012 Viking Preferred Service
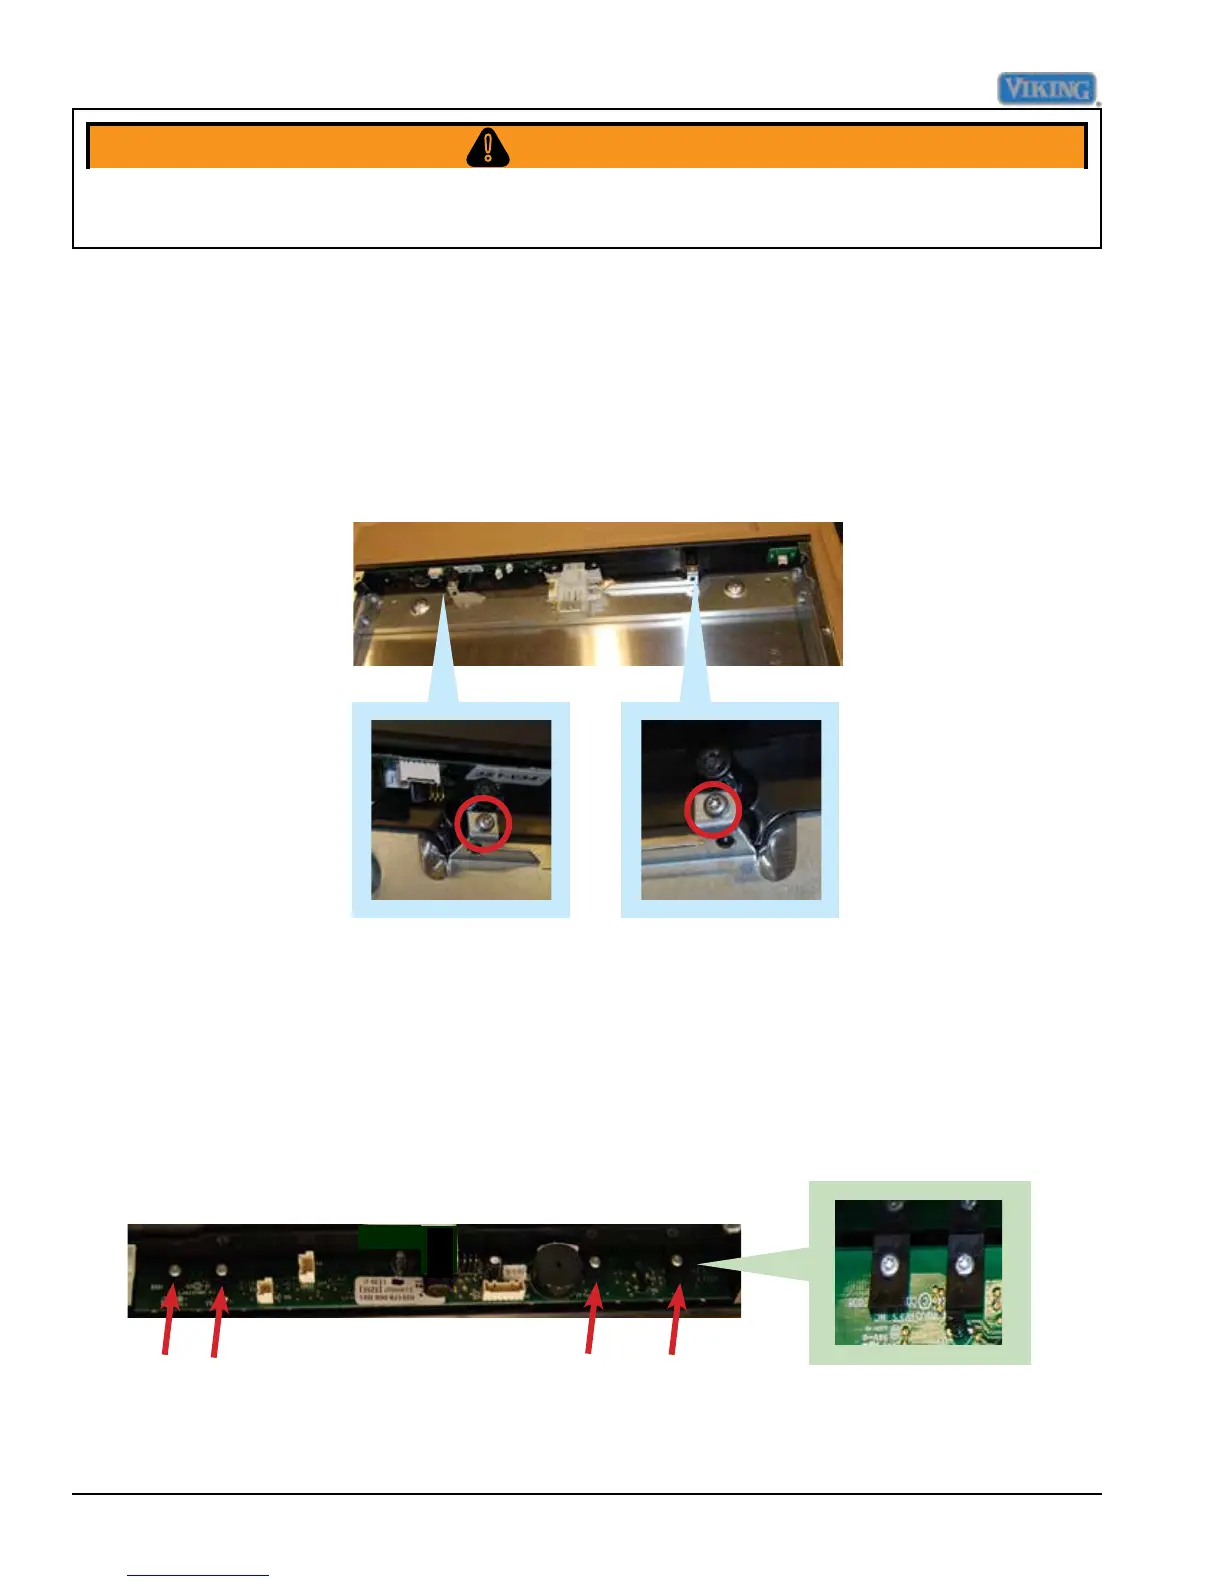
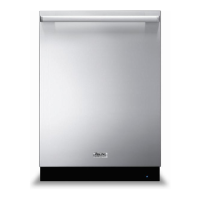
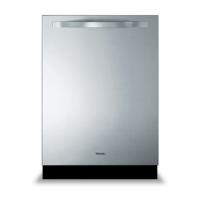
Remove outer door assembly and place in a location to prevent damage to panel and household
items, preferably on a padded surface.
Control Panel Removal
In order to gain access to control panel, remove outer door panel, see outer door removal
procedure, Page 15.
With outer door panel removed put on padded surface to remove the control panel which is
mounted on the outer door panel.
Remove the two T20 Torx screws, circled in red above to remove control assy from outer door
panel.
Remove the four T10 Torx screws as indicated by arrows in photo above, remove user interface
board from control panel assembly.
User Interface Removal
In order to gain access to control panel, remove outer door panel, see outer door removal
procedure, Page 15.
Remove control panel, see Control Panel Removal.