Disassembly
30 ©2013 Viking Preferred Service
To avoid risk of electrical shock, personal injury, or death, disconnect electrical power source to unit, unless test
procedures require power to be connected. Discharge capacitor through a resistor before attempting to service.
Ensure all ground wires are connected before certifying unit as repaired and/or operational.
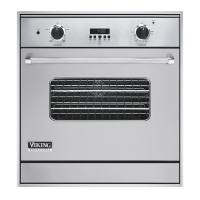
Partial Oven Removal
To access some components, the oven will need to be
partially removed from the installation.
The oven is heavy. Use care when sliding oven out to
avoid damaging the oven, wall, or cabinet.
1. Remove oven door (see Door Assembly Removal).
2. Remove oven racks (see Oven Rack Removal).
3. Remove four screws (single oven) or eight screws
(double oven) that attach the side of the outer trim to
the wall or cabinet.
4. Slide the oven forward.
NOTE: If the oven is advanced past the balance point,
use appropriate bracing under the front of the
oven to avoid excessive tipping.
5. Reverse procedure for installation.
Complete Oven Removal
To access some components, the oven will need to be
completely removed from the installation.
The oven is heavy. Removal from the installation will
require two people. Use care when removing the
oven to avoid damaging the oven, wall, cabinet, or
oor.
1. Remove oven partially (see Partial Oven Removal).
2. Continue to slide oven from the installation and place
it on a protected surface.
3. Reverse procedure for installation.