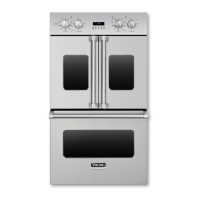
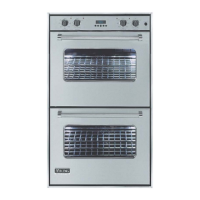
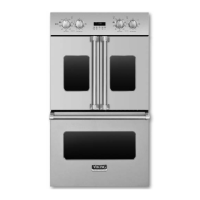
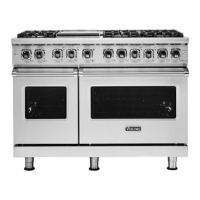
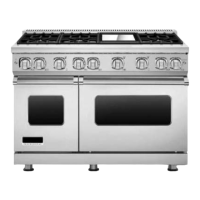
Disassembly
34 ©2013 Viking Preferred Service
To avoid risk of electrical shock, personal injury, or death, disconnect electrical power source to unit, unless test
procedures require power to be connected. Discharge capacitor through a resistor before attempting to service.
Ensure all ground wires are connected before certifying unit as repaired and/or operational.
Oven Rack Support Removal
1. Remove oven racks (see Oven Rack Removal).
2. Remove two screws from each oven rack support.
3. Remove oven rack support from holes in oven cavity.
4. Reverse procedure for installation.
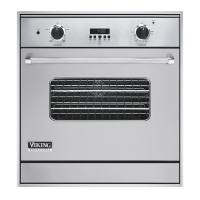
Oven Light Bulb Removal
Do not touch bulb with bare hands. Clean off any
signs of oil from the bulb and handle with a soft cloth.
Top Light
The top light bulb is located in the cavity and uses a
20W bulb.
1. Open door completely.
2. Carefully pry the glass cover on both sides until it
releases.
3. Firmly grasp the bulb and pull out.
4. Replace with a 12V-20W bulb.
5. Replace the light cover by pressing it back into place.
Side Lights
The side light bulbs are located in the oven cavity and
use a 5W bulb.
1. Open door completely.
2. Unsnap the glass cover at the opposite end from the
metal hinge.
3. Firmly grasp the bulb and pull out.
4. Replace with a 64405, 12V-5W bulb.
5. Replace the light cover by first sliding it into the metal
hinge and then snapping closed on opposite end.
RTD Sensor Removal
The RTD Sensor is located in the back of the oven
cavity. It is used to sense oven temperature.
1. Remove oven door (see Door Assembly Removal).
2. Remove oven racks (see Oven Rack Removal).
3. Remove two screws that attach the sensor to the
back of the oven liner.