OPERATING THE POWERMASTER SYSTEM
10 D-307502 PowerMaster-10/30 G2 User's Guide
2. Operating the PowerMaster System
For more information regarding terms used in this chapter, refer to APPENDIX C. GLOSSARY.
Note: This manual displays PowerMaster-10 G2 panel buttons only, even when instructions refer to both panels.
When an instruction refers to PowerMaster-30 G2 only, the PowerMaster-30 G2 panel buttons are displayed.
Basic Arming and Disarming
Following are a set of procedures for performing basic arming and disarming of the alarm system.
Preparing to Arm
Before arming, make sure that READY is displayed.
This indicates that all zones are secured and you may arm the system as desired.
If at least one zone is open (disturbed) the display will read:
This indicates that the system is not ready for arming and in most cases that one or
more zones are not secured. However, it can also mean that an unresolved condition
exists such as certain trouble conditions, jamming etc., depending on system
configuration.
To review the open zones click . The details and location of the first open zone detector (usually an open
door or window sensor) will be displayed. To fix the open zone, locate the sensor and secure it (close the door or
window) – see "device locator" below. Each click of will display another open zone or trouble indication. It
is highly recommended to fix the open zone(s), thus restoring the system to the state of “ready to arm”. If you do
not know how to do this, consult your installer.
Note: To quit at any stage and to revert to the "READY" display, click .
Device Locator: The PowerMaster system has a powerful device locator that helps you to identify open or
troubled devices indicated on the LCD display. While the LCD displays an open or faulty device, the LED on the
respective device flashes indicating "it's me". The "it's me" indication will appear on the device within max. 16
seconds and will last for as long as the LCD displays the device.
Arming ‘AWAY' / ‘HOME'
If the system is READY and/or Forced Arming is enabled proceed as shown below. For more information on
Forced Arming, see "Forced Arming AWAY or HOME" below.
If the system is NOT READY and Forced Arming is not permitted, review any open zone detectors to locate and
secure them.
If you want to arm using partitions, see "Partition Selection Process" and then proceed as shown below.
If the user has changed the state of the system from a high security mode to a lower security mode i.e. from ARM
to DISARM, or from ARM to HOME, he will be prompted to enter the user code thus bypassing the QUICK ARM
option.
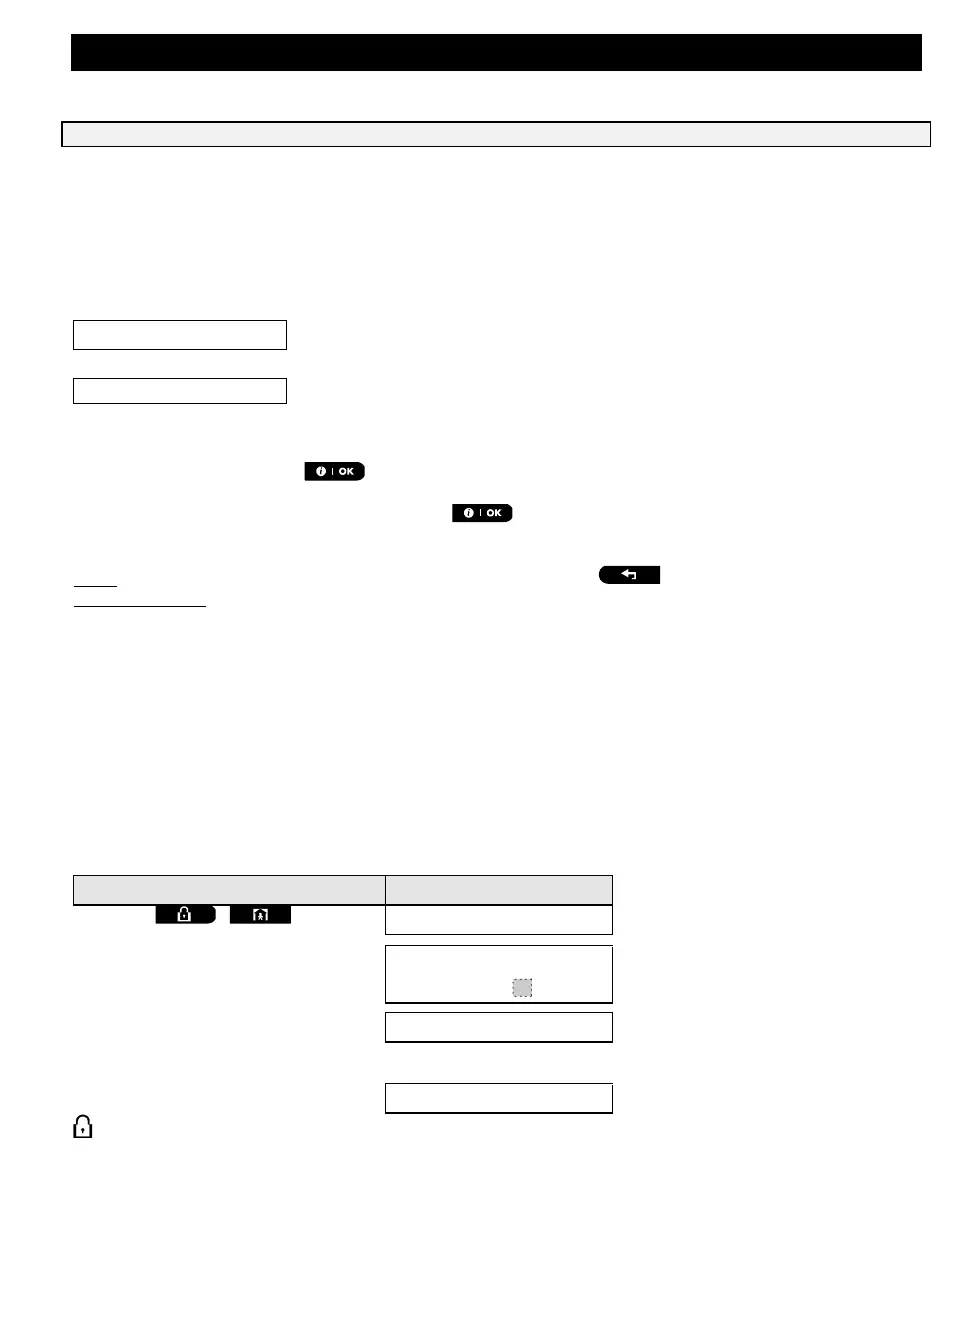
PRESENT TAG OR
ENTER CODE _ _ _ _
Vacate the premises (ARM AWAY) OR
Move to interior zone (ARM HOME)
ARM indicator lights steadily during the armed state.
Disarming and Stopping Alarm
Enter the protected premises via a delayed zone. Upon detecting your entrance, the system will start sounding
the entry delay beeps alerting you to disarm the system before the entry delay ends.
After disarming, different displays may appear indicating that the system is in a state of alarm MEMORY. The
MEMORY message will disappear only upon rearming the system. To disarm the system, proceed as shown:
 Loading...