User can give a domain name to a NVR by using DDNS service, WNS.
DDNS setting at a NVR
1. Change NVR’s port which is not in use (e.g. 8000)
2. Configure router’s port forwarding setting. (i.e. port 8000 should be
connected to NVR)
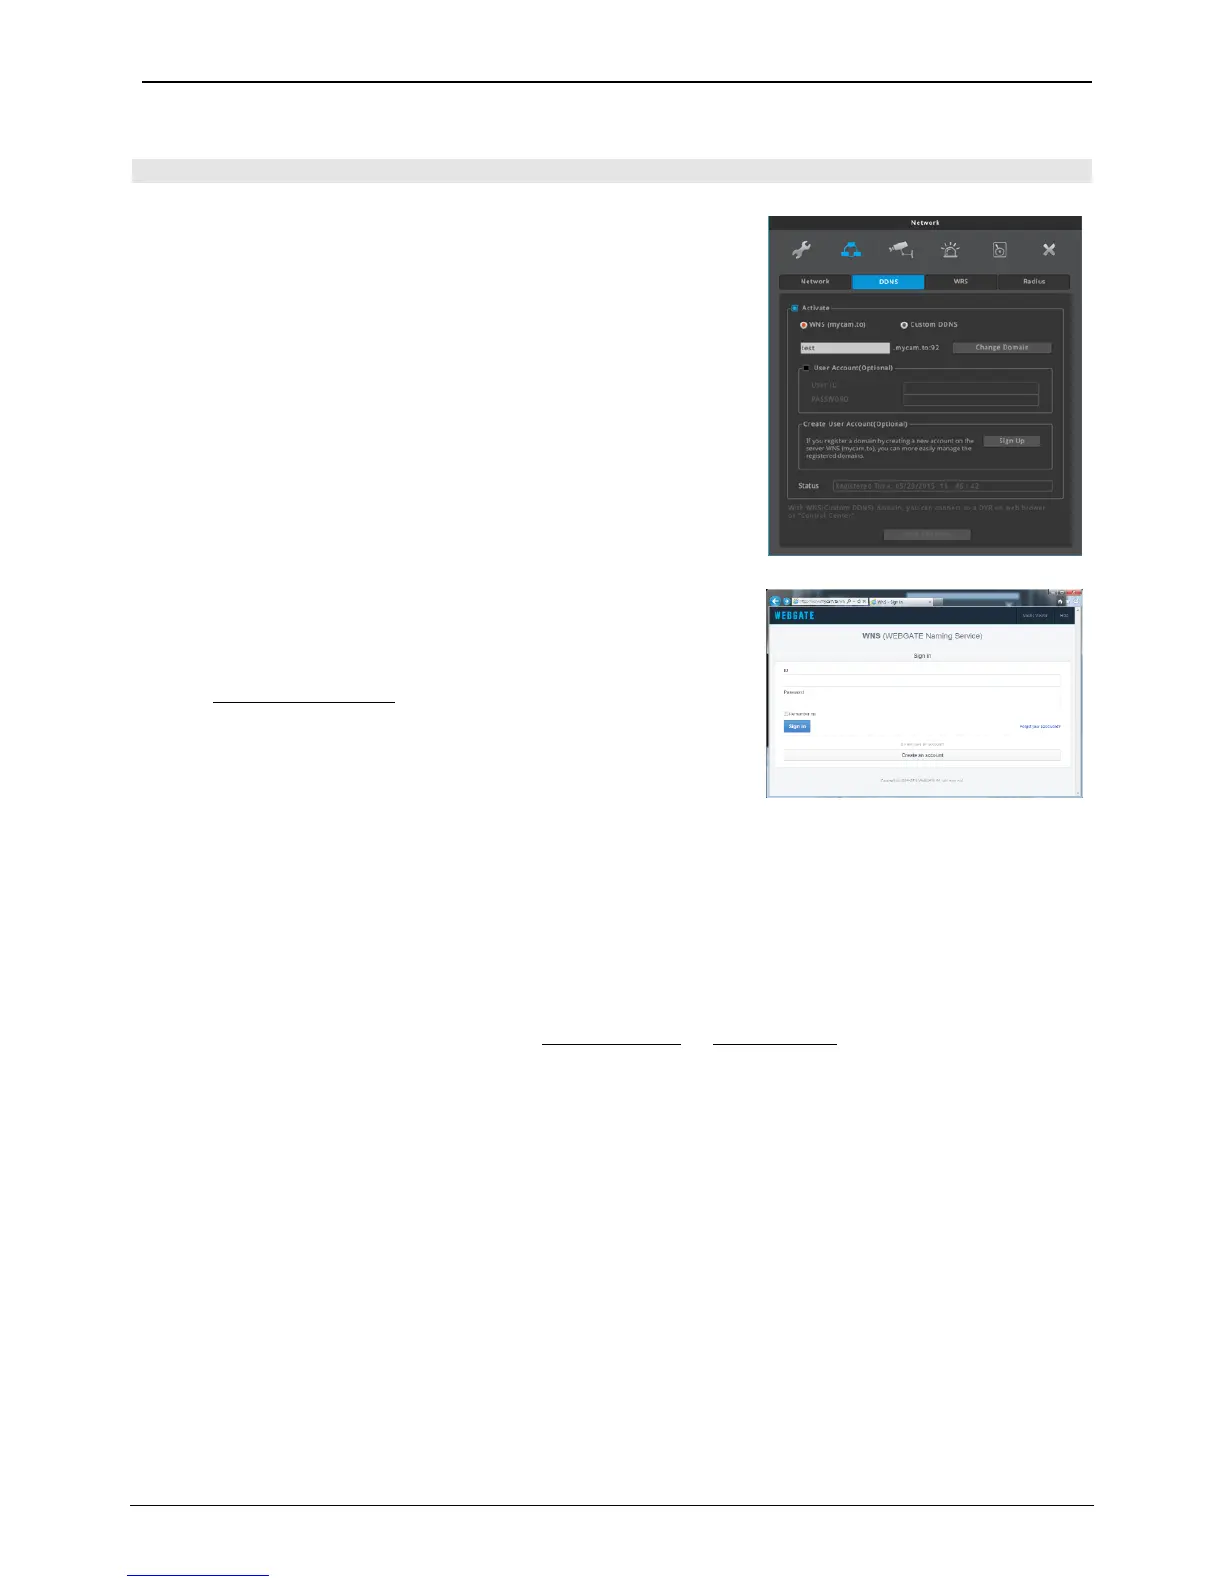
3. Activate DDNS(WNS) at NVR menu
4. Enter domain to use and run “domain change” (Ex: test)
5. If the entered domain name is available, NVR shows “Success”. If the
domain name is occupied by another user, NVR shows “Unavailable
domain”.
6. If you can connect a NVR by using assigned domain name, it means
DDNS setting is properly completed.
(e.g. http://test.mycam.to:8000)
DDNS setting at a PC
1. Change NVR’s port which is not in use (e.g. 8000)
2. Configure router’s port forwarding setting. (i.e. port 8000 should be
connected to NVR)
3. Activate DDNS(WNS) at NVR menu
4. Enter http://www.mycam.to into browser and connect to DDNS site.
5. Login by using DDNS account
(If you do not have DDNS account, you can create it by “Create an
account”)
6. Click “+Add” button to add a domain.
7. Enter a domain (e.g. test) then click “Check Name” to check the availability.
8. If the entered domain name is available, it shows “Entered domain is available for use.” If the domain name
is occupied by another user, it shows “Someone is already using this domain. Please try another.”
9. Enter NVR’s serial number to “Serial Number” input.
10. Enter necessary information into “Description” and click “Add” button.
11. If you can connect a NVR by using assigned domain name, it means DDNS setting is properly completed.
(e.g. http://test.mycam.to:8000)
Custom DDNS
Also, users can use public DDNS sites such as www.dyndns.org or www.no-ip.org. Users should refer to those
sites directly to get the registration process.
<Note>
Connection will be enabled in about 10 minutes after domain creates.