2-3
Operation
2
WEILER E1250
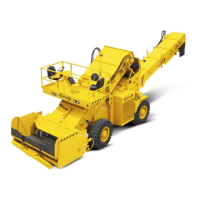
3. Turn Main Power Switch (2) to ON position
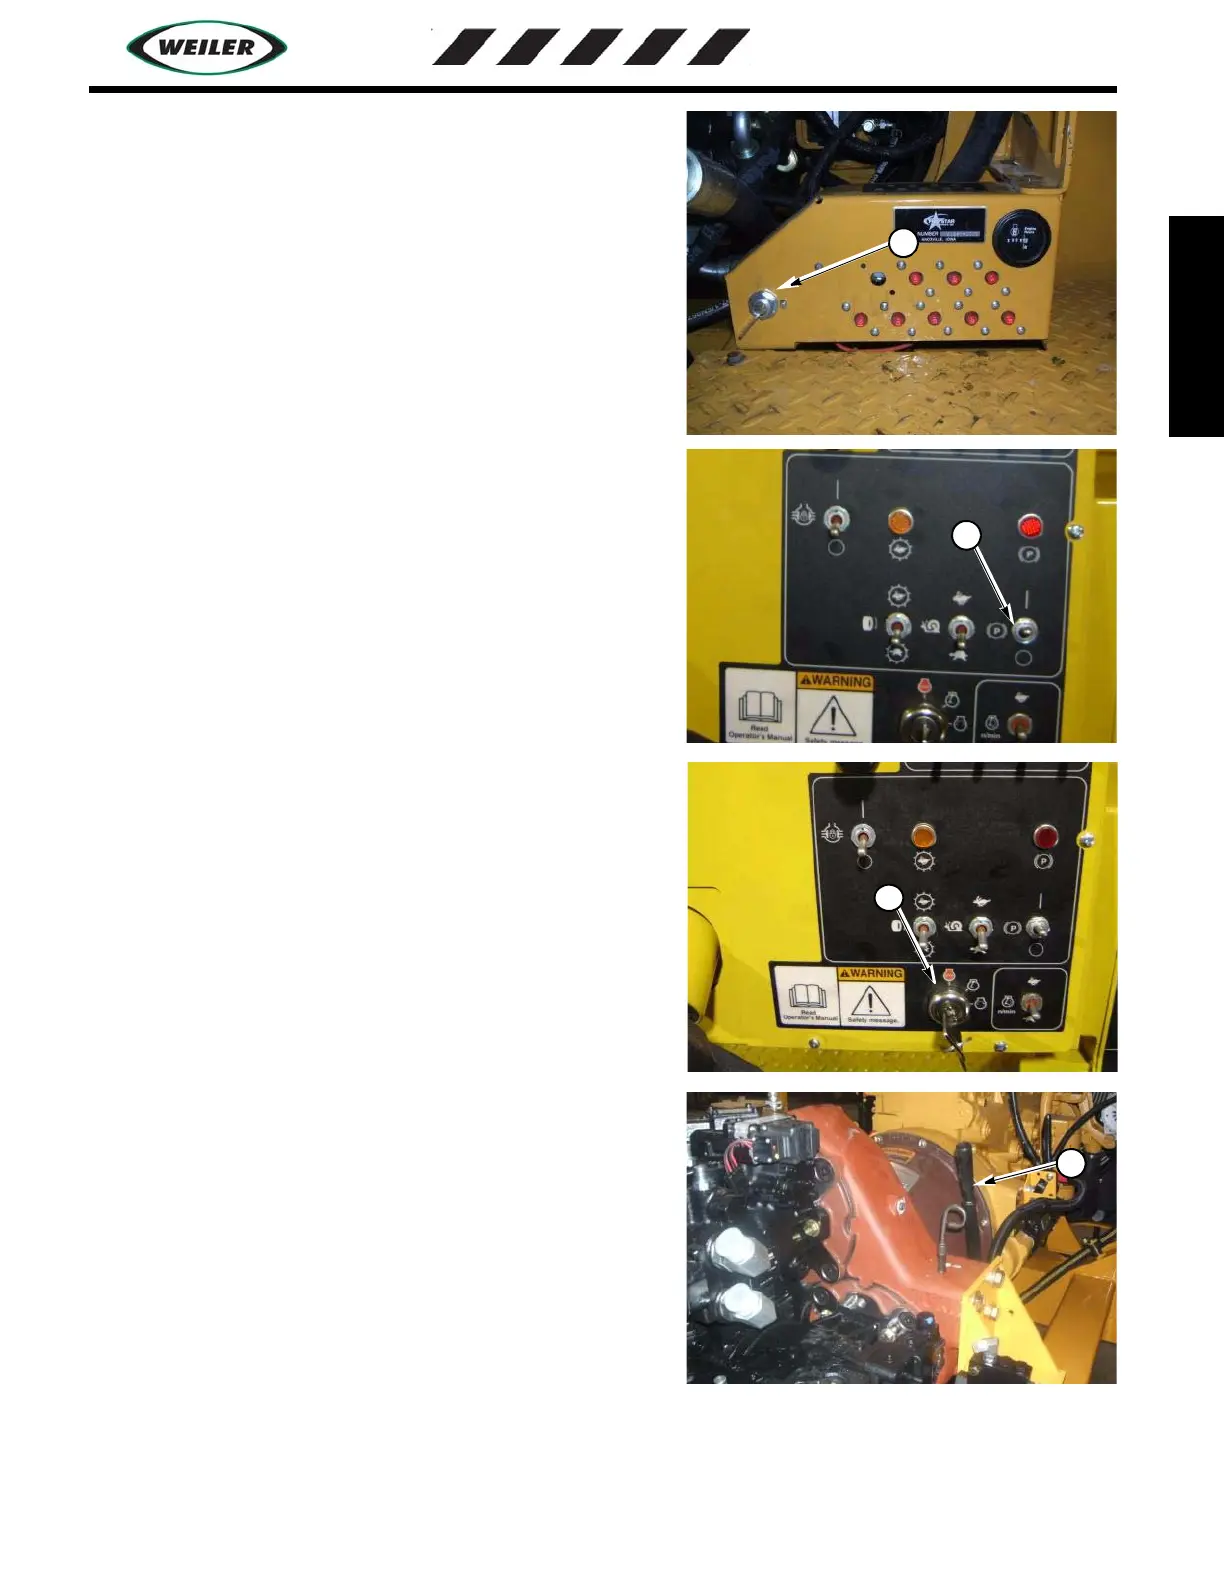
4. Verify that the Park Brake (3) is engaged, and all stop switches
are pulled out. There are three stop switches, one on the main
operators control panel and one on each of the dump hopper
control panels.
NOTE: Engine will crank with the stop switches pushed in but
will not allow fuel to the engine. If engine cranks and will not
start verify that all of the switches are pulled out.
4. START ENGINE: Use start switch (4), turn key clockwise to
start engine, release when engine starts running. If starter does
not energize, check that the propel lever is in the neutral position
and elevator and conveyor switches are in the off position.
5. Watch oil pressure gauge, pressure should rise immediately
when the engine is started. Do not run the engine faster than 1000
RPM until oil pressure is over 14 PSI. If it fails to raise, stop the
engine by turning the switch counter-clockwise to the off
position.
6. Allow the engine to idle at 800-1000 RPM for a short time to
allow engine oil and coolant to warm up.
7. Engage the clutch lever (5), push towards the engine to engage.
Pull away from the engine to disengage the clutch.
IMPORTANT: When engaging the clutch, engage the clutch
quickly to avoid slipping of the clutch and clutch damage.
8. Allow hydraulic oil to warm up for a short time before fully
opening the throttle. This allows all of the hydraulic components
to become fully lubricated and increases their life.
Ground disconnect switch
2
Park Brake and speed switches
3