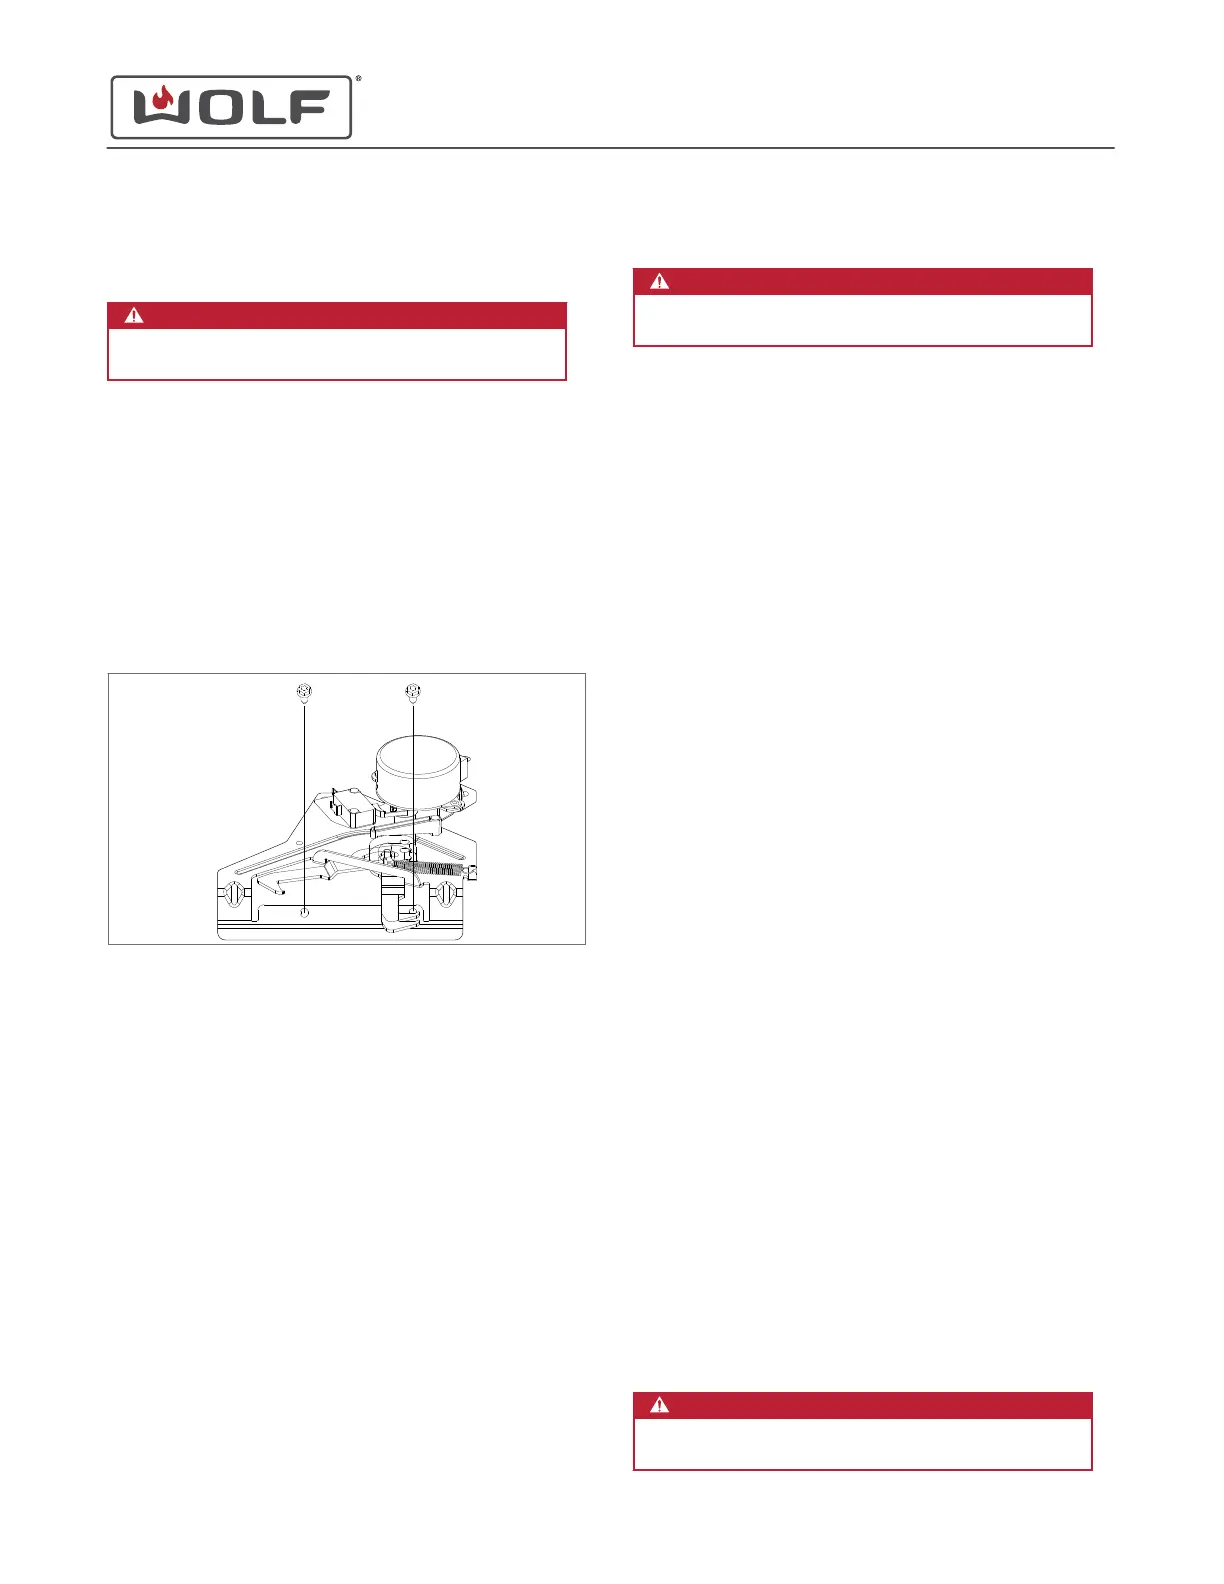
MOTOR DOOR LOCK REMOVAL
WARNING
Disconnect the product from the power source
before starting this procedure.
To remove the motor door lock, first remove:
1
Oven door
2
Skirt
3
Cover collar
Remove the Motor Door Lock (MDL)
1 Disconnect the wire connectors from the MDL.
2 Use a T-20 Torx bit to remove the MDL mounting screws.
3 Remove the MDL from the unit.
MOTOR DOOR LOCK INSTALLATION
After installing the motor door lock, install:
1
Cover collar
2
Skirt
3
Oven door
Install the Motor Door Lock (MDL)
1 Place the MDL into the unit.
2 Use a T-20 Torx bit to install the MDL mounting screws.
3 Connect the wire connectors to the MDL.
RELAY BOARD REMOVAL
WARNING
Disconnect the product from the power source
before starting this procedure.
To remove the relay board, first remove:
1
Oven door
2
Skirt
3
Cover collar
4
Exhaust vent
Remove the Relay Board
TIP: The relay board is found beneath the exhaust vents, behind
the shirt.
1 Use a T-20 Torx bit to remove the relay board tray mounting
screws.
2 Press the front clip down. Pull the relay board tray forward,
and remove the relay board bracket from the relay board
tray.
3 Remove all wire connectors, wire harnesses, and ribbon
cables from the relay board.
4 Remove the relay board from the unit.
RELAY BOARD INSTALLATION
After installing the relay board, install:
1
Exhaust vent
2
Cover collar
3
Skirt
4
Oven door
Install the Relay Board
1 Install all wire connectors, wire harnesses, and ribbon
cables onto the relay board.
2 Install the relay board into the relay board bracket.
3 Install the relay board bracket onto the relay board tray.
4 Use a T-20 Torx bit to install the relay board tray mounting
screws.
USER INTERFACE MODULE (UIM) REMOVAL
WARNING
Disconnect the product from the power source
before starting this procedure.
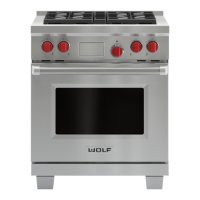
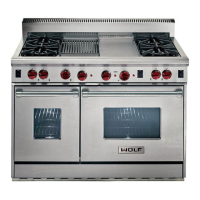
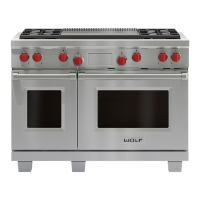
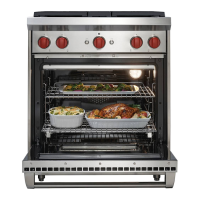
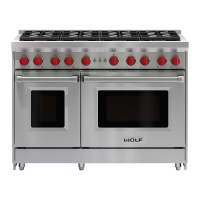
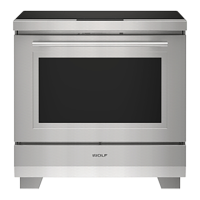
30" and 36" Induction Range
Electronic Component Removal and Installation
ELECTRONIC COMPONENT REMOVAL AND INSTALLATION
service.subzero.com
829191 REVA
51