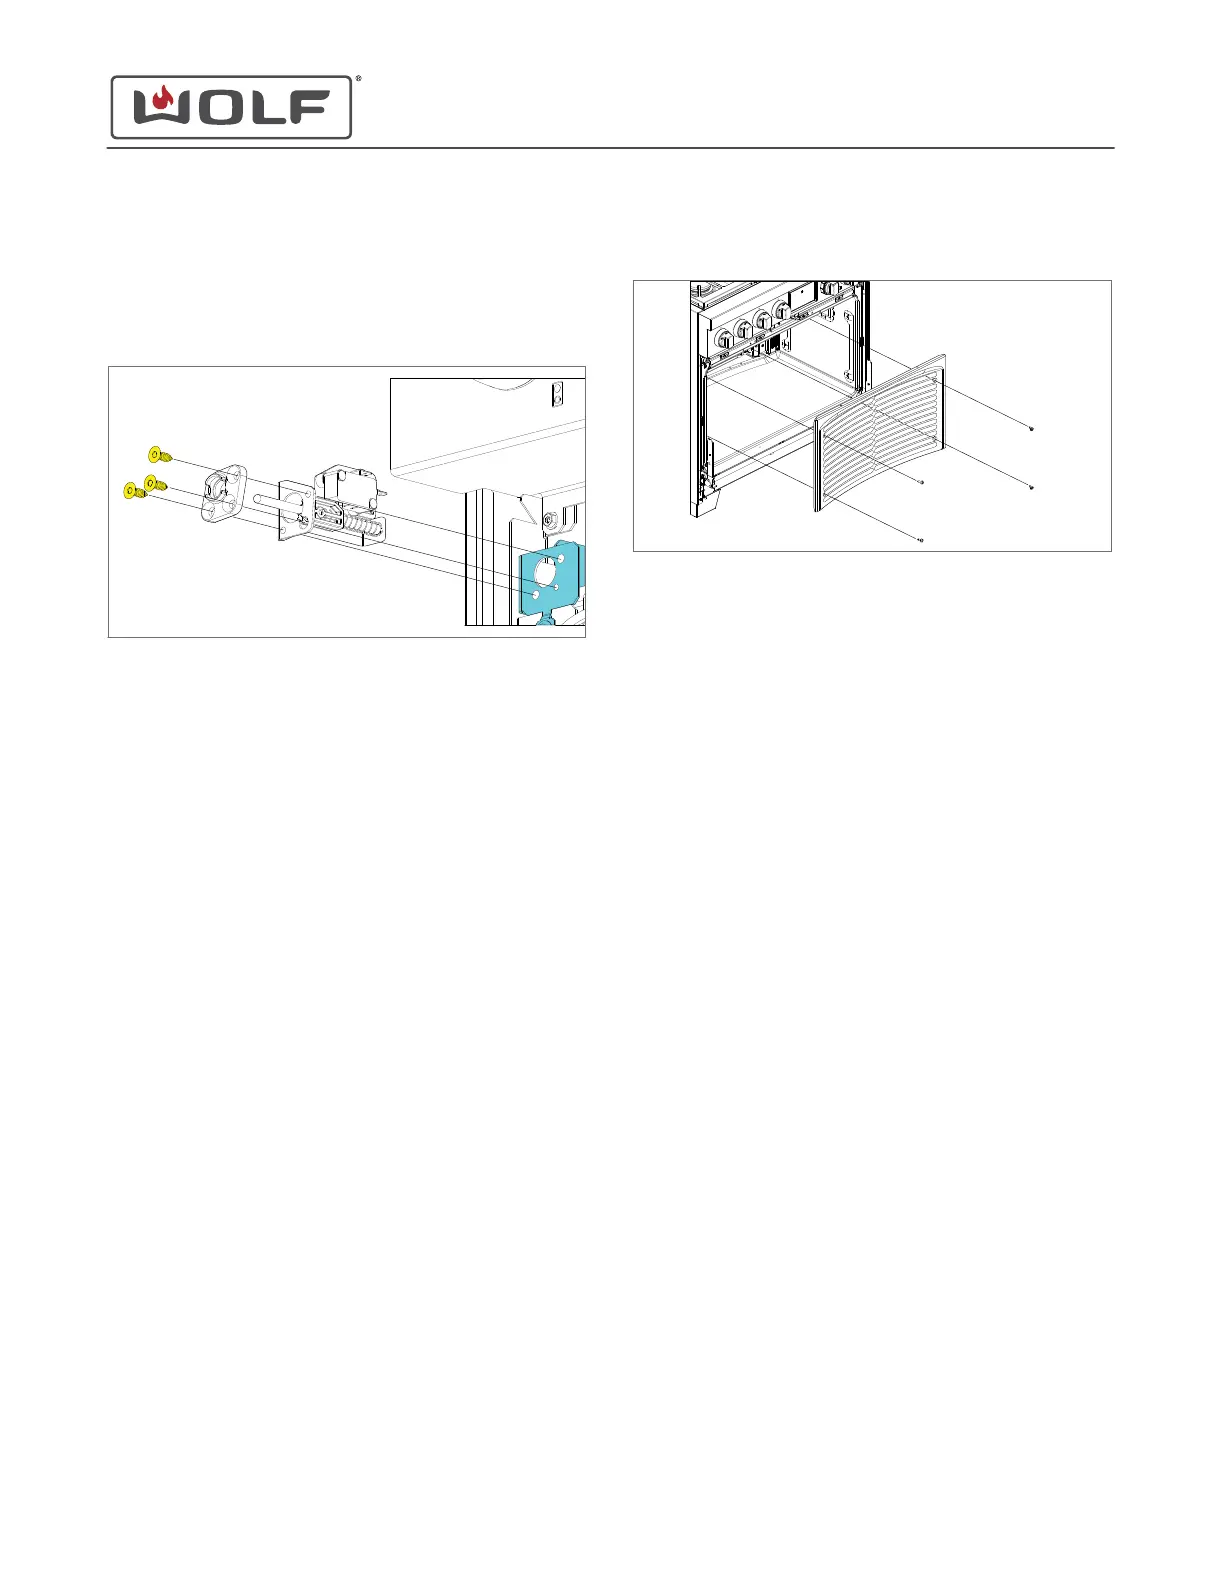
4 Pull the door switch assembly forward past the bumper
spacer bracket.
5 Disconnect the wire connectors from the door switch
assembly.
6 Remove the door switch assembly from the unit.
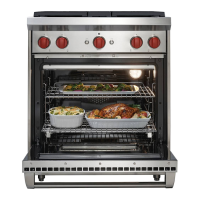
The upper oven is shown
DOOR SWITCH ASSEMBLY INSTALLATION
After installing the door switch assembly, install:
1
Cover collar
2
Skirt
3
Oven door
Install the Door Switch Assembly
1 Connect the wire connectors to the door switch assembly.
2 Install the door switch assembly through the back of the
bumper spacer bracket.
3 Place the door bumper spacer on to the bumper spacer
bracket.
4 Use a T-20 Torx bit to install the door bumper spacer
mounting screws.
INTAKE BAFFLE REMOVAL
To remove the intake baffle, first remove:
1
Oven door
Remove the Intake Baffle
1 Use a T-20 Torx bit to remove the intake baffle mounting
screws.
2 Pull the intake baffle forward.
3
Remove the intake baffle from the unit.
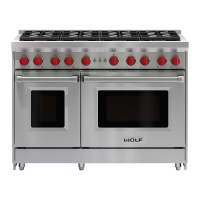
Dual Fuel unit shown
INTAKE BAFFLE INSTALLATION
After installing the intake baffle, install:
1
Oven door
Install the Intake Baffle
1 Place the intake baffle against the back of the oven cavity.
2 Use a T-20 Torx bit to install the intake baffle mounting
screws.
TEMPERATURE SENSOR REMOVAL
The temperature sensor (RTD) is not a replaceable part.
OVEN BAFFLE REMOVAL
To remove the oven baffle, first remove:
1
Oven door
2
Intake baffle
Remove the Oven Baffle
1 Use a T-15 and T-20 Torx bit to remove the oven baffle
mounting screws.
2 Remove the mica washers.
3 Pull the oven baffle forward.
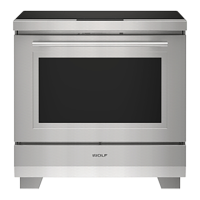
30" and 36" Induction Range
Cavity Component Removal and Installation
REMOVE THE DOOR SWITCH ASSEMBLY (continued)
service.subzero.com
829191 REVA
59