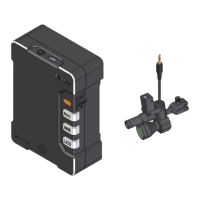
CAMERA SYSTEM (LooksCAM) 13 www.xenosys.co.kr
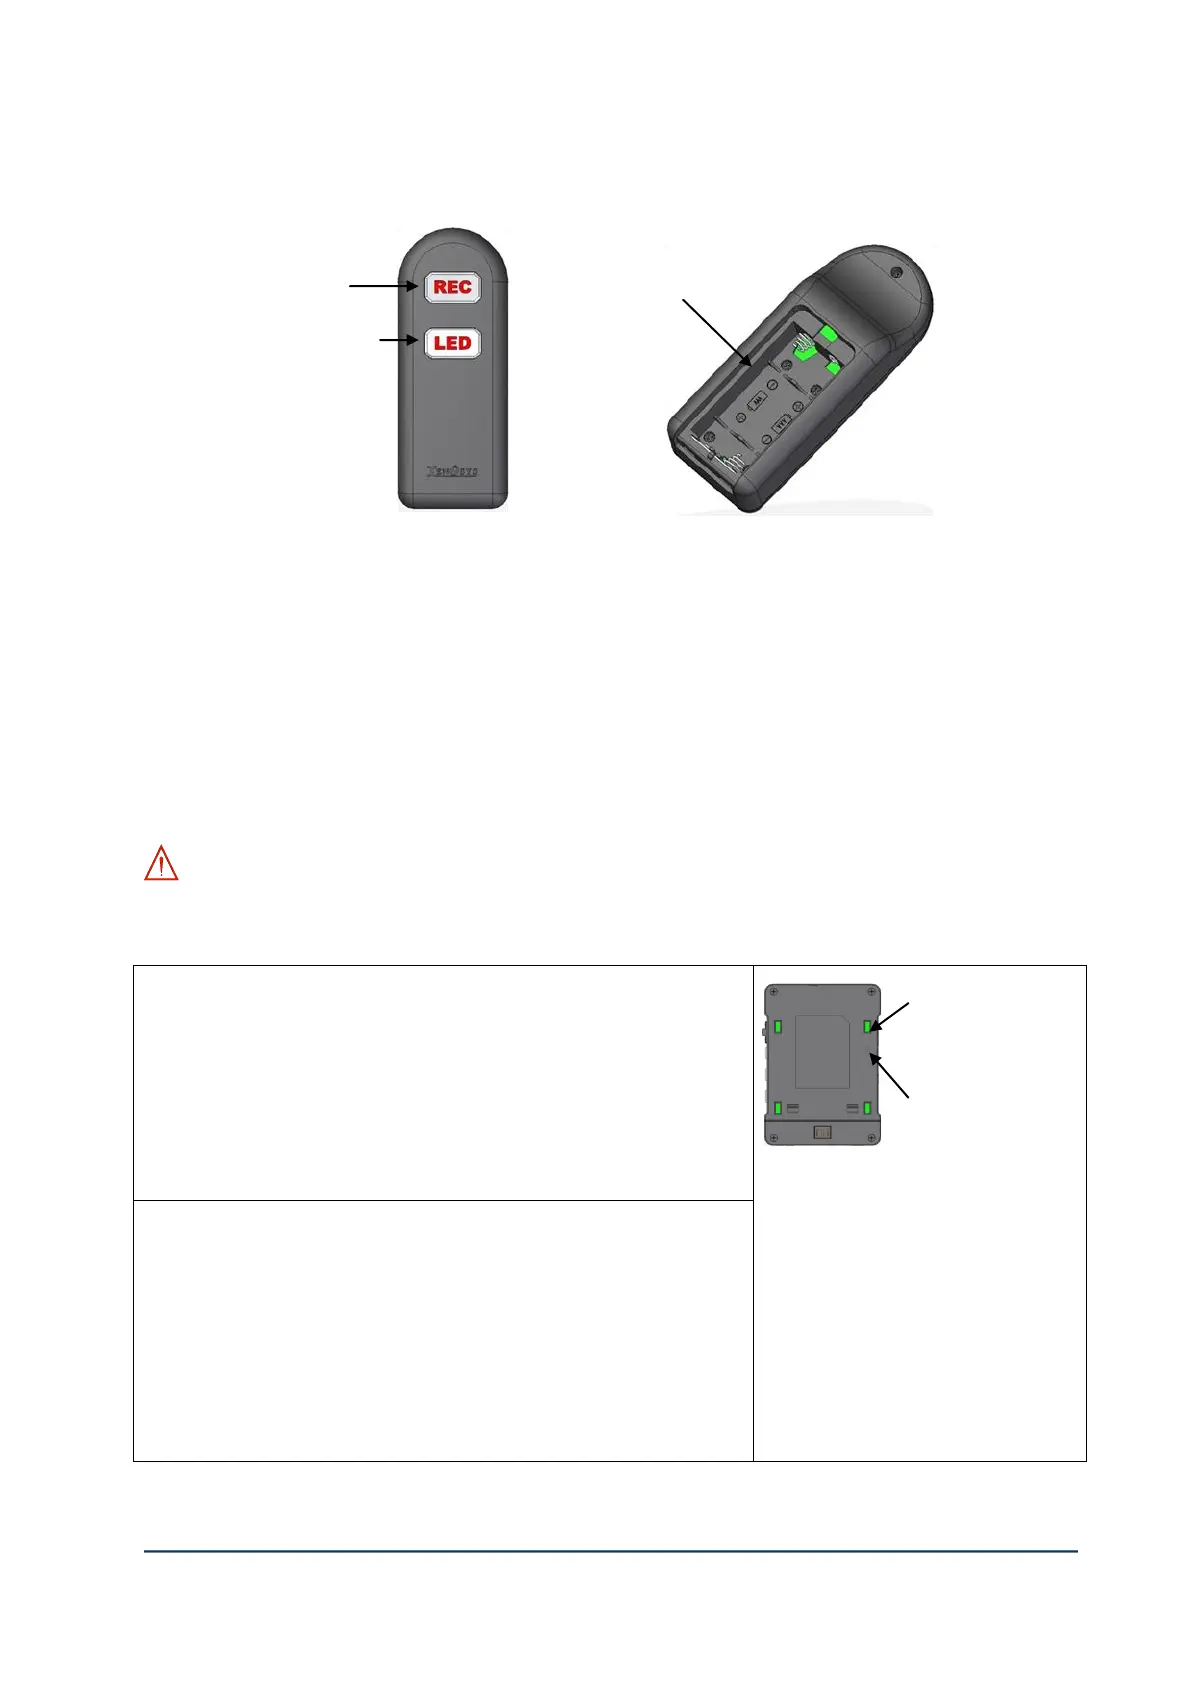
5. Remote Controller
1) ②Battery Slot: 1.5V (2 EA), AAA size.
2) ①Record Button: (Main function) Record ON/OFF or snapshot button
Hold the button 1 second (Recording), Quickly push the button (snapshot)
(Secondary function) OSD [On Screen Display] – “Select” function.
3) ③LED Light Button: (Main function) Change the intensity of LED light level to 1, 2, 3, OFF.
(Secondary function) OSD [On Screen Display] – “Move” function.
4) Even though “Hold” button of main body is ON (to upward position), the remote controller can
still work.
WARNING: The main body and remote controller are provided with pairing set up. The below
table is how to set up & release pairing. You should disconnect all cables before setting up the
pairing.
Set-up Pairing
1. Connect USB cable from Main Body which is all cable
removed to the computer
2. Main Body(LC-CU) Power On
3. Quickly press the pairing switch -> Blinking blue LED
4. Press [REC] button of Remote controller & release -> Blue
LED will go on 2 sec. and OFF
5. Complete pairing.
A. You can use one remote
controller for several units by
pairing.
B. If the main body is released in
paring, it can be controlled by
several remote controllers.
Release Pairing
1. Connect USB cable from Main Body which is all cable
removed to the computer
2. Main Body(LC-CU) Power On
3. Hold the pairing switch more than 5 seconds-> Blinking blue
LED
4. Press [REC] button of Remote controller & release -> Blue
LED will go on 2 sec. and OFF
5. Complete releasing pairing.