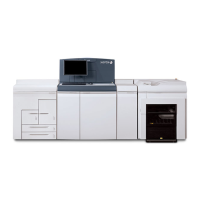
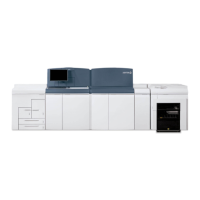
The system will automatically select the correct output destination tray and page order for the job.
System Specified is selected by default.
4. From the Stapling/Finishing pull-down menu, select the stapling option, folding option, hole punching
or multiple finishing option.
5. Select all other finishing attributes.
6. Click Apply or OK.
Related Hints and Tips
On systems with an MFF, tab jobs are delivered to the finisher face up in N to 1 order. All sheets in tab
jobs are inverted in the paper path prior to entering the finisher. As such, the following must be noted:
• Tabs need to be loaded in the feeder tray in N to 1 order (commonly referred to as reverse ordered
tabs)
• If the job requires drilled paper, the drilled paper for the main body of the job must be rotated in the
tray so that the holes are on the leading edge of the paper (to the left). This is the opposite of what
the tray labels indicate.
• If pre-printed stock is included in a tab job, the pre-printed stock must be rotated 180 degrees in the
feeder tray. This is the opposite of what the tray labels indicate.
Explore the links at the left to learn all of the ways to utilize the MFF.
For more information on the capabilities of the staplers, see Stapler Specifications.
For more information on the capabilities of the MFF Pro Plus Insertion Module, see Multifunction Finisher
(MFF) Specifications.
Using the Multifunction Finisher (MFF) Pro Plus
Using the MFF Pro Plus allows you to finish your jobs using the same features available on the MFF
Professional but also includes an insertion module that offers these additional finishing features:
• An Insertion Tray for inserting preprinted tabs, covers and colored sheets into your job
• A 2/3 or 2/4 Hole Punch capability
To Insert Preprinted Sheets on the MFF Pro Plus
To insert covers, preprinted tabs or colored paper into your job, follow these steps:
1. On the Home Screen, select Paper Trays.
2. Select the paper tray (for example, Tray 5 Insertion Tray or Finisher A, Tray 1) and right-click on the
tray.
3. Select Properties. To use a particular stock type for the tray or change other properties, select those
attributes to match what will be loaded in the Insertion Tray.
4. Click OK.
5. At the MFF Insertion Tray, adjust the guides for the paper size and load paper in the Insertion Tray
with text face up and according to the label. Load tabbed stock with tabs leading.
6. On the Home Screen, open your job.
7. Select Special Pages.
8. Select Inserts and define the insertion page range for the job.
9. Print the job.
14-9Xerox
®
Nuvera
®
User Guide and Training Aid (UGTA)
How Do I...

 Loading...


