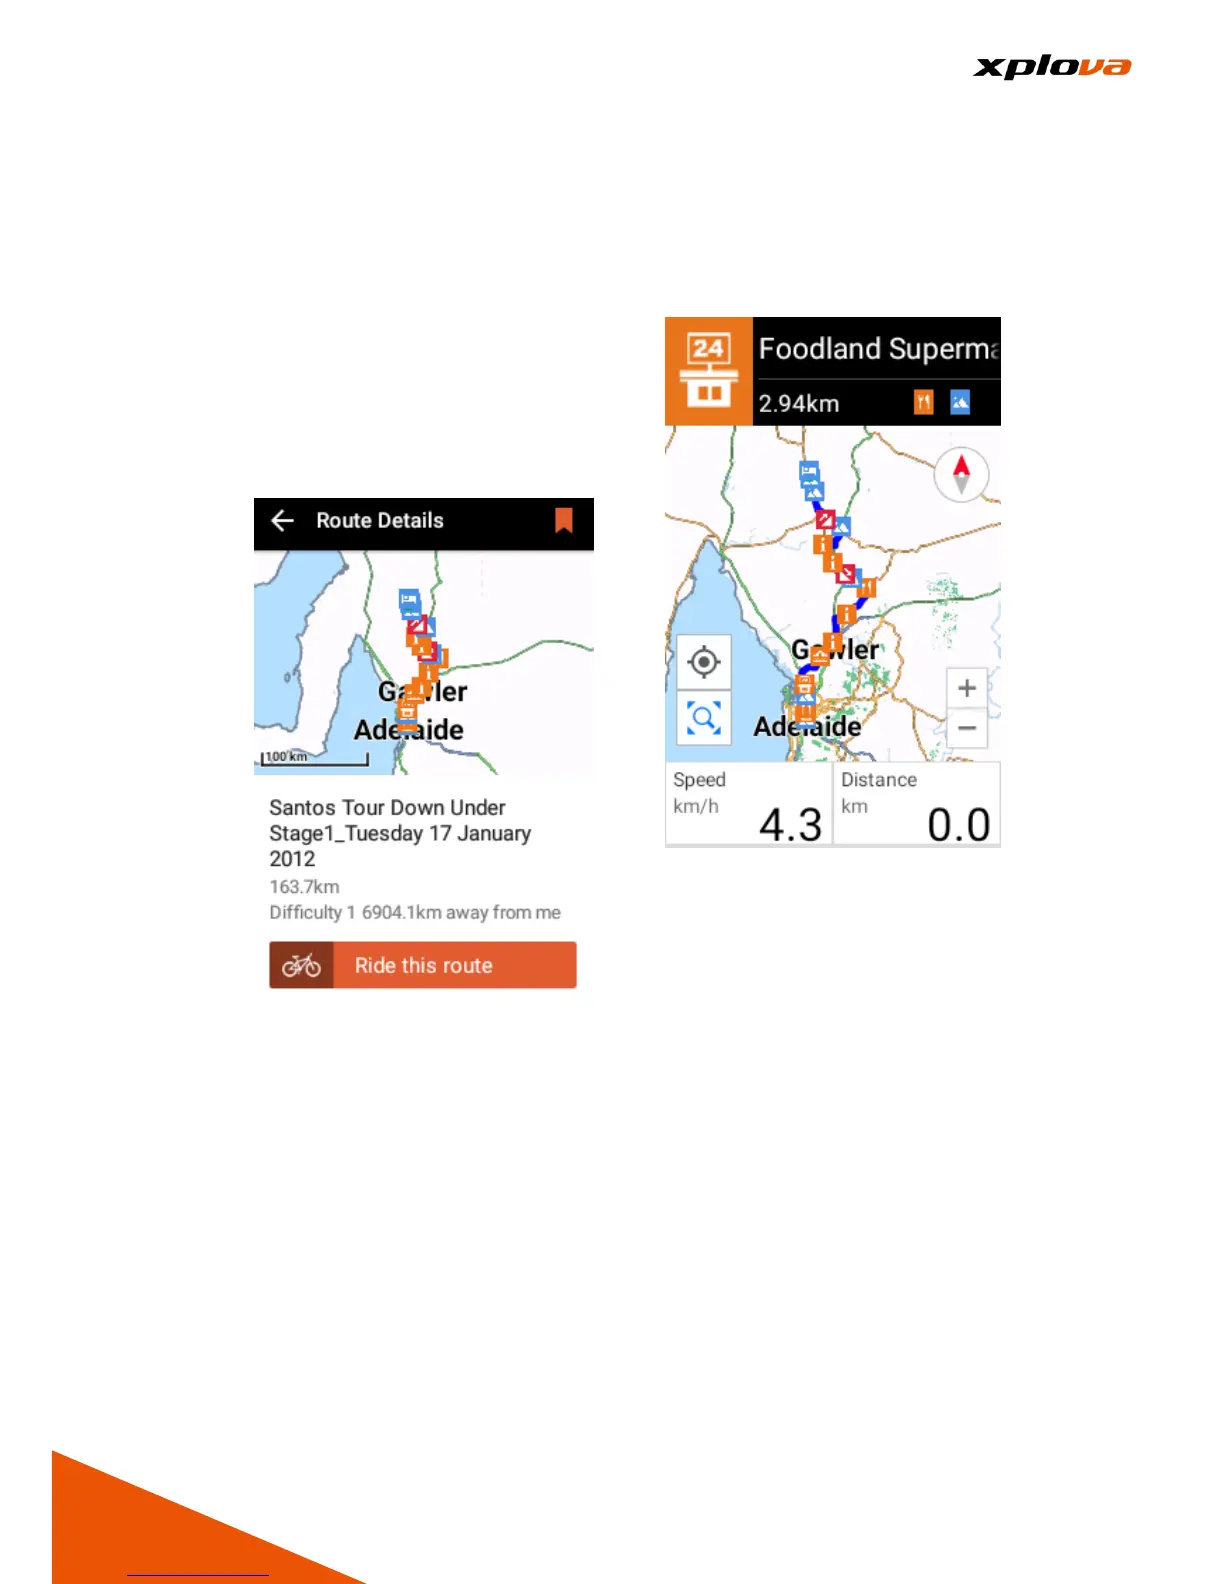
8. Select Route: Tap [Ride This
Route] to change the screen to
Map Navigation display. The Bike
Route which has been marked
with various Smart Sign's, its
Route is represented in blue, in
which the green dot represents
own location and the nearest
Smart Sign™ appears on the top
panel. When the prompt window
is displayed on the bottom, tap
[START] to start recording your
exercise.
9. After you ride to the Starting Point
of the Route, the system will
automatically lists the next three
Smart Signs you will be passing
by and the relevant information to
assist your ride.
* Note: During the course of riding,
you can tap [Smart Sign] to guide
you to the Attraction Location and
offer more information about the
location.
 Loading...