ADPRO iFT Series Hardware Installation Manual
27817_05 19
9. Placethetopcoverback:fixitwith2screwsatthefront,4atthetop,and3attheback.
10. Connectamonitor/screenandkeyboardtothedevice.Switchonthepowersupplyandwaitfortheboot
windowtoappear.
11. SelectXO Installer andpressEnter.
Note
Thebootwindowonlyappearsforafewseconds,thenthedevicecontinuesbooting.Tomake
surethatyoudonotmissit,pressthearrowkeysonthekeyboardrepeatedlywhilethedeviceis
booting.Thedevicewillthenstopatthebootwindow,andthisgivesyoutimetoselectandopen
theXO Installer menu.
12. ChooseUpdate current system >Manage recording disks.
13. Selectthenewlyinstalledharddisk(s)inthelistandpressEnter.
14. ChooseFormat and use selected disks (usingthetabkey).Thesystemformatstheselectedharddisks.
15. Whenformattingisfinished,chooseMain Menu,andthenchooseReboot.
Thedevicenowrestarts.Afterrestarting,theinstalledharddisksarereadyforuse.
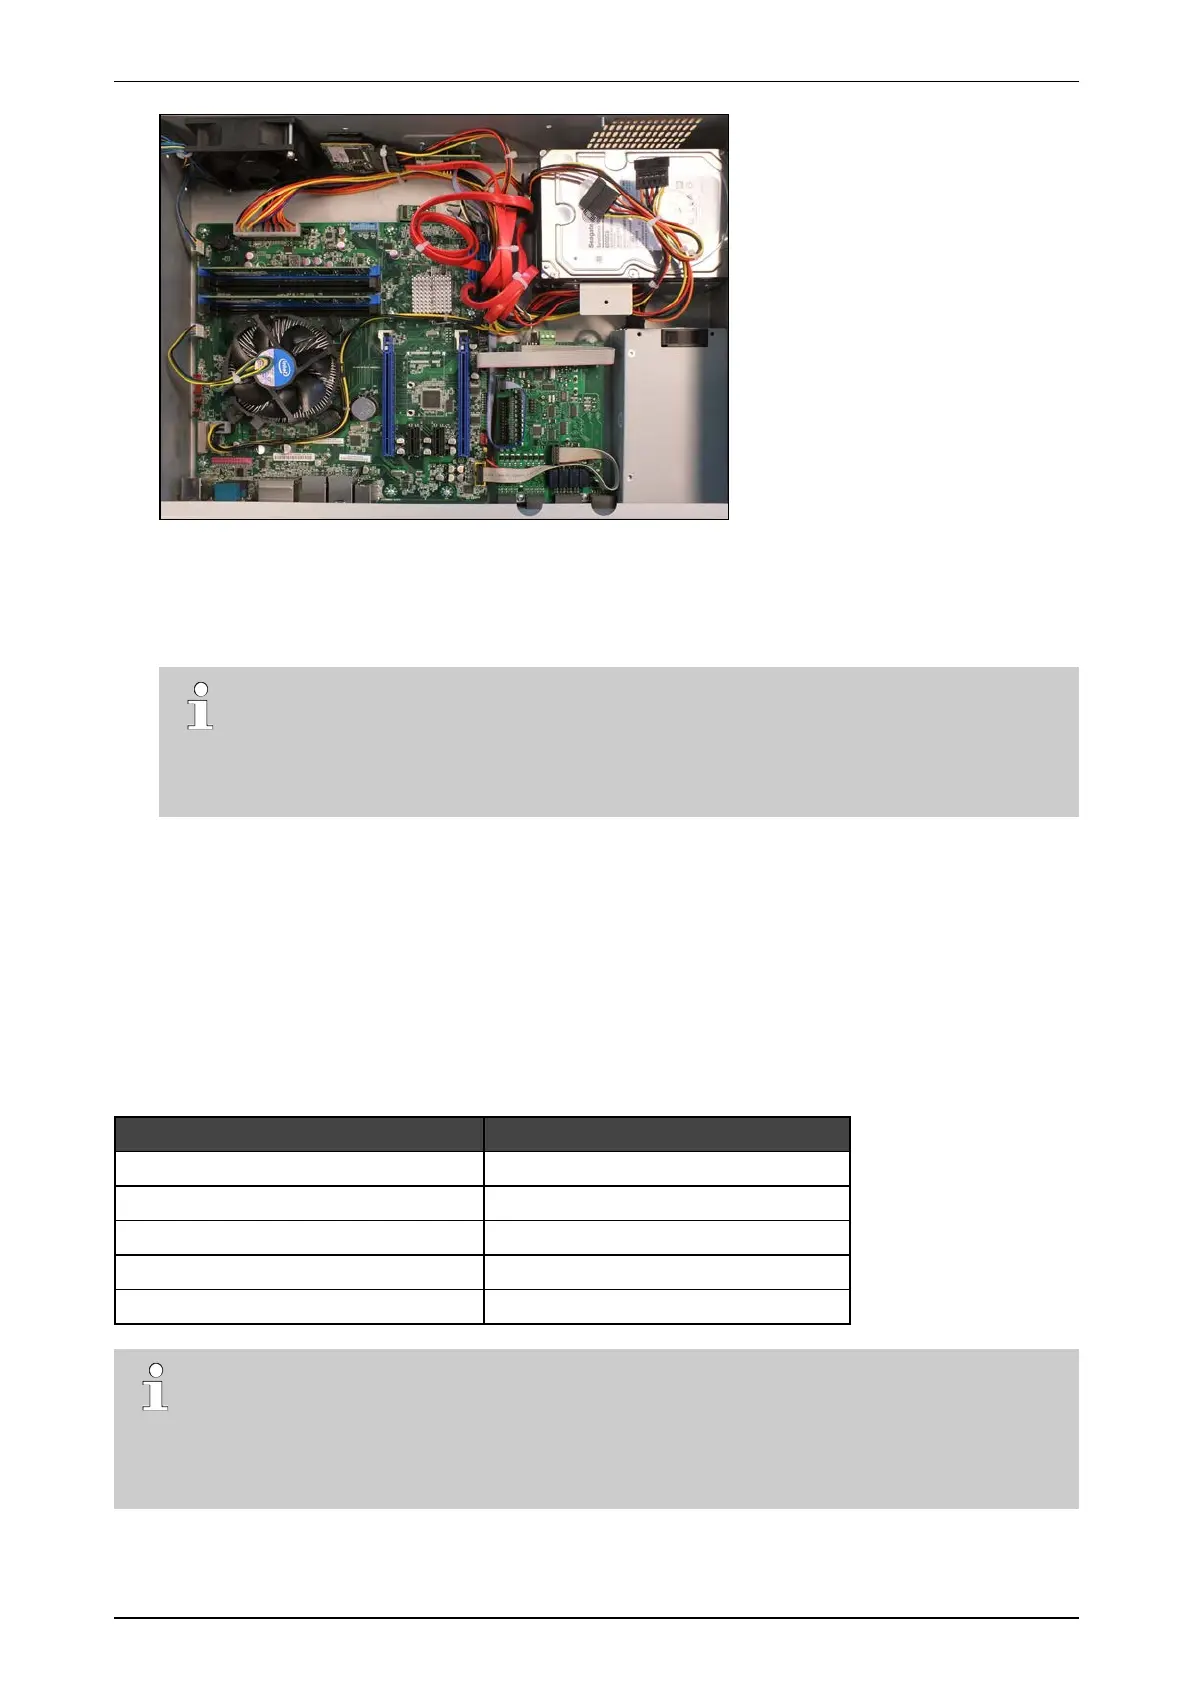
3.7 Installing a Third Disk in an iFT Device
Materialrequiredforthethirdharddisk:
Part Amount + reference number
Diskscrews 4x#17434080
SATAcable 1x#16520877
iFT(-E)HDD3+4bracket 1x#17011920
Self-tappingscrews3.5x6.5mm 3x#17362010
YcableSATAto2xSATA 1x#16520795
Note
InstallingathirddiskisonlypossibleiniFTdeviceswithmodelsthathavetwoextramountingholesin
therear.ThelabelsonthesuitableiFTdevicesindicate‘3HDDReady’.
ForinstallingathirddiskinaniFT-Edevice,seeInstalling a Third and Fourth Disk in an iFT-E Device
onpage22instead.