49
English Chapter 12: Storing and Managing Songs on Disks
Songs on a disk
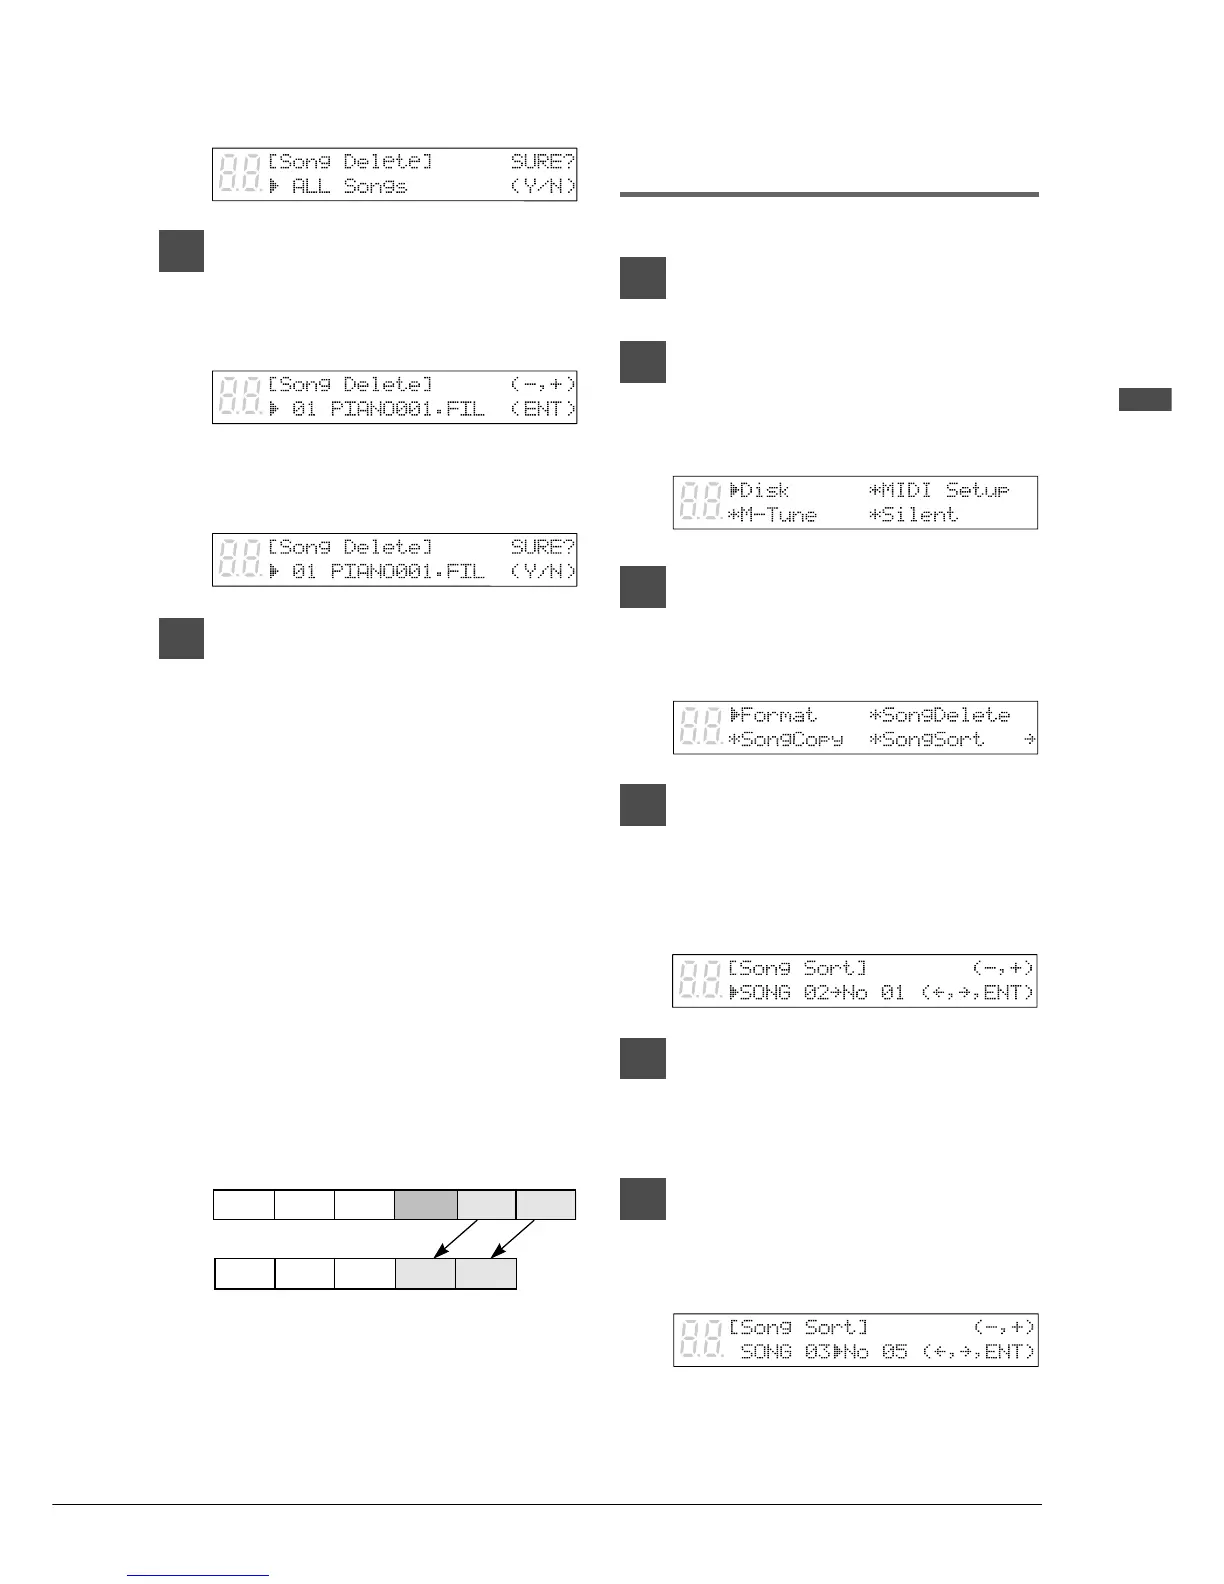
Song No. 4 deleted
The following display appears.
5b
TO DELETE ONE SONG
Use the [–/NO] and [+/YES]
buttons to select the song that
you want to delete.
Then press [ENTER].
A display similar to the following appears.
6
Press [+/YES] to delete the song,
[–/NO] if you do not want to
delete the song.
Note: Once deleted, songs cannot be
retrieved, so take care in selecting
which songs to delete.
Note: You cannot delete copy-protected songs
in a floppy disk. However, you can
delete copy-protected songs in a
Memory Disk.
When a song is deleted, subsequent songs
are renumbered. For example, if you have
six songs on a disk, and song No. 4 is
deleted, song No. 5 becomes song No. 4
and song No. 6 becomes song No. 5, and so
on.
Rearranging the Song
Order (Song Sort)
You can rearrange the order of songs on a disk.
1
Specify a disk.
2
Press [FUNC.].
The FUNC. indicator lights and the
Function menu appears.
3
With the c cursor next to the Disk
option, press [ENTER].
The Disk menu appears.
4
Press [>] until the c cursor is next
to the Song Sort option, then
press [ENTER].
The following display appears.
5
Use the [–/NO] and [+/YES]
buttons to select the song that
you want to move.
6
When you have selected a song,
press [>], then use the [–/NO] and
[+/YES] buttons to select the
destination.
In this example, song No. 3 is being moved
to song No. 5.
Song 1 Song 2 Song 3 Song 4 Song 5 Song 6
Song 1 Song 2 Song 3 Song 4 Song 5