67
English Chapter 16: The Disklavier & MIDI
1
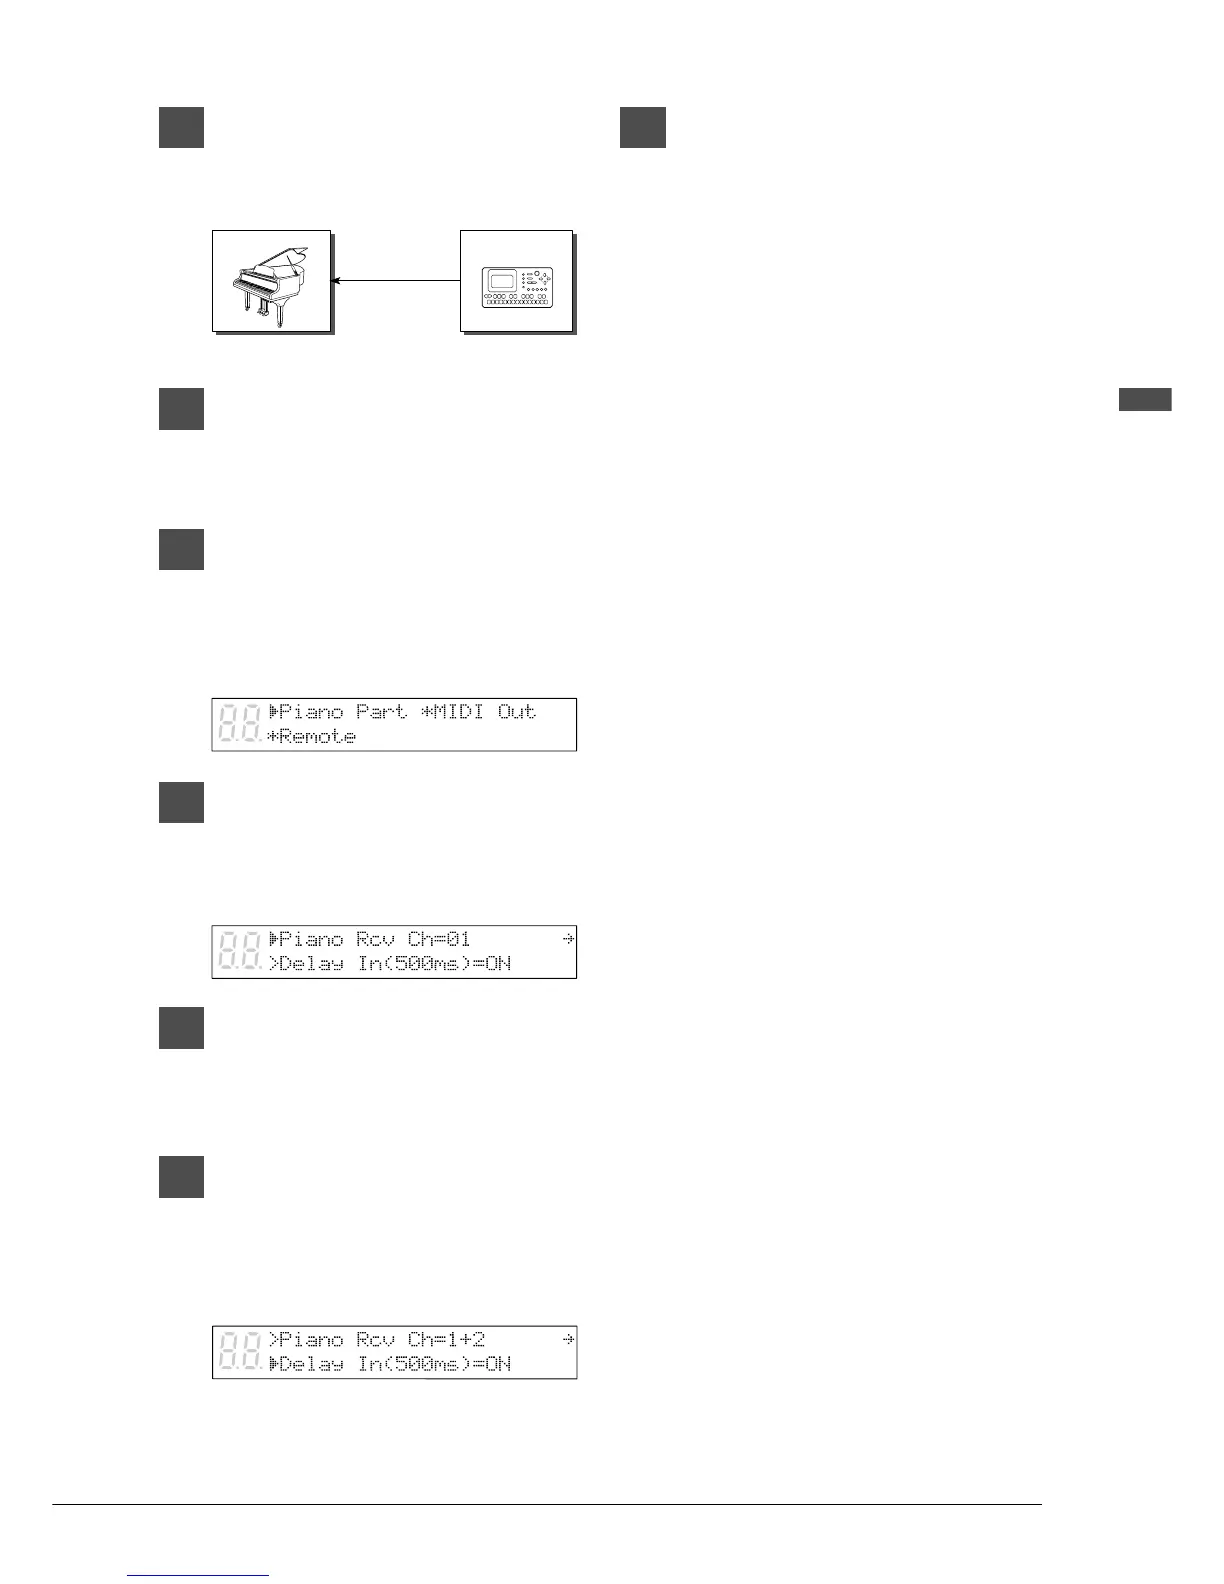
Connect the MIDI sequencer’s
MIDI OUT to the Disklavier’s MIDI
IN with a MIDI cable.
2
Press [FUNC.].
The FUNC. indicator lights and the
Function menu appears.
3
Press [
>
] until the c cursor is next
to the MIDI Setup option, then
press [ENTER].
The following display appears.
4
With the c cursor next to the
Piano Part option, press [ENTER].
The following display appears.
5
Use the [–/NO] and [+/YES]
buttons to select a MIDI channel.
☛ See page 66 for a list of available options.
6
Press [
>
] until the c cursor is next
to the Delay In parameter, then
use the [–/NO] and [+/YES]
buttons to set the Delay In (500
ms) to ON.
☛ For more information on the 500 ms delay
function, see “Controlling the Disklavier in
Real Time” on page 68.
7
Press either [FUNC.] or [STOP] to
return to the normal display.
The Disklavier can now be used in the
sequencer system.
MIDI IN
MIDI Sequencer
MIDI CABLE
MIDI OUT
Disklavier