2-5
2
INSTALLATION AND CONNECTION
2-3 Grounding
2-3 Grounding
The ERCX controller must be grounded to prevent danger to personnel from electrical shocks in case
of electrical leakage and prevent equipment malfunctions due to electrical noise.
We strongly recommend that Class D (grounding resistance of 100 ohms or less) or higher grounding
be provided. For grounding the controller, use the ground terminal on the power supply terminal
block.
* Class D grounding is the same as Class 3 grounding previously used.
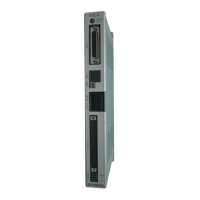
2-4 Connecting the ERCX to the Control Unit
The ERCX controller can be operated either through the TPB programming box or through a PC
(personal computer) equipped with an RS-232C terminal.
When using the TPB, plug the TPB cable connector into the TPB connector of the ERCX controller.
(Refer to "4-1-1 Connecting the TPB to the ERCX controller".)
When using a PC, plug the RS-232C interface cable connector (25 pins) into the TPB connector of
the ERCX controller. (Refer to "11-2 Communication Cable Specifications".)
To prevent equipment malfunction due to noise, we strongly recommend that Class D (grounding
resistance of 100 ohms or less) or higher grounding be provided.
 Loading...