FUEL SYSTEM
6-14
BY Service Manual
Repair
Figure 6-8
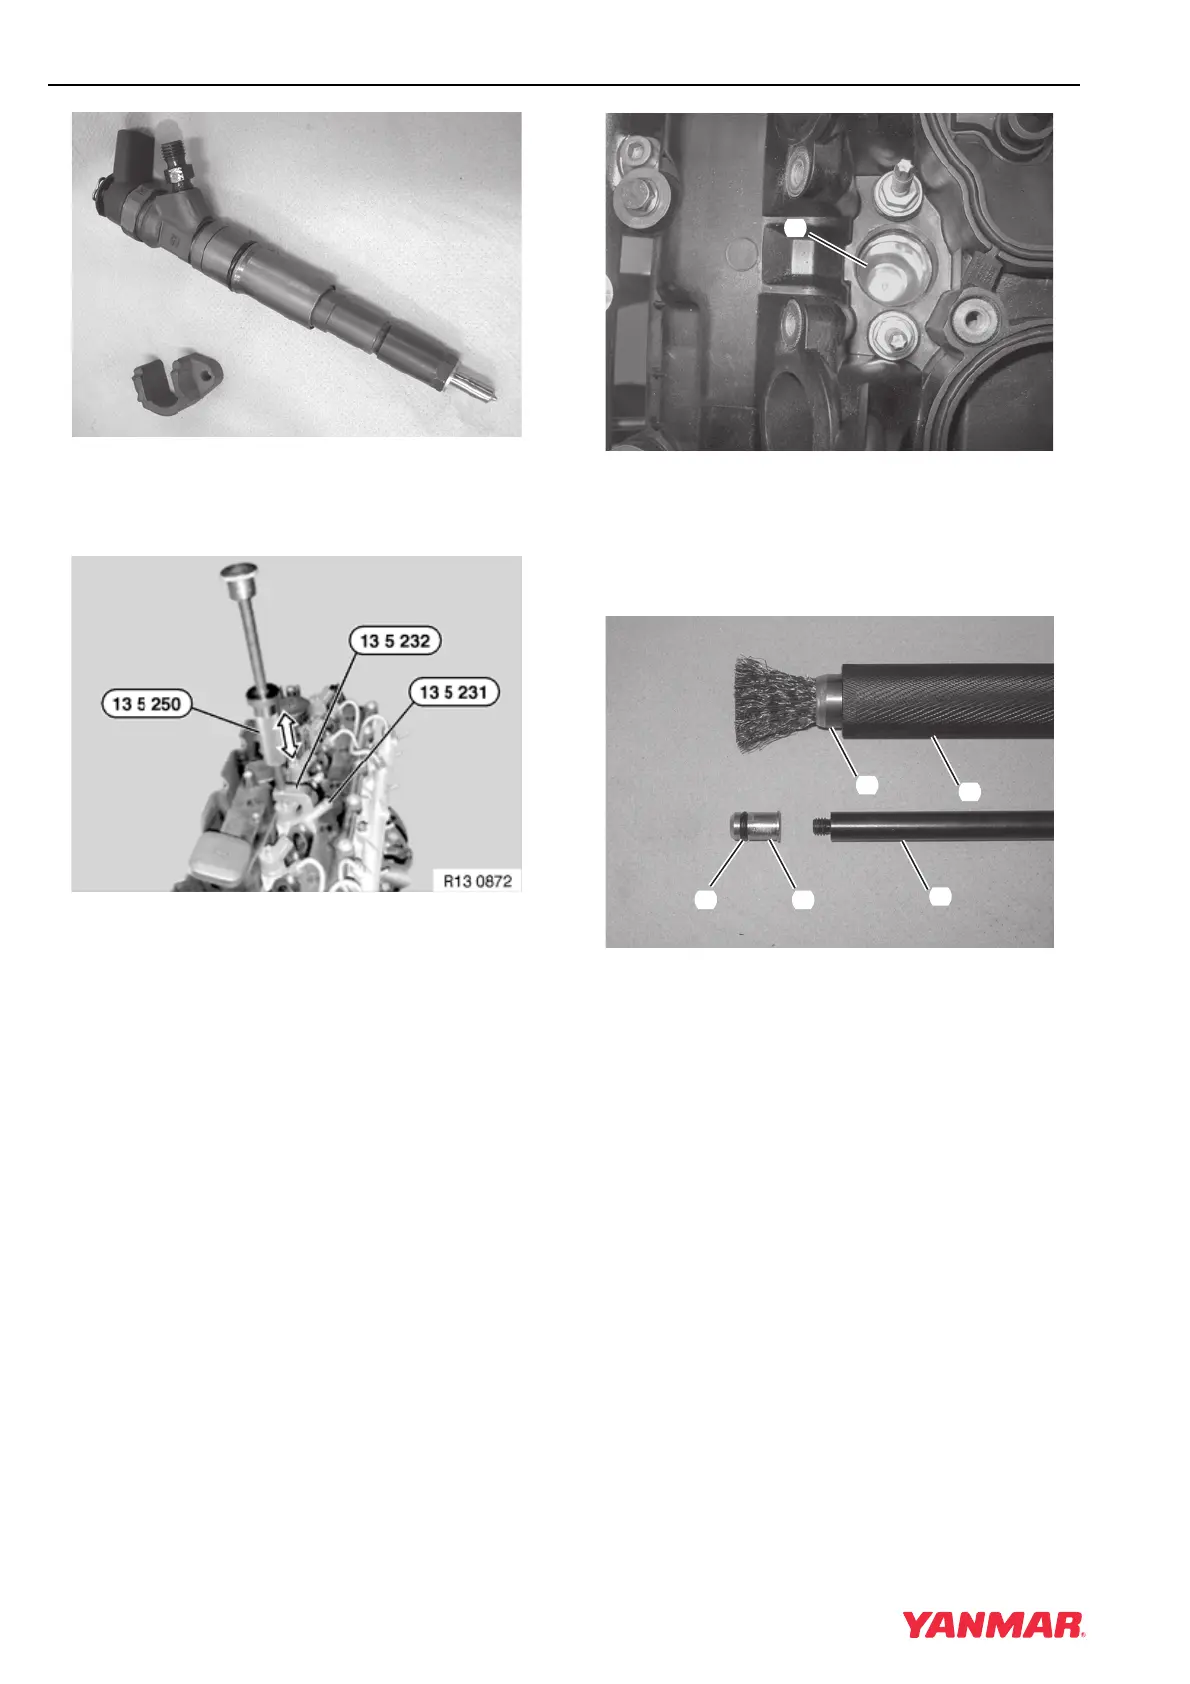
7. Remove two nuts retaining fuel injector flange.
Remove fuel injector and flange.
Figure 6-9
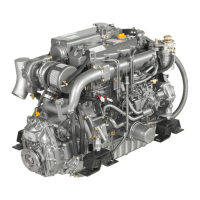
8. If the injector is stuck, assemble special tools
OEM No. 13 5 250, 13 5 231 and 13 5 232 and
fasten to injector high-pressure fuel line
connection. Remove using slide hammer
(Figure 6-9).
IMPORTANT
DO NOT disassemble the fuel injector.
Replace the entire unit as necessary.
9. If injector gasket did not come out with injector,
remove it from the bottom of the injector seat.
Cleaning Fuel Injector Cavities
1. Remove fuel injector. See Removal of Fuel
Injector on page 6-13.
Figure 6-10
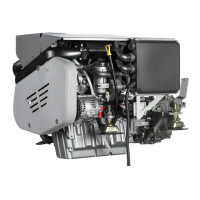
2. Ensure the injector seal has been removed
from the bottom of the injector cavity
(Figure 6-10, (1)).
Figure 6-11
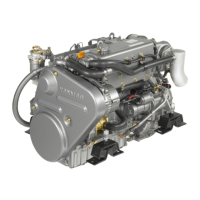
3. Thread the tip (special tool OEM No. 13 5 215)
(Figure 6-11, (1)) onto the end of special tool
OEM No. 13 5 214 (Figure 6-11, (2)).
4. Ensure O-ring (Figure 6-11, (3)) is in place and
insert the tip into hole at bottom of injector
cavity.
5. Remove tool OEM No. 13 5 214 from injector
cavity, leaving the tip in hole at bottom of cavity.
6. Push brush (Figure 6-11, (4)) into guide sleeve
(special tool OEM No. 13 5 210)
(Figure 6-11, (5)).
0003679
(
1
)
0003681
(
1
)(
3
)
(
4
)
(
5
)
(
2
)