COOLING SYSTEM
7-16
BY Service Manual
Repair
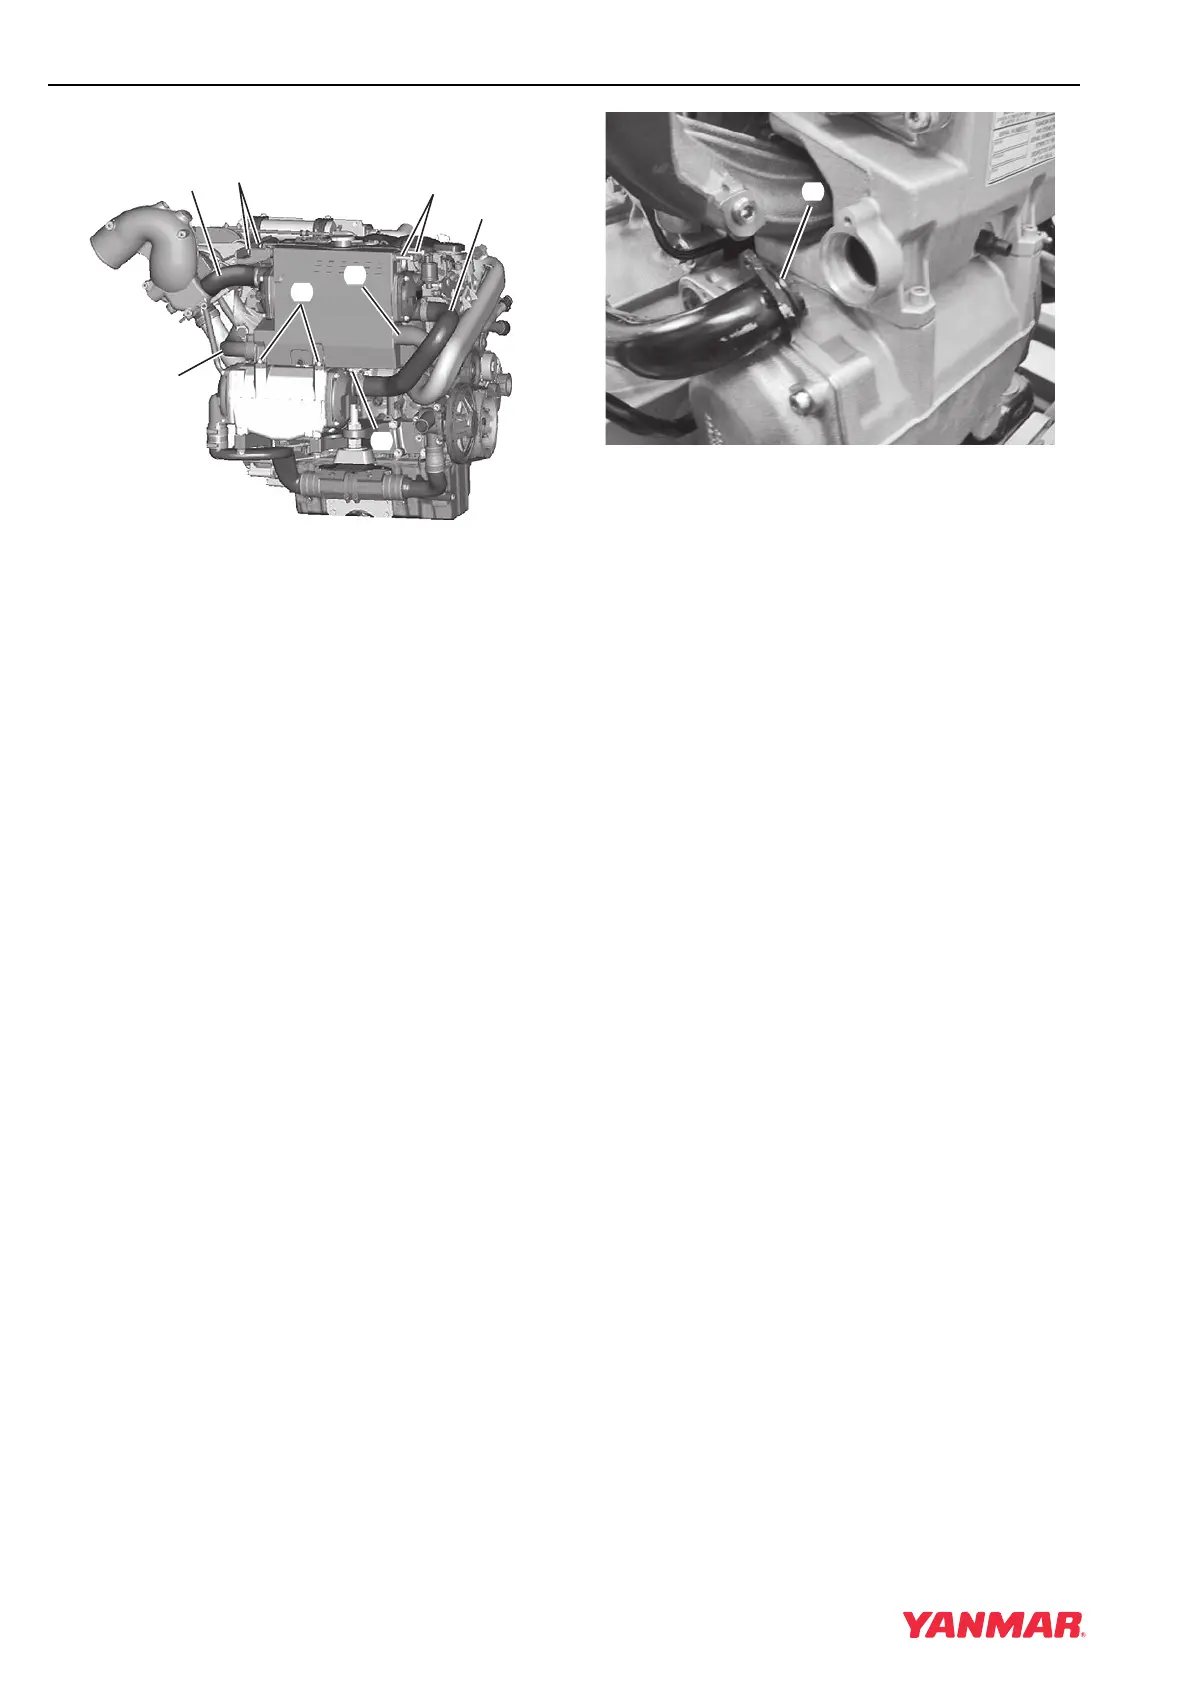
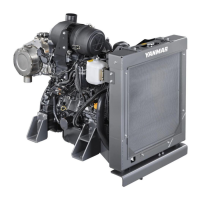
Remove and Install Heat Exchanger
Figure 7-14
1. Drain coolant from the engine and heat
exchanger. See Draining and Filling Closed
Cooling System on page 7-12.
2. Drain the seawater system. See Drain
Seawater Cooling System on page 7-10.
3. Disconnect seawater hoses (Figure 7-14, (1))
and (Figure 7-14, (2)) from heat exchanger.
4. Disconnect coolant hoses (Figure 7-14, (3))
and pipe (Figure 7-14, (4)) from heat
exchanger.
5. Remove upper mounting bracket bolts
(Figure 7-14, (5)) and (Figure 7-14, (6)).
6. Remove three lower bolts (Figure 7-14, (7)).
7. Remove the heat exchanger.
8. Disassemble, inspect, and clean heat
exchanger as necessary. See Disassemble and
Assemble Heat Exchanger on page 7-16.
9. Install the heat exchanger assembly on the
engine. Install and tighten bolts
(Figure 7-14, (5, 6, 7)).
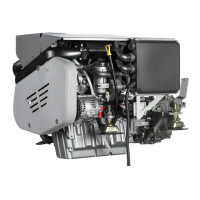
Figure 7-15
10. Install two new O-rings on coolant pipe
(Figure 7-15, (1)) and connect to heat
exchanger.
11. Connect remaining seawater and coolant hoses
to heat exchanger.
12. Fill the system with coolant. See Draining and
Filling Closed Cooling System on page 7-12.
13. Start the engine and check for coolant leaks.
Check coolant level and fill as necessary.
Disassemble and Assemble Heat
Exchanger
1. Remove heat exchanger from engine. See
Remove and Install Heat Exchanger on
page 7-16.
0003659E
(5)
(
7
)
(
7
)
(
3
)
(
2
)
(6)
(1)
(4)
0003695
(
1
)