10-7
IM CW240E
Using the Communication Function (RS-232)
10
10.3 Using a Printer
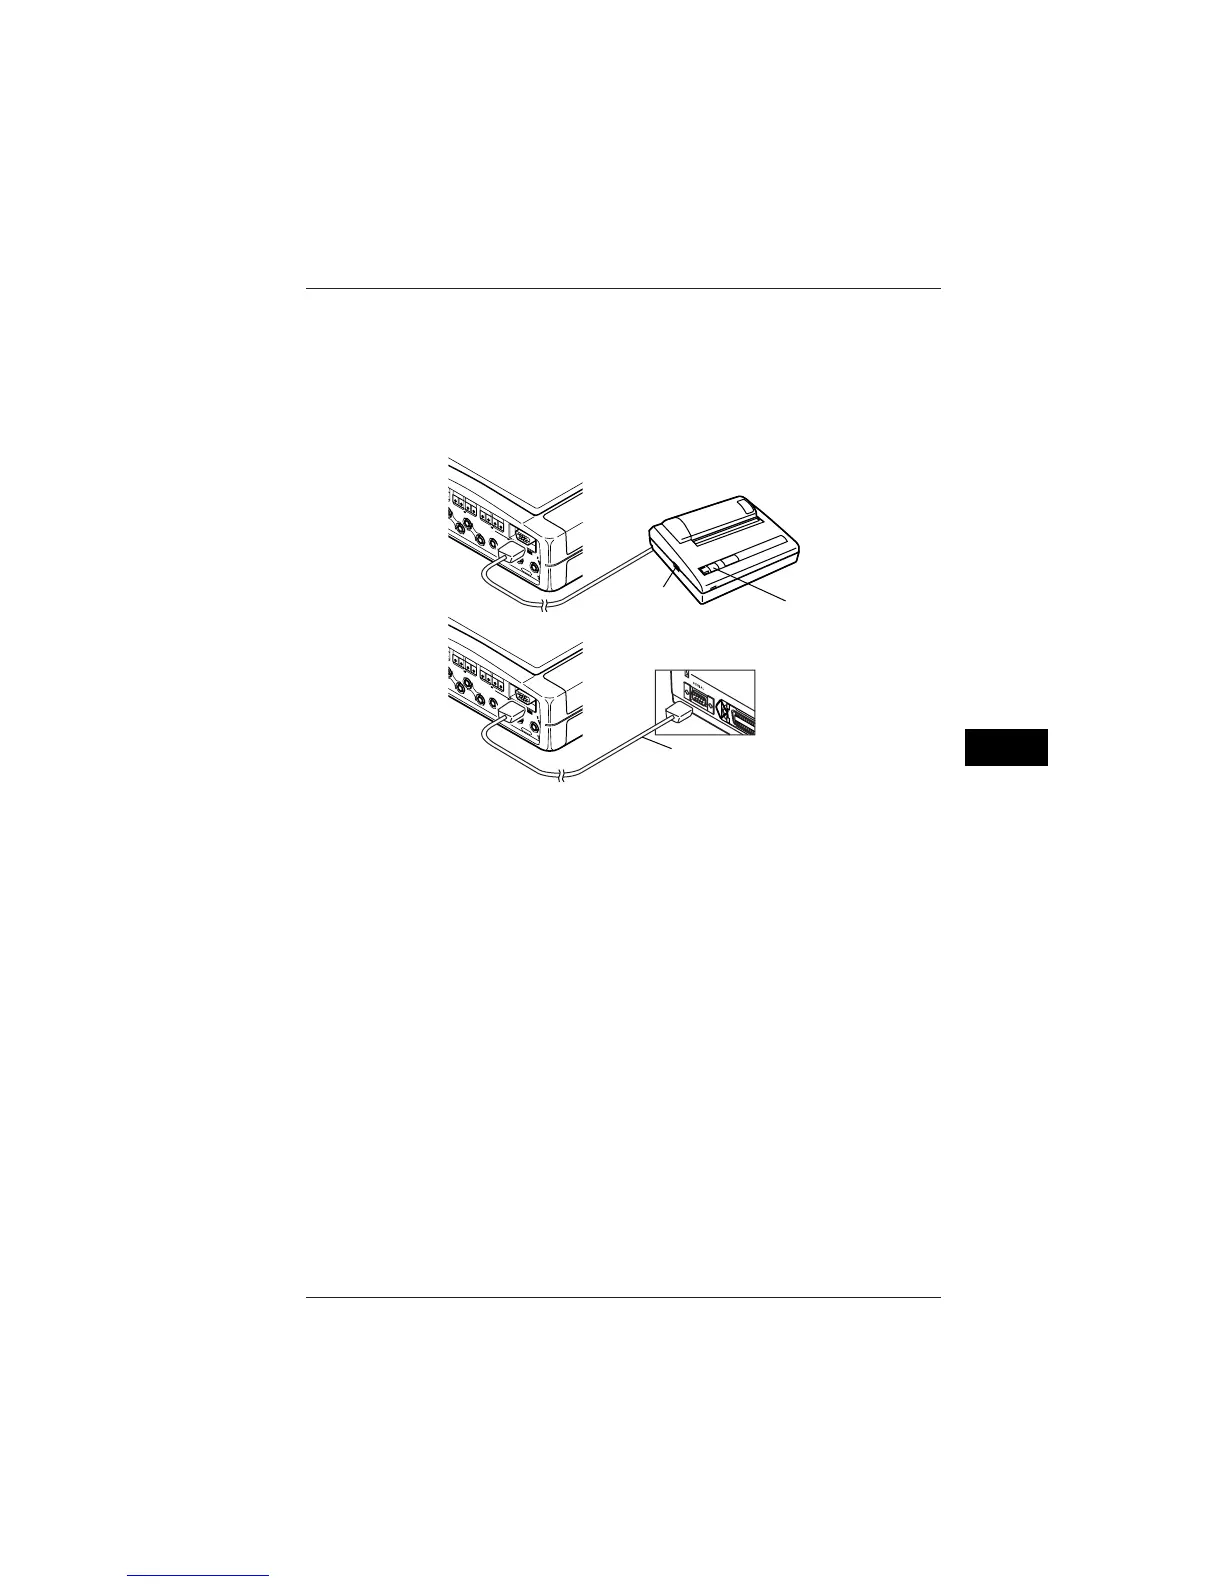
● Connecting the Printer
Use the straight cable (noted above) for connection between the printer and
CW240 main unit.
<1> Turn OFF the printer's Power switch (the Power lamp goes off).
<2> Connect the printer and CW240 main unit (make connections referring to
the figure below).
L
H
L
H
V INPUT
600V
MAX
TERMINALS 600V
MAX
TO EAR
TH
2
L
C
H
1
H
L
CH
CA
T.
LOGIC NIPUT
STAR
T/ST
OP
5.5V M
AX
L
H
L H
LOGIC NIPUT
ST
ART/STOP
5.5V MAX
L
HL
H
V INPUT
600V
MAX
TERMINALS 600V
MAX
TO EAR
TH
2
L
CH
1
H
L
C
H
CA
T.
LOGIC NIPUT
STAR
T/ST
OP
5.5V MAX
L
H
L H
LOGIC NIPUT
START/STOP
5.5V MAX
(Female)
Printer
Power switch
On-line switch
CW240 main unit
D-sub 9-pin straight cable (optional)
Printer's serial port (9 pins)
(Male)
Cable:
Sanwa Supply
Mouse extension cable KB-M98K
D-sub 9-pin, straight, male/female, 1.8 m

 Loading...