10-8
IM CW240E
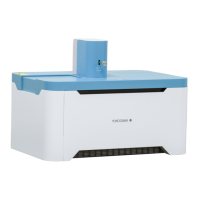
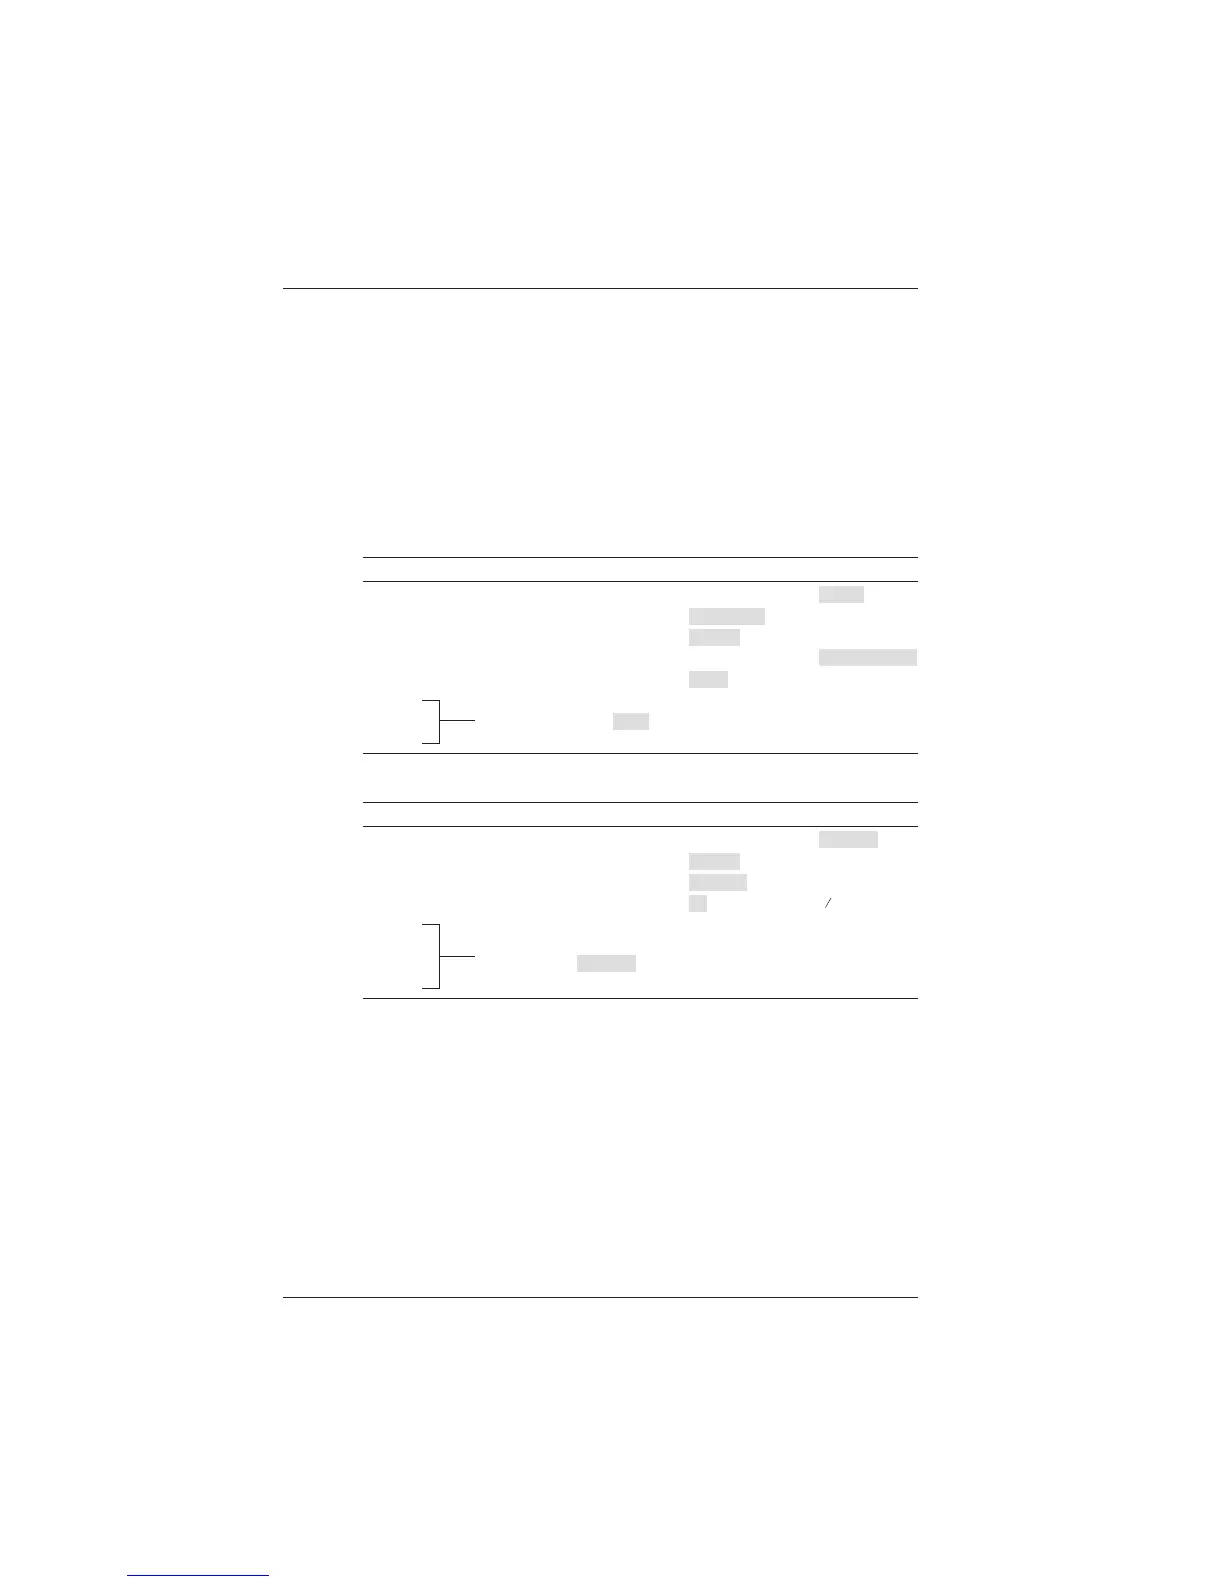
10.3.2 Setting up the Printer
The printer is set up using three DIP switches (ON/OFF).
Follow the procedure below to output (print out) setting information.
<1> With the printer's On-line Switch held down, turn ON the printer's Power
switch. This causes the printer settings to be output.
<2> Check that the settings are specified as shown below.
Initial Printer Settings (DIP Switch Settings)
DIP- SW setting mode:
DIP switch 1
Setting Setting Item ON OFF
1 (OFF) Input method setting Parallel Serial
2 (ON) Printing speed High speed Low speed
3 (ON) Auto loading Enable Disable
4 (OFF) CR function New line Carriage return
5 (ON) Setting command Valid Invalid
6 (OFF)
7 (ON) Printing density select: 100%
8 (ON)
DIP switch 2
Setting Setting Item ON OFF
1 (OFF) Printing mode 40 digits 80 digits
2 (ON) User-defined character backup Enable Disable
3 (ON) Character type General Special
4 (ON) Zero font 0 0
5 (ON)
6 (ON)
7 (ON)
8 (ON)
International
character select: Japanese
10.3 Using a Printer

 Loading...