Stereo microscope INSTALLATION
Stemi 508 General information ZEISS
01/2015 435064-7044-001 23
3 INSTALLATION
3.1 General information
Before installing and commissioning the device, make sure to read the
Safety carefully (see Section 1.2, page 8).
The Stemi 508 with the necessary tools and optional equipment is delivered in several standard packages.
• Take all units out of the packaging and check them for completeness according to the delivery note.
For installation
(Fig. 3/5) provided to this effect.
• Remove transport securing devices (adhesive tapes etc.).
• Keep original packaging for a possibly extended period of storage or return of the device to the
manufacturer or dispose of it appropriately.
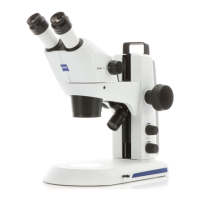
3.2 Installing the stereo microscope
• Place stand (Fig. 7/3) on a level, firm support.
• If the Stemi 508 body (Fig. 7/2) has not yet
been mounted, insert it in the Stemi mount
(Fig. 7/4), align it and secure it using the
clamping screw (Fig. 7/5).
The appropriate Allen key (Fig. 7/8) is located in
the support on the back of the device.
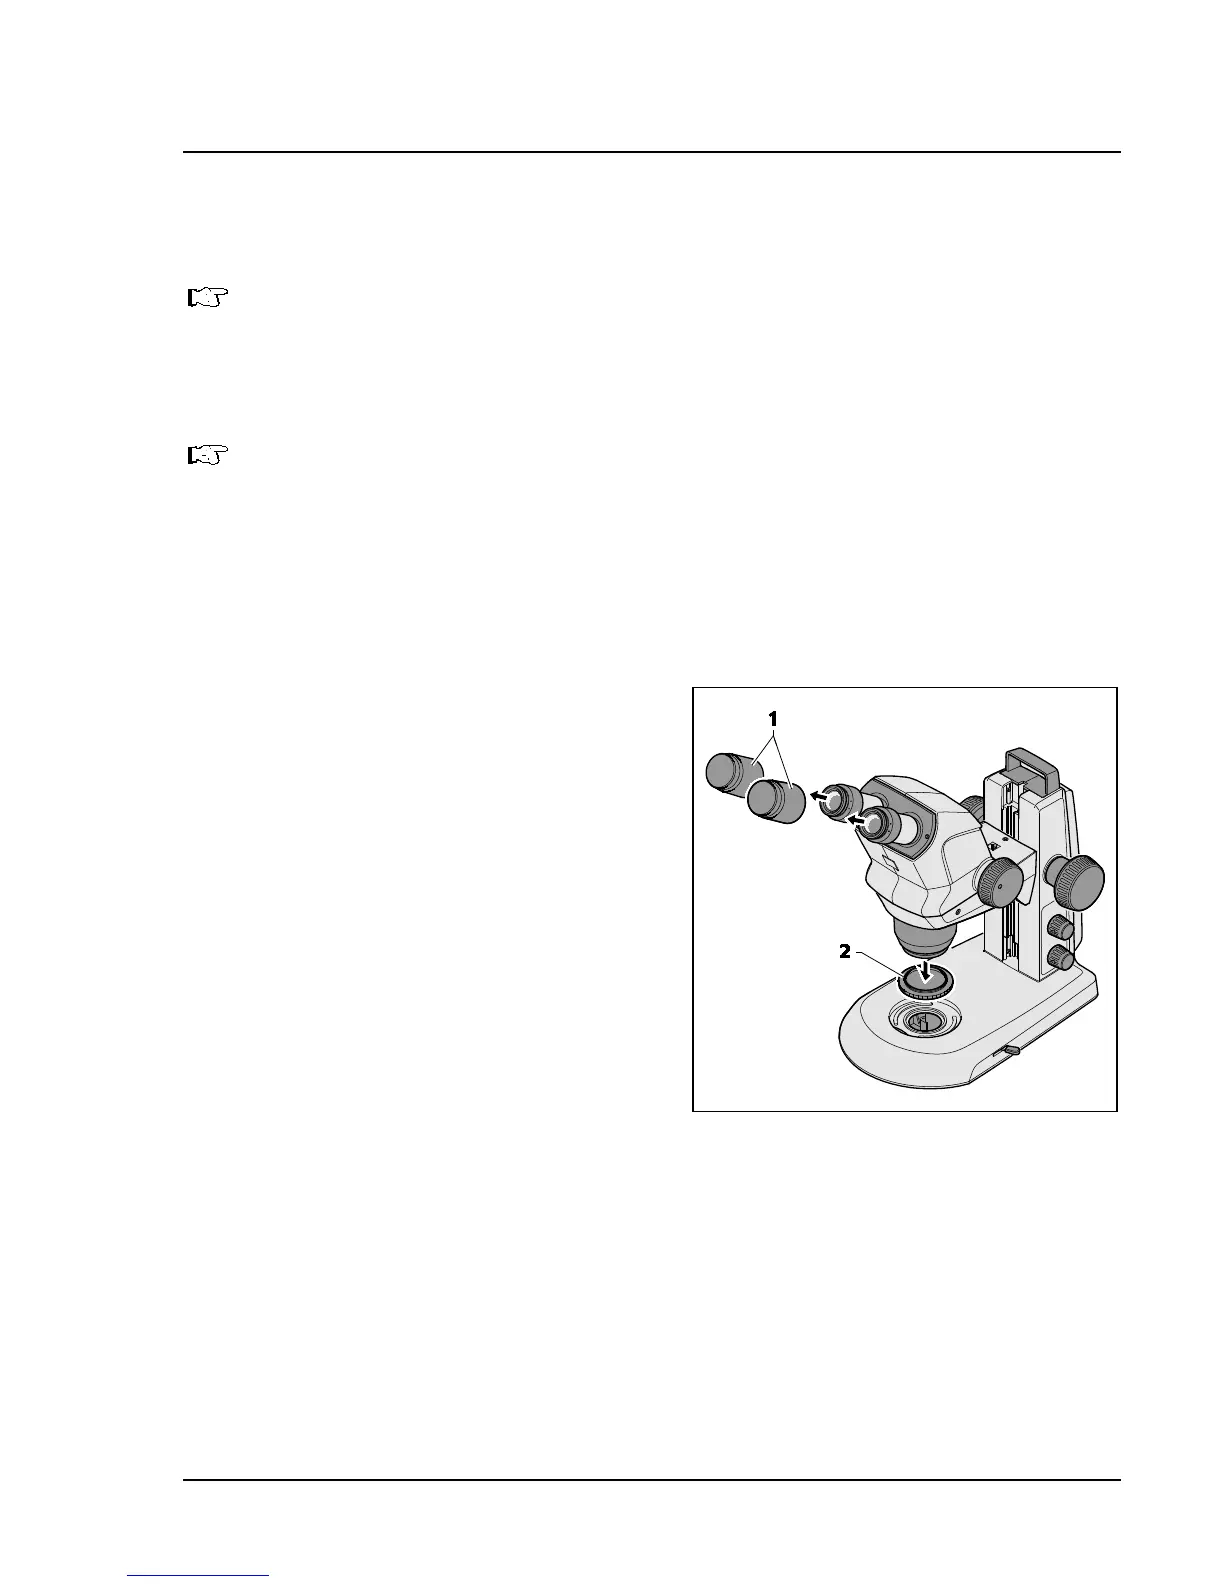
• If the two eyepieces (Fig. 7/1) have not yet been
mounted, insert them both to their stop in the
eyepiece tube.
• Remove the two caps (Fig. 6/1) from the
eyepieces.
• Remove the cap (Fig. 6/2) from the specimen by
turning it.
Fig. 6 Removing caps