OPERATION
Stemi DV4 / DR Basic instrument as compact version with stand C Carl Zeiss
B 40-003 e 08/00 3-5
3.1.4 Basic setting of the stereo-
microscope
The stereomicroscope has been connected to the
line and is in standby mode.
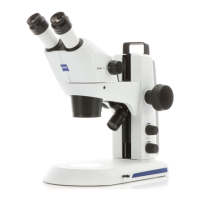
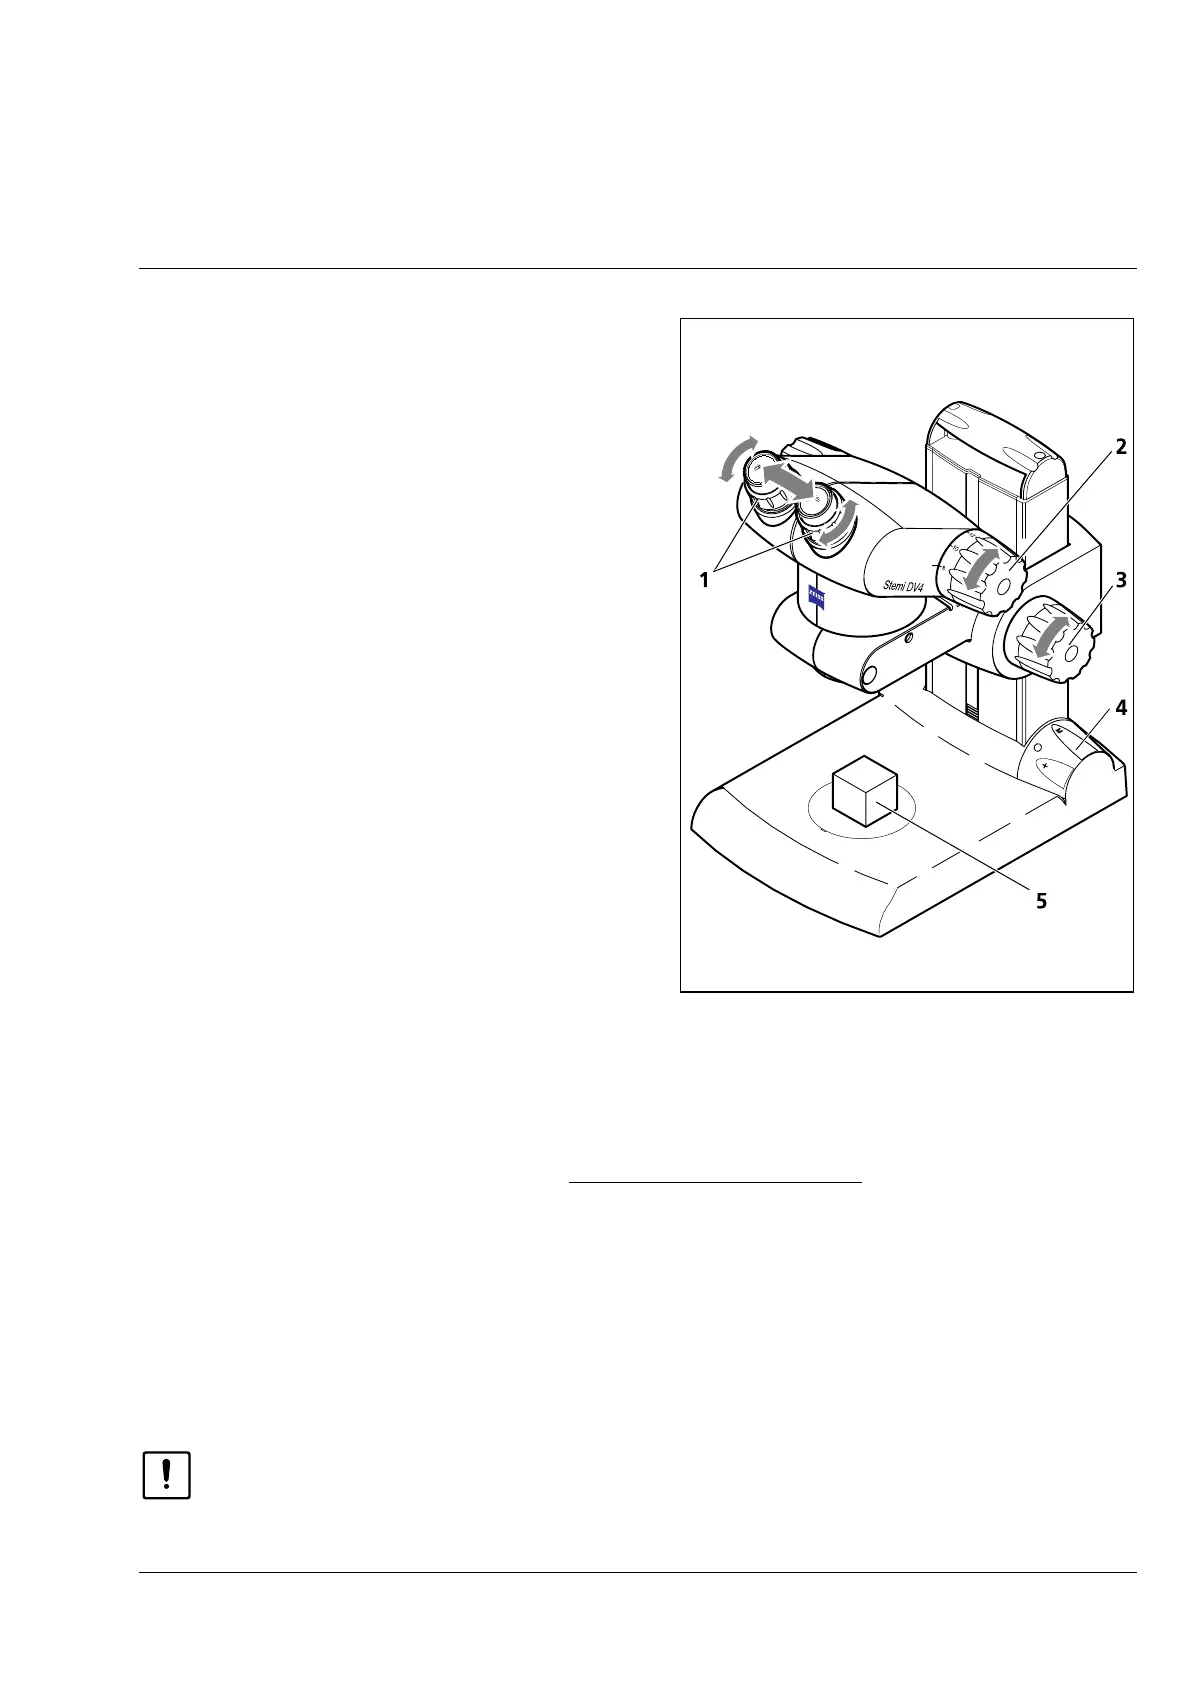
• Place object (3-4/5) centrally on the insert plate.
• Switch on reflected-light illumination by a
single press of key M (3-4/4).
• Screw eyepieces into the eyepiece tube until
stop.
• Then unscrew both eyepieces again by a
defined amount (approx. one rotation is
sufficient) to allow for compensation of any
available ametropia in both directions. The
eyepieces should have approximately identical
positions in the tube.
• Set the individual, trim-free interpupillary
distance of the eyepieces (3-4/1) by pressing
the eyepiece tubes together or pulling them
apart so that only one light circle is visible on
viewing through the eyepieces.
• To search the object, set the magnification
changing knob (3-4/2) to the lowest
magnification first and use the focusing knob
(3-4/3) for approximate focusing.
• Set maximum magnification and precisely focus
the image detail.
• Then set minimum magnification again and compensate any available blurs separately for each eye
using the focusing eyepieces (3-4/1) and not the focusing knob (possibility for ametropia
compensation).
If the microscope has been aligned in this way, the image sharpness will be retained over the entire
zoom range.
☞
The values on the magnification changing knob are identical to the set overall magnification of
the basic instrument (without changeable optical components) with eyepieces 10x/20.
Turning the two magnification changer/focusing knobs in opposite directions by applying force
will result in the stereomicroscope being damaged.
Fig. 3-4 Basic settings (Stemi DV4)