37
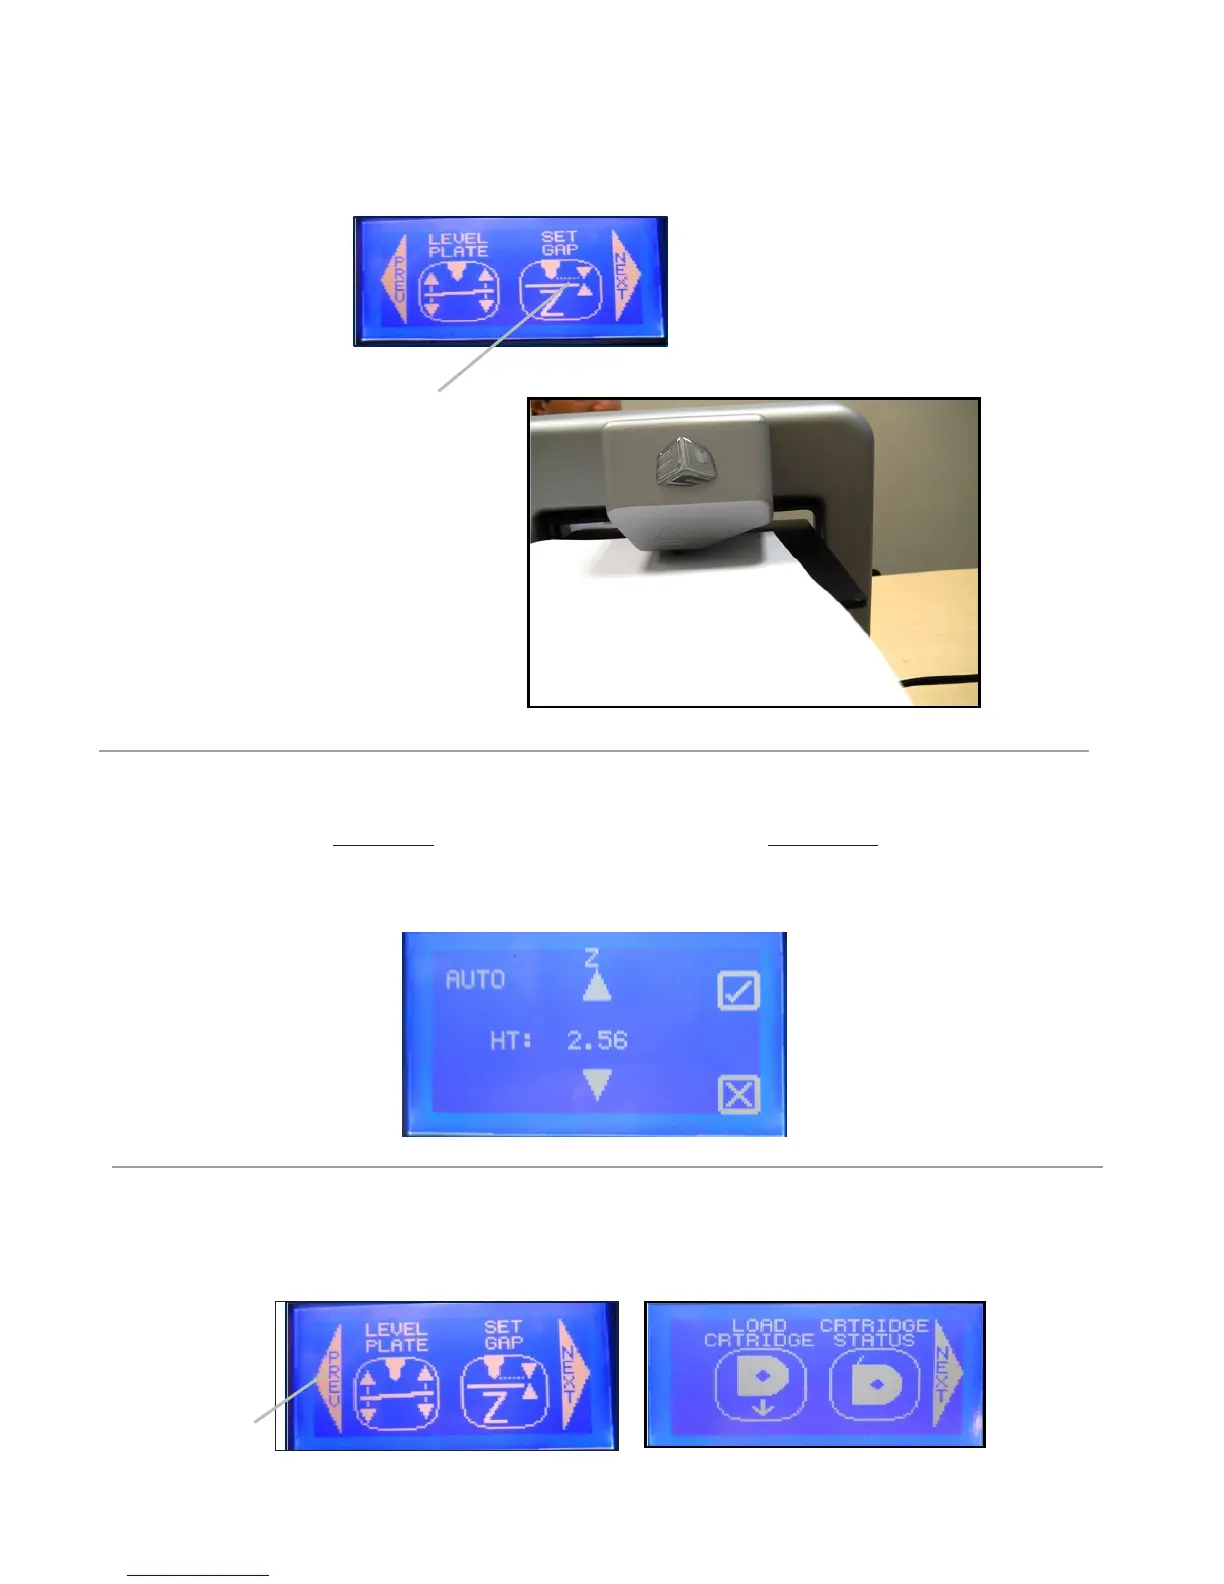
2. Finger tap “Set Gap;” The print jet and print pad will move into position to set the gap. Next, place a standard
sheet of paper between the print tip and the print pad. If the paper can not slide between the print tip and print pad,
tap the “down” arrow key on touchscreen.
Tap Here
3. Pressthe“Z”upkeytomovetheprintpadupwardtotheprinttipuntilthepaperistightbetweentheprintpadandtheprint
tip. Finger tap the down key until the paper slides back and forth with no resistance.
4. Press the check mark to save setting to printer’s memory. Press the X in box to cancel setting. If saving the setting, the
“Gap” value will be applied for each subsequent print.
5. If you have issues printing after the gap have been saved, you can change the gap at anytime using this procedure.
6 Once gap is set, tap PREV to start “Load Cartridge” process.
Tap Here