Commissioning
62
1SVC 440 795 M0100
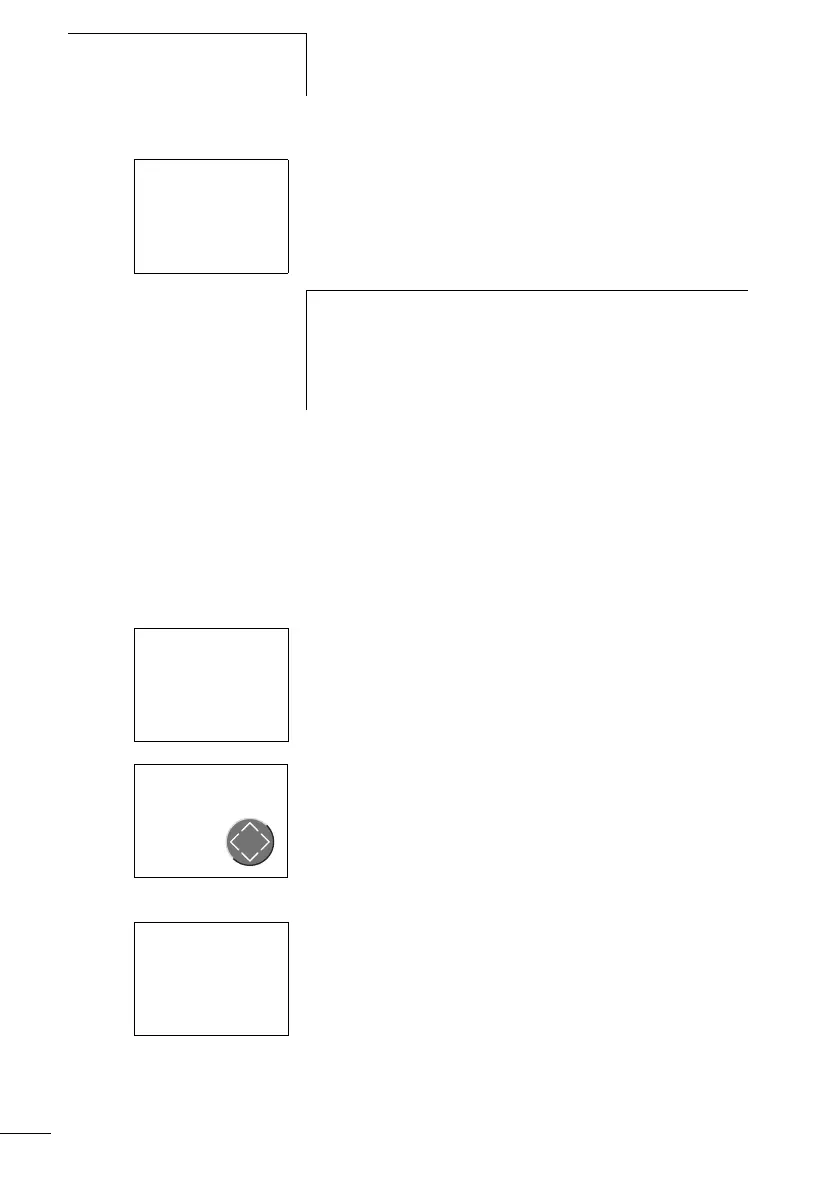
X Press OK to switch to the main menu.
Press OK to switch to the next menu level, and press ESC to
move one level back.
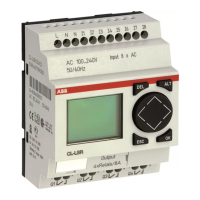
The logic relay is in STOP mode.
X Press OK 2 to enter the circuit diagram display via
menu items PROGRAM… r PROGRAM. This is where you
will create the circuit diagram.
Circuit diagram display
The circuit diagram display is currently empty. The cursor
flashes at the top left, which is where you will start to create
your diagram. The logic relay automatically proposes the first
contact input
I1.
Use the ÍÚ
úí cursor buttons to move the cursor over the
invisible circuit diagram grid.
The first three double columns are the contact fields and the
right-hand columns form the coil field. Each line is a circuit
connection. The logic relay automatically connects the
contact to the power supply.
X Now try to wire up the following CL circuit diagram.
The switches S1 and S2 are at the input whilst I1 and I2 are
the contacts for the input terminals. Relay K1 is represented
by the relay coil
ÄQ1. The symbol Ä identifies the coil’s
function, in this case a relay coil acting as a contactor. Q1 is
one of up to eight CL output relays in the basic unit.
PROGRAM...
STOP å RUN
PARAMETER
INFO
h
OK has two other functions:
• Press OK to save modified settings.
• In the circuit diagram, you can also press OK to insert
and modify contacts and relay coils.
Â
êê êê êê êêê
êê êê êê êêê
êê êê êê êêê
êê êê êê êêê
M
l
L
m
I1-I2----ÄQ1
 Loading...