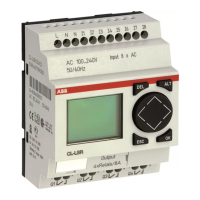
Wiring with the logic relay
80
1SVC 440 795 M0100
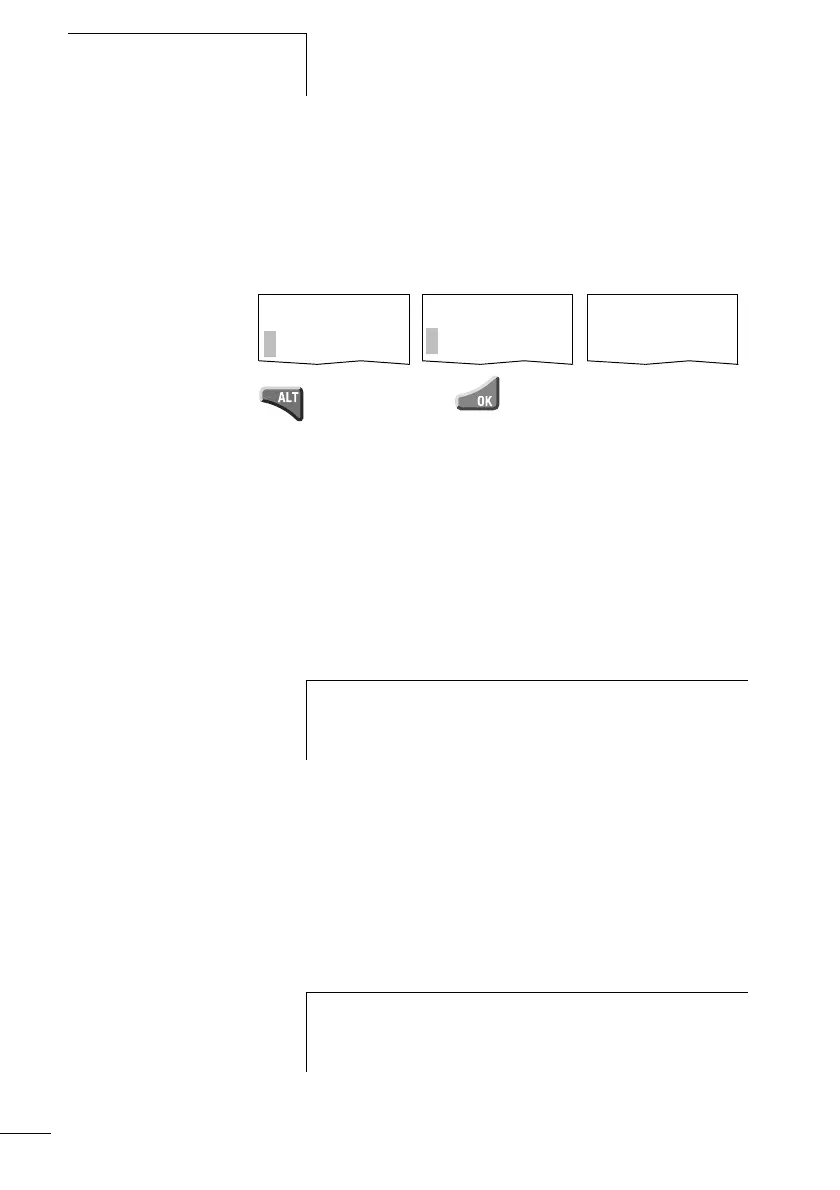
X Switch to Entry mode and move the cursor over the
contact name.
X Press ALT. The n/o contact will change to a n/c contact.
X Press OK 2 to confirm the change.
Figure 38: Changing contact I3 from n/o to n/c
Creating and modifying connections
Switching contacts and relay coils are connected with the
wiring arrow in Connect mode. The logic relay displays the
cursor in this mode as an arrow.
X Use ú í ÍÚ to move the cursor onto the contact field or
coil field from which you wish to create a connection.
X Press ALT to switch to Connect mode.
X Use úí to move the diagonal arrow between the contact
fields and coil fields and ÍÚ to move between rungs.
X Press ALT to leave Connect mode.
The logic relay will leave the mode automatically when you
move the diagonal arrow onto a contact field or coil field
which has already been assigned.
2
I2u------ÄQ4
I3k
I2u------ÄQ4
i3k
I2u------ÄQ4
i3kê
l
h
Do not position the cursor on the first contact field.
At this position the ALT button has a different function
(Insert rung).
h
In a rung, the CL logic relay automatically connects
switching contacts and the connection to the relay coil if
there are no empty fields in-between.
 Loading...