Appendix
AUTO1 Measurement Guide
Getting Started---Setting the Measurement Mode
1. Turn on the POWER switch.
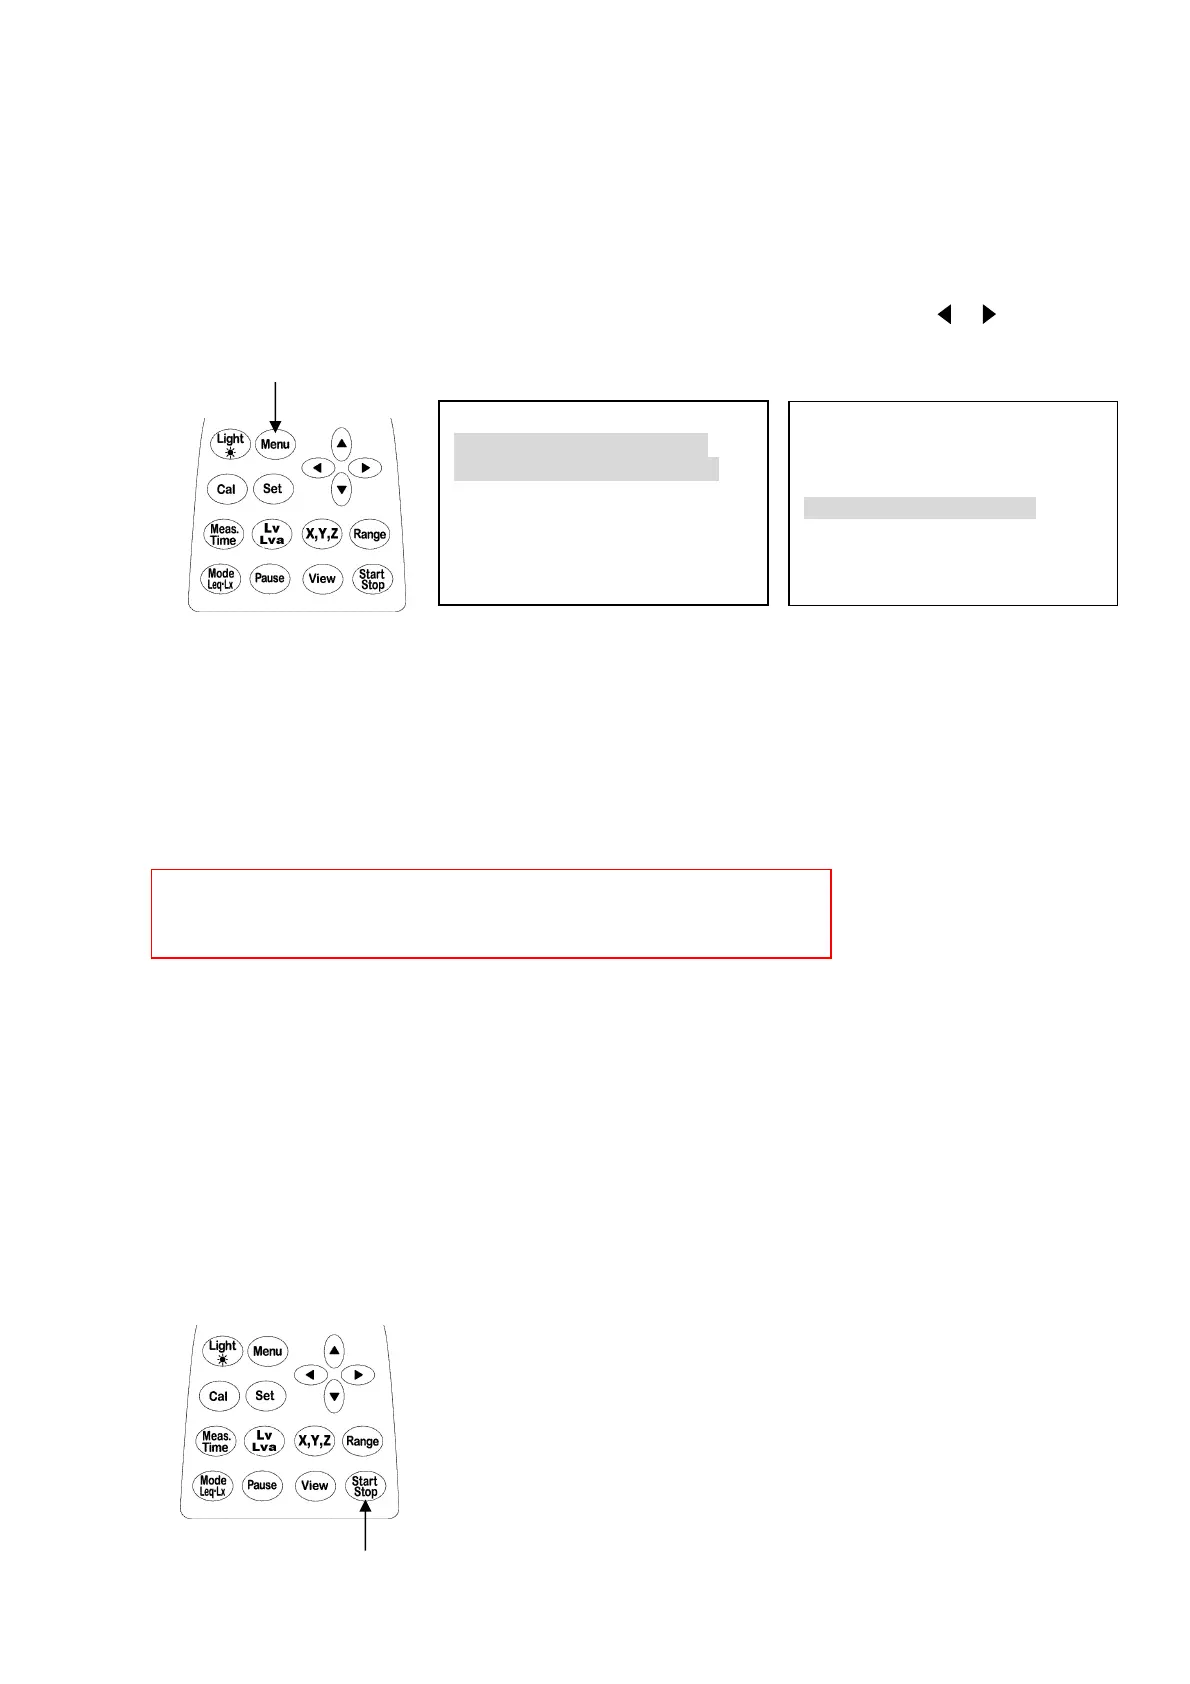
2. Press [Menu] key. The following screen, <menu> page appears.
3. Set the measurement mode (Meas Mode) to Auto1, using cursor keys [▲] [▼] [ ] [ ].
Usually, Meas Mode is Menu.
Once the mode is set, you do not have to set it again unless you change it.
When setup Auto1 that is Interval : Repeat, Meas time : 10m on a menu screen and display
range is 30-90dB on a measurement screen, is automatically set.
The part of set up automatically cannot be changed by key operation.
It is possible to change of a setup by changing a menu screen Meas Mode: Manu.
【When print a graph】
Set the
baud rate
(<
Meas Mode>2/2
) to
4800
, using cursor keys.
In addition, set the baud rate of the printer side to
4800.
4. You can go back to measurement display by pressing View key.
Measurement
Now that you set the mode, you can start measuring anytime you want.
1. Turn on the POWER switch.
2. Press Start/Stop key to start measuring.
Another pressing the Start/Stop key will stop measuring.
An arrow (→)comes out to the measurement screen upper left during a measurement stop.
The measurement will automatically stop when memory is filled.
<menu> 1/2
Meas Mode : Auto1
Interval : Repeat
I/O : Off
OUT Ch : x
LCD cont : *****
Data y/m/d : 00/01/01
DC Out : Z
Meas time : 10m
View : L10
baud rate : 9600
Samp Time : normal
2.
2.