c) Put in the following Data: 1st ID is the address of the
relay board that is controlling the relays. #RLYS is the num-
ber of relays to be sequenced ON. Preset is the time value
in seconds of most of the time delays. This can be edited
individually later. Note that the relays in the sequence will
always start at # 1 of the board concerned and will go
across additional boards as long as they are in numerical
order of addresses.
The example shown in the display uses a GR 2432 card in
16 zone mode with addresses 1 and 2.
d) Change the individual sequence times by tabbing to the
correct relay and scrolling that field.
e) To control the sequence from a switch program the ON
button to be GROUP 31 MAINTAINED and the OFF button
to be Group 32 MAINTAINED. The ON button will then start
the sequence and the OFF button will sequence the relays
backwards to the OFF position. Note any single load may
be programmed to the switch in the Group. The Unplug the
switch from the Bus and erase the load. A button pro-
grammed to Group 30 in the same way will stop a sequence
in progress.
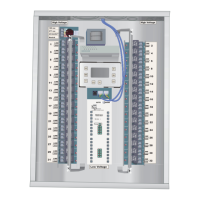
SWITCHES PAGE 1-1
ID#5:OFFICE
SEQUENCE PRESET: 1
1st ID: 1 # RLYS:
1: 1 2: 1 3: 1 4: 1
5: 1 6: 1 7: 1 8: 1
9: 1 10: 1 11: 1 12: 1
13: 1 14: 1 15: 1 16: 1
PROGRAMMING SWITCHES
Pressing ENT ER on PROGRAM SWITCH takes you to the
Switches Menu.
This lists the switches that the GR 2400 system can see on
the bus and which were entered in the f actory set up. If a
new switch is added to the system without being listed in the
Factory Setup it will not be listed in this menu. If the switches
are not plugged in you will also not be able to see it. See the
appendix for more details contained in the RESTRICTED
MENU as explained in the appendix.
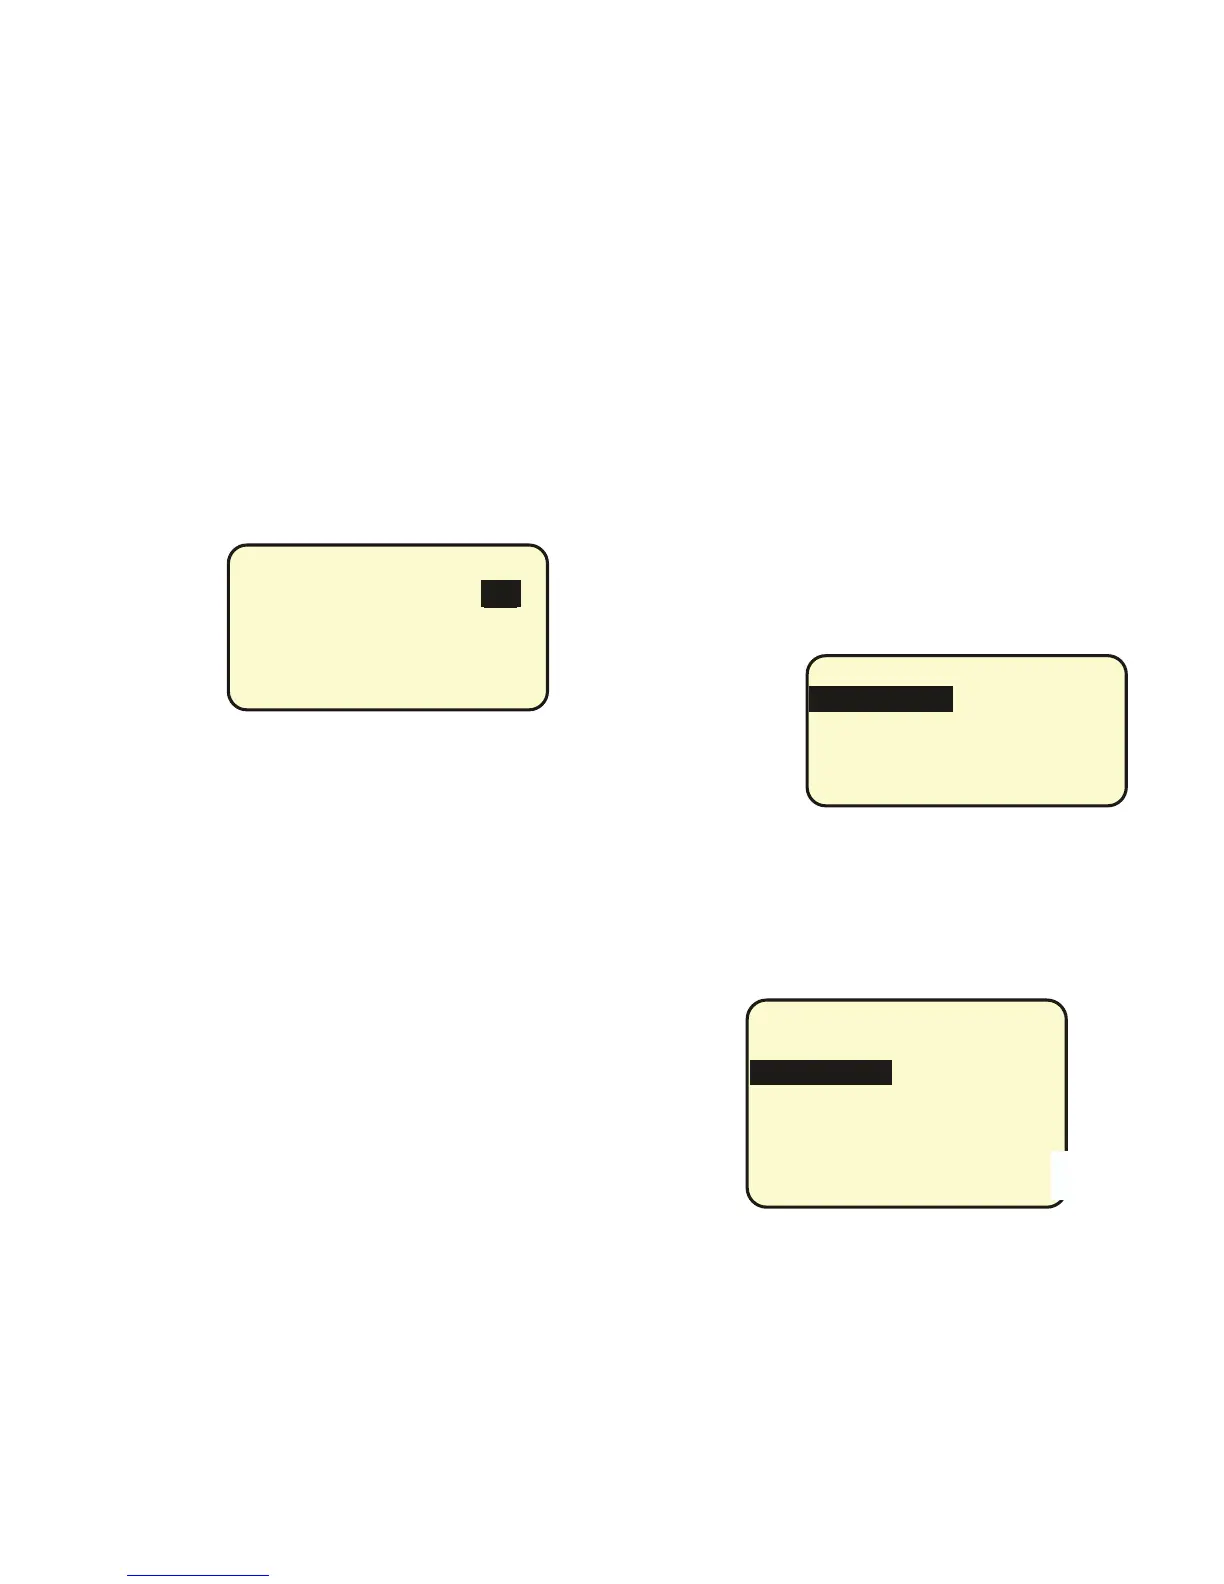
SELECT BTN SWI ID # 5
Page 1-1
B2: SOFFIT
B3:TRACK PERIM
B4: TRACK CENTER
B5: SIGN
B6: ALL OFF
PROGRAMMING BUTTONS
Pressing ENTER on a highlighted switch brings you to the
button menu. The number of buttons that the switch has is
determined f rom the data input into the FACTORY SETUP
Menu. T hus if this data is wrong it will be wrong here. A
Switch may have from 1 to 14 buttons. A 14 button switch
is actually a "DIGILINK" dry contact input card.
(Names entered in Naming Menu)
(Names entered in
Naming Menu)
Programming a Sequence
a) Set up a Schedule to turn ON and OFF the Sequence. If
you do not actually need a schedule it can be a dummy
schedule that only turns it on for a minute a day.
b) Exiting from the Schedule highlight the NO LOAD Field.
Scroll down instead of up and it shows SEQUENCE. Press
ENTER.
Page 43