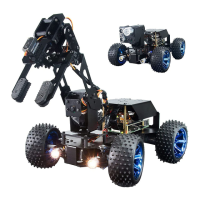
6.5 Combinations of the robotic arm
Assemble method (except the front part of the robotic arm).
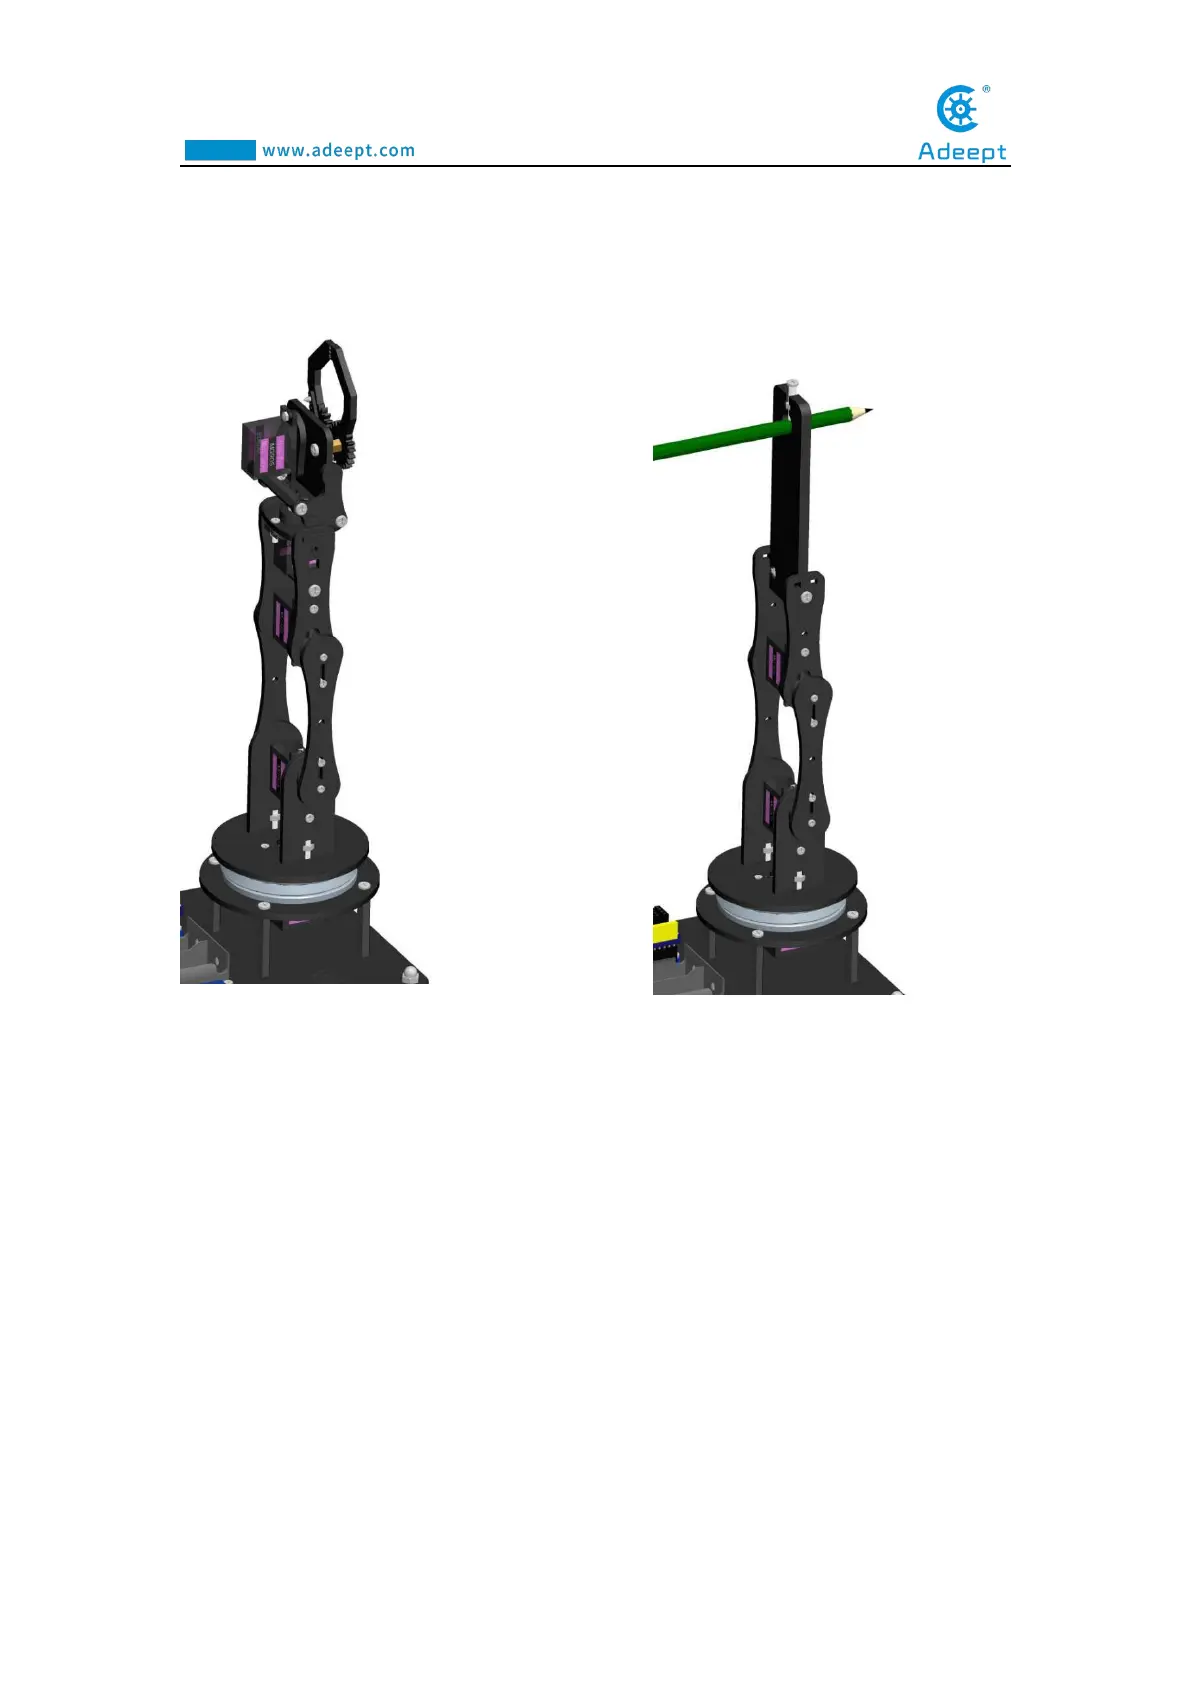
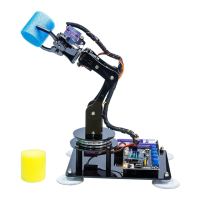
6.6 Adjustment of the robot arm
Before starting to exert the function, we need to test whether there are problems
with the assembly of the robotic arm.When you connect all the servos mounted on the
robot arm to the Adeept Arm Drive Board correctly and turn on the power switch
(using battery power), the attitude of the robot arm is perpendicular to the ground as
follows ((it may not be able to achieve the effect shown in the picture when powered
on, a little error is allowed to exist).