38 Getting Started
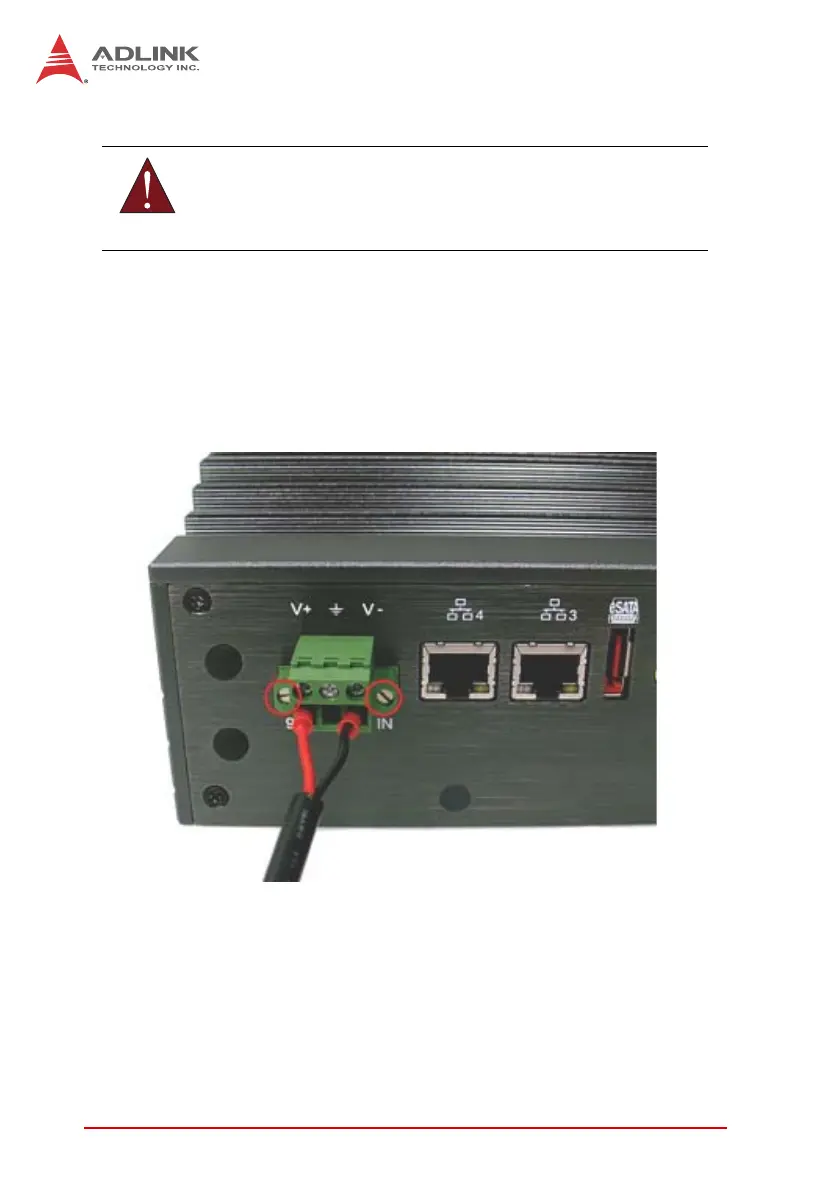
2.6 Connecting DC power
The DC power input connector of the MXE-5400 utilizes V+, V- ,
and chassis ground pins, and accepts input voltage as shown pre-
viously.
1. Connect DC power.
2. Fix the DC connector using the 2 screws.
2.7 Wall-mounting the MXE-5400
The MXE-5400 is shipped with wall-mount brackets and acces-
sory screws, with mounting procedures as follows.
1. Prepare the two wall-mount brackets and 4 M4-P head
screws included in the package.
WARNING:
Before introducing DC power to the MXE-5400, ensure the
voltage and polarity provided are compatible with the DC input.
Improper input voltage and/or polarity can be responsible for
system damage.