ADOBE PREMIERE PRO 2.0
User Guide
137
When you set the Program Monitor’s Quality setting to Automatic, Adobe Premiere Pro dynamically adjusts video
quality and frame rate in order to preview the sequence in real time. During particularly complex sections of the
sequence, or when using a system with inadequate resources, the playback quality degrades gracefully.
Areas that can’t be played at the project’s full frame rate are indicated by a red line in the time ruler. To play these
areas, you can set the time ruler’s work area bar over the red preview indicator and render a preview file. This renders
thesegmentasanewfileontheharddrive,whichAdobePremiereProcanplayattheproject’sfullframerate.Inthe
Timeline panel, rendered areas are marked with a green line.
Note: Projects refer to preview files in much the same way as source media. If you move or delete preview files in the
Windows file browser rather than the Project panel, you’ll be prompted to find or skip the preview files the next time you
open the project.
See also
“To set display quality” on page 100
To set the area to be previewed
❖ Do any of the following:
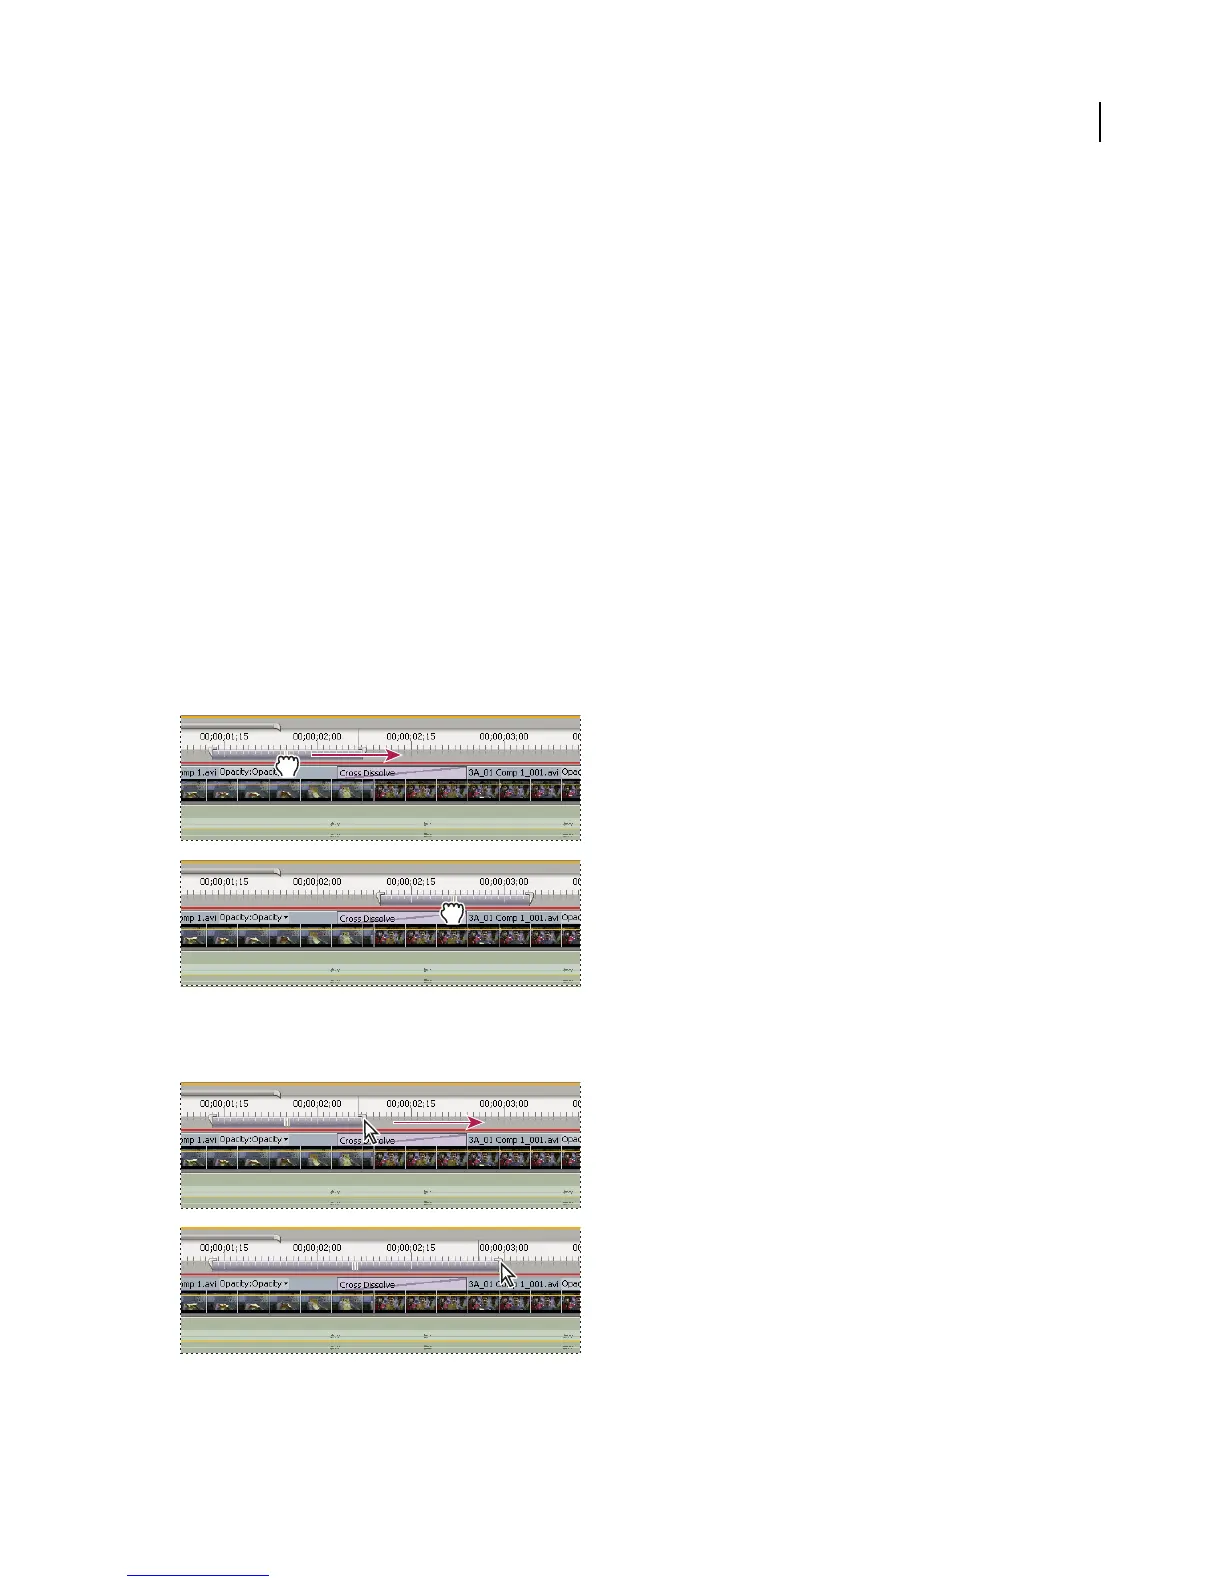
• Dragtheworkareabaroverthesectionyouwanttopreview.Makesurethatyoudragtheworkareabarfromits
textured center; otherwise you cue the current-time indicator instead.
Grabbing the work area bar (above) and dragging it over the section to preview (below)
• Drag the work area markers (at either end of the work area bar) to specify the beginning and end of the work area.
Dragging the work area markers to expand the work area
 Loading...


