ADOBE PREMIERE PRO 2.0
User Guide
273
• Use the Saturation and Luma controls to specify saturation and luminance parameters for the color range to be
color corrected. These controls fine-tune the range of color specification.
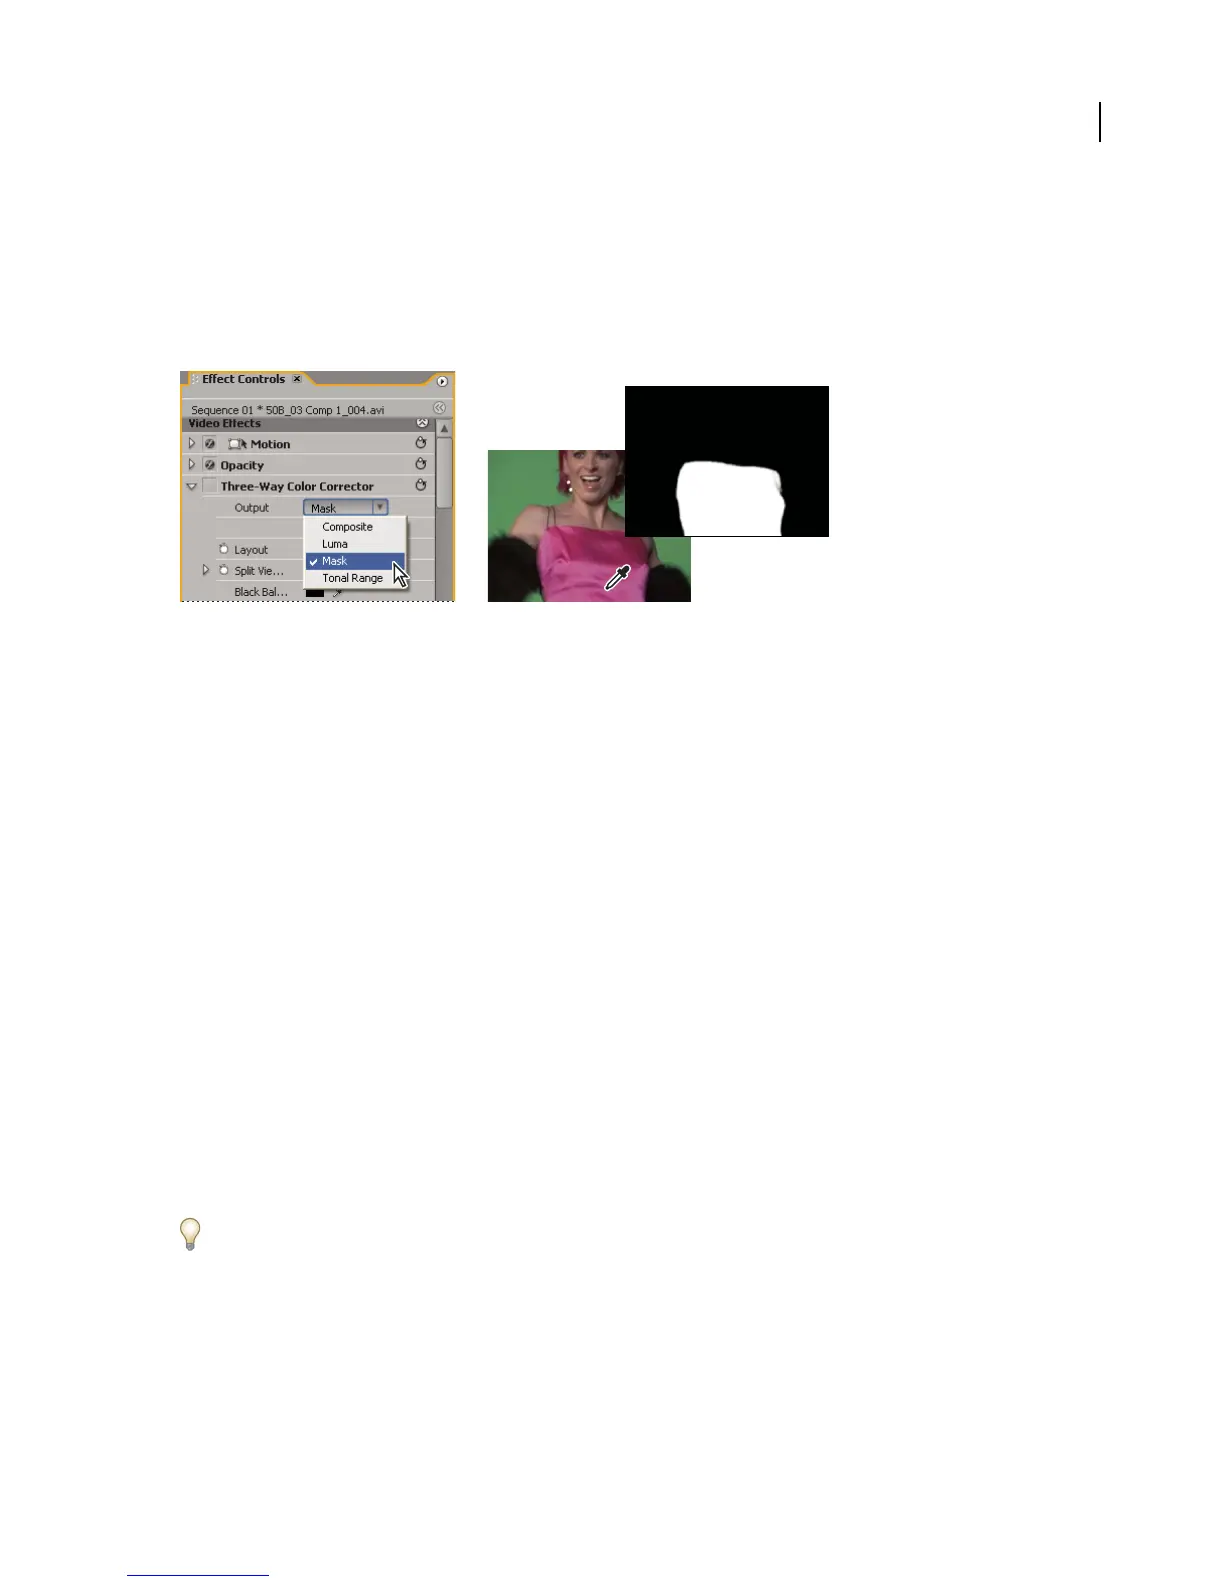
6 (Optional) Choose Mask from the Output menu to view the areas selected for adjustment. White represents areas
that allow 100% color correction, and black represents areas protected (masked) from color correction. The gray
areas allow partial application of the color correction. This Mask view updates as you make further adjustments to
the Secondary Color Correction controls.
Choosing Mask from Output menu to display selected areas (white) and protected areas (black).
7 Use the following controls to specify how a color correction is applied to a color or range of colors:
Soften Applies a Gaussian blur to the selected area generated by the Secondary Color Correction controls. The range
is from 0 to 100, and the default setting is 50. This control is useful for softening the application of the color
correction to selected areas so that it blends with the rest of the image.
Edge Thinning Thins or spreads the edge of the selected area generated by the Secondary Color Correction controls.
The range is from –100 (thin, sharply defined edges) to +100 (spread, diffused edges). The default value is 0.
8 Select the Invert Limit Color option to adjust all colors except the range that you specified using the Secondary
Color Correction controls.
Special color and luminance adjustments
To match the color between two scenes
The Color Match effect can transfer color information from one image or clip to another. For example, use Color
Match if you want to use the color-corrected color information in one clip as the basis for correcting the color of
another clip. Or, if you have an image containing an area that you consider ideal and you would like to transfer color
information from it to another image. This effect works best when you work between two images with slightly
different exposures, such as those shot in identical locations, but on different days, or in slightly different lighting
conditions.
If you need more control than the Color Match effect offers, use the Secondary Color Correction controls in the RGB
Corrector, RGB Curves, and Three-Way Color Corrector. These controls let you adjust a single color or a range of
colors.
1 Select the clip you want to adjust is in the Timeline panel so it displays in the Program Monitor.
2 Ifyouwanttomatchtheinformationinthedisplayedcliptoanotherclipinyourproject,openthatotherclipin
the Source Monitor.
3 Apply the Color Match effect to the clip you want to adjust.