Deployment Guide 65
MOUNTING THE HIVEAP 340
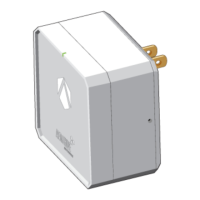
Figure 14 Securing the HiveAP 340 to the hanger frame
7. Connect one or two Ethernet cables to the network, and—if not using PoE—connect the power cord to a power
source.
8. Replace the ceiling tile to complete the installation.
(bird’s eye view with the ceiling tiles
and ceiling tracks removed for clarity)
Insert the hanger clip upward
through the center slot in the
hanger frame.
Rotate the HiveAP 340 and the attached mounting accessories counterclockwise
until the clip locks in place against the sides of the crossbar.
HiveAP 340 attached to
the mounting plate
Hanger Frame
6