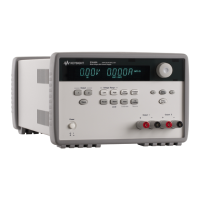
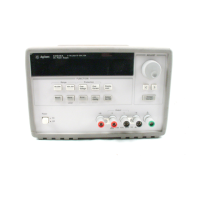
Chapter 3 Front-Panel Operation
Constant Current Operation
26
Constant Current Operation
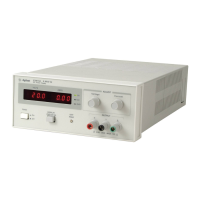
To set up the power supply for constant current (CC) operation, proceed as
follows.
• Front-panel operation:
1 Connect a load to the output terminals.
With power-off, connect a load to the (+) and (-) output terminals.
2 Turn on the power supply.
The power supply will go into the
power- on / reset
state; the output is disabled
(the
OFF
annunciator turns on); the 8V/20A* or 25V/7A** range is select ed (the
8V
* or
25V
** annunciator turns on); and the knob is selected for
voltage
control.
To operate the power supply in the 20V/10A* or 50V/4A** ra nge, pre ss *
or ** key before proceeding to the next step. The
20V
* or
50V
**
annunciator turns on.
3 Set the display to the limit mode.
No t i c e that the
Limit
annunciator blinks, indicating that the display is in the
li mit mod e. Wh en t he dis pla y i s in t he
lim it
mode, you can see the volt age and
current limit values of the selected supply.
4 Adjust the knob for the desired voltage limit.
Check that the
Limit
annunciator still blinks a nd the second digit of voltmeter
blinks to indicate the knob is selected for voltage control. The blinking digit
can be changed using the resolution key s and the blinking digit can be adjusted
by turning the knob. Adjust the knob for the desired voltage limit.
1
You can use the resolution selection keys to move the blinking digit to the
right or left when settin g the voltage.
In
constant current
mode , the cur re nt valu es betw ee n the m ete r m ode
and limit mode are the same, but the voltag e values are not. Moreover, if
the display is in the meter mode, you cannot see the change of voltage
limit v al ue wh en ad j u s t in g t h e k n o b . We recommend t h a t you sho u ld se t
the display to “limit” mode to see the change of voltage limit value in the
constant current mode whenever adjusting the knob.
Power
20V,10A
50V,4A
Display
Limit
1
*For HP E3633A Model **For HP E3634A Model
 Loading...