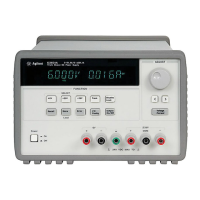
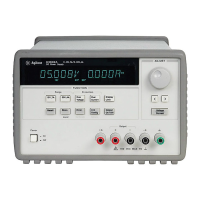
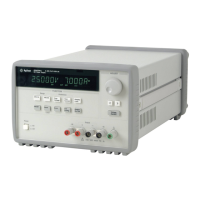
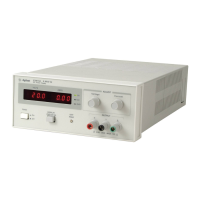
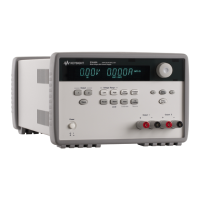
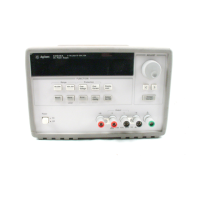
Chapter 2 Initial Operation
Preliminary Checkout
15
2
Preliminary Checkout
The followi ng steps help you verify that the power supply is ready for use.
1 Check th e list of supplied items.
Verify that you have received the follow ing item s with your power sup ply. If
anything is missing, contact your nearest Agilent Technologies Sales Office.
One power cord for your location.
This
User’s
Guide.
One
Service
Guide.
Certificate of Calibration.
2 Verify the power-line volta ge setting on the rear panel.
The power-li ne voltage is set to the proper value for your country when the
power supply is shipped from the factory . Change the voltage setting if it is not
correct. The settings are: 100, 115, or 230 Vac.
3 Verify that the correct power-line fuse is installed.
The correct fuse is installed for your country when the power supply is shipped
from the factory . For 100 or 115 V ac operation, you must use a 6.3 AT fuse. For
230 Vac operation, you must use a 3.15 AT fuse.
4 Connect the power-line cord and turn on your power supply.
The front-panel display will light up and a power-on self-test occurs
automatically when you turn on the power supply.
See ‘‘Power-Line Voltage Selection’’, starting on page 22 in chapter 1 if you
need to change the power-line voltage or the powe r-line fuse .
To r epl ace the 6.3 AT fuse , orde r A gile nt part nu m ber 2110-1030.
To r epl ace the 3.1 5 AT fuse , orde r A gile nt par t num ber 2110-1031.
 Loading...