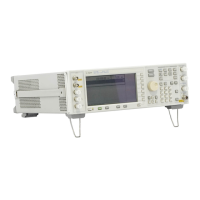
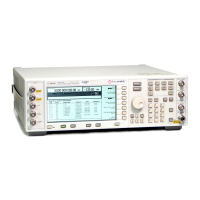
4-18
Assembly Replacement
Rear Panel (Option 1EM)
Rear Panel (Option 1EM)
Tools Required
• T-10 TORX screwdriver
• 3/16-inch wrench or nut driver
• 9/32-inch wrench or nut driver
• 5/16-inch open-end wrench
• 5/8-inch wrench or nut driver
• long nose pliers
Removal
1. Remove the instrument cover. (Refer to "Instrument Cover" in this chapter.)
2. Remove the top cover by removing the 11 screws that secure it.
3. Remove the bottom cover by removing the 15 screws that secure it.
4. Disconnect A16W1 from the power supply (A4). A16W1 can b
e accessed through an opening on the bottom of the
power supply shield (item 1).
5. Disconnect W1, W2, W6, W7, and W8 from the daughterboard (A15).
6. If you have Option UN3 or UN4, disconnect A17W1,W3, W4, and W5 from the data generator board (A8).
D
isconnect W15, W16, and W17 from the baseband generator board (A7).
If you have Option 1EH, disconnect A17W1, W3, W4, W5, W15, W16, and W17 from the baseband generator
boa
rd (A7).
NOTE: The figure on the adjacent page represents an Option UN3 or UN4. Option 1EH is not
shown.
7. Disconnect W9 from the adapter assembly on the rear panel.
8. Disconnect W12 from the adapter assembly on the rear panel.

 Loading...


