4-64
Assembly Replacement
B2 Large Fan Assembly
B2 Large Fan Assembly
Tools Required
• 1/4-inch open-end wrench
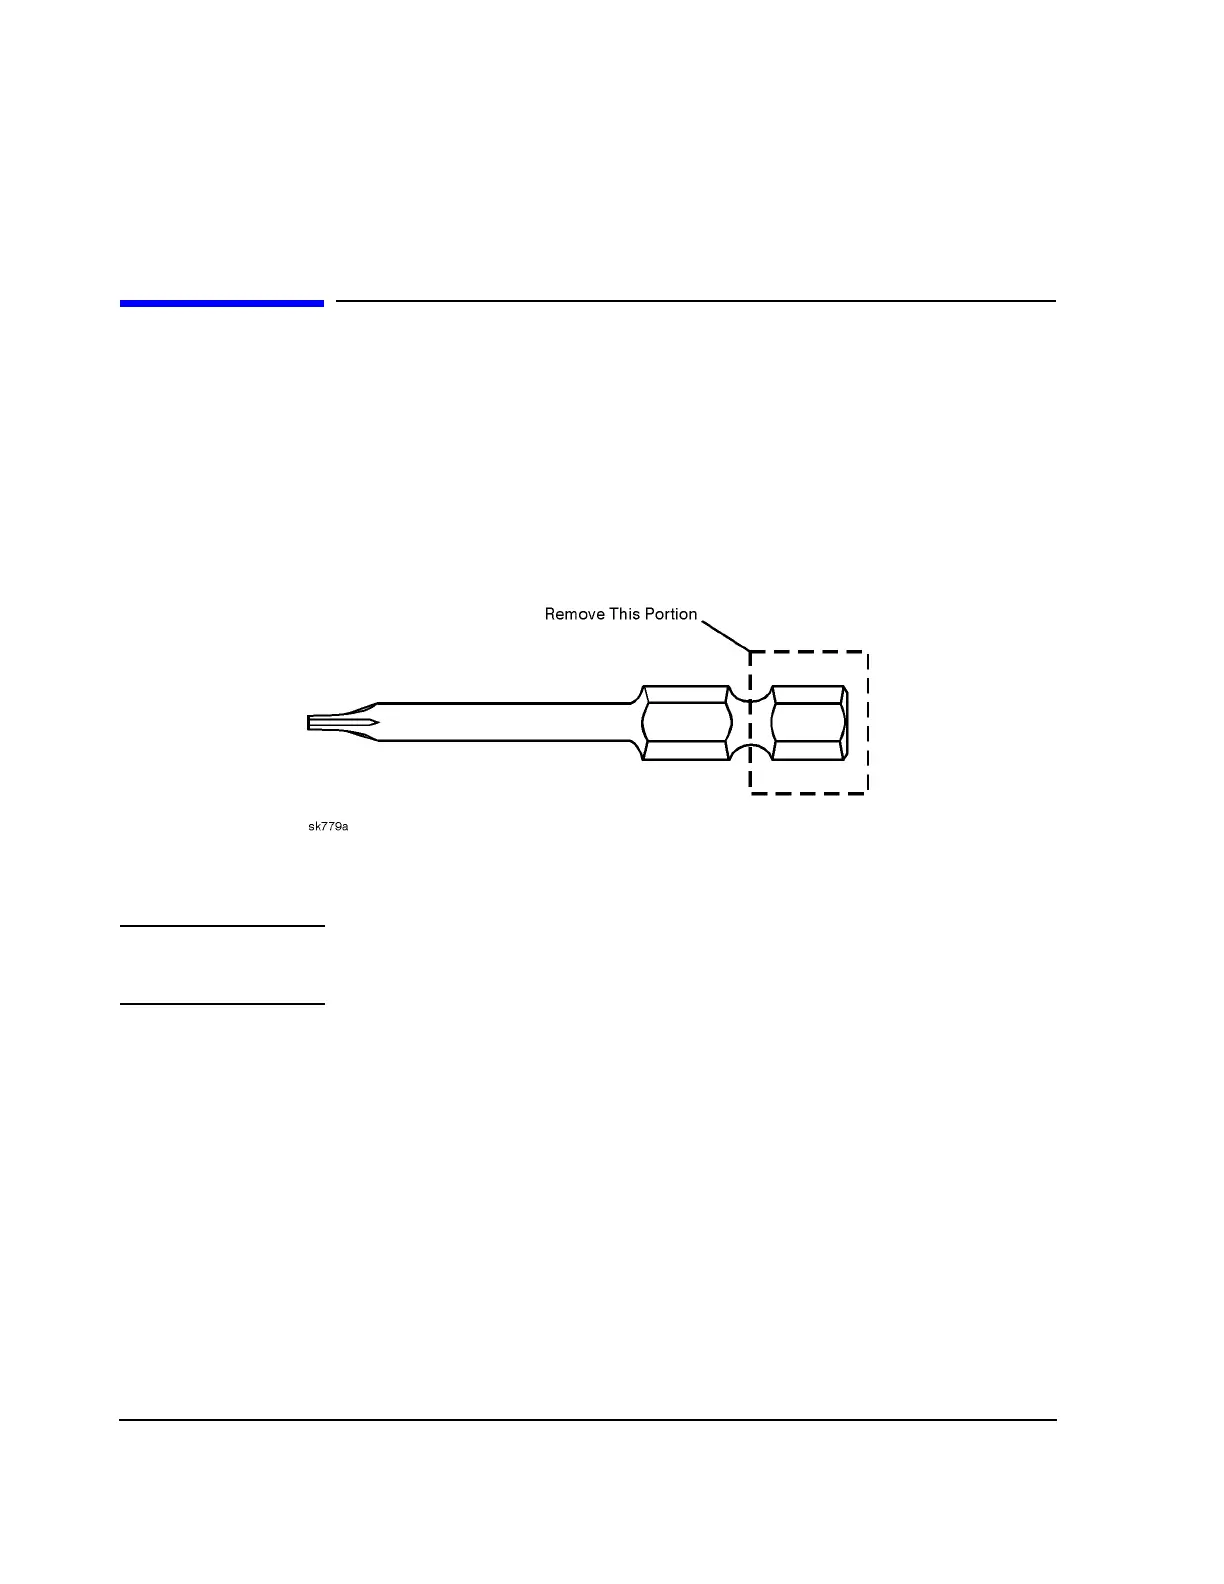
• Modified T
-10 TORX bit (HP part number 8710-1637)
Bit Modification. The h
exagonal head at the end of the TORX bit must be removed so that the total length of the
bit is approximately 1.5 inches (see figure below). A hexagonal portion of the bit will remain for use with a
wrench. The shortened bit will now fit between the fan assembly and the front panel assembly.
Removal
NOTE: It is best to attempt this procedure without removing the front panel assembly. If the front
panel assembly is removed, you will be required to perform time-consuming “Power Level
Accuracy” verification tests and adjustments.
1. Remove the instrument cover. (Refer to "Instrument Cover" in this chapter.)
2. Disconnect B2W1 from the motherboard (A14).
3. Remove the four screws (item 1) that attach the fan assembly (B2) to the instrument chassis.
4. Remove the fan assembly.
Replacement
1. Reverse the removal procedure and torque the T-10 TORX screws to 9 in-lbs.

 Loading...


