Chapter 3: Calibration
To run the self calibration
36
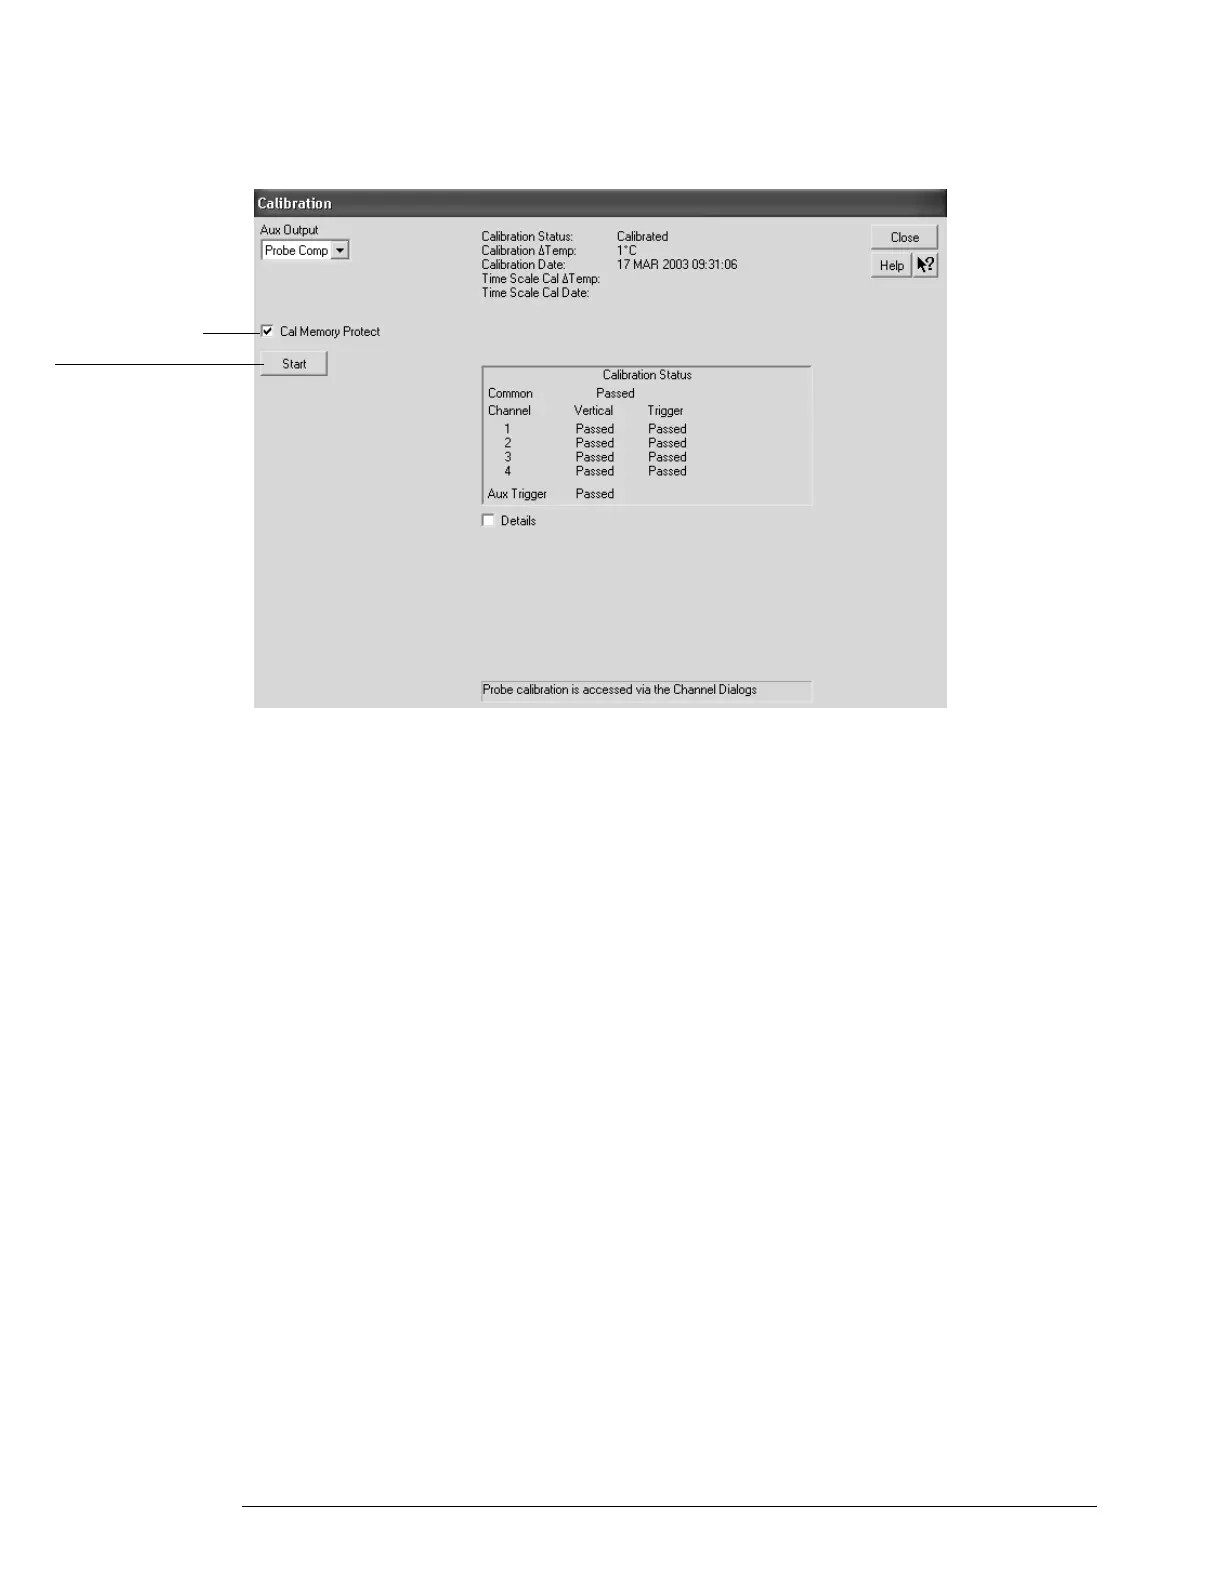
Figure 3-1
Calibration Dialog
4
Click Start, then follow the instructions on the screen.
The routine will ask you to do the following things in sequence:
a Decide if you wish to perform the Time Scale Calibration. Your choices are:
• Std - Time scale calibration will not be performed. Time scale calibration factors from
the previous time scale calibration will be used and the 10 MHz reference signal will not
be required. The remaining calibration procedure will continue.
• Std + Time - Performs the time scale calibration. This option requires you to connect a
10 MHz reference signal to channel 1 that meets the following specifications. Failure to
use a reference signal that meets this specification will result in an inaccurate calibration.
• Std + Dflt - Factory time scale calibration factors will be used. The 10 MHz reference
signal will not be required. The remaining calibration procedure will continue.
b Disconnect everything from all inputs and Aux Out.
c Connect the cal cable from Aux Out to channel 1.
You must use the 54855-61620 cable assembly with two 54855-67604 adapters. Failure
to use the appropriate cal cable will result in an inaccurate calibration.
d Connect the cal cable from Aux Out to each of the channel inputs as requested.
e Connect the 50 Ω BNC cable from the Aux Out to the Aux Trig In on the rear panel of
the oscilloscope.
f A Passed/Failed indication is displayed for each calibration section. If any section fails,
check the calibration cables and run the oscilloscope Self Test in the Utilities menu.
5
After the calibration procedure is completed, click Close.
Click here to start
calibration
Clear this check
box before starting
calibration
Frequency: 10 MHz ±0.4 ppm = 10 MHz ±4 Hz
Amplitude: 0.2 Vpeak-to-peak to 5.0 Vpeak-to-peak
Wave shape: Sine or Square
 Loading...