UG-MD16E-EN (V1.3-190708)
MD-16E
Mixer Reference manual
1.3. Tip wizard for quick start
You can have a quick start
1).Connect MD-16E mixer with Mics, Music instruments, amps etc.
2).Turn on the power of MD-16E, wait for start of the unit, normally it will take around 25 seconds.
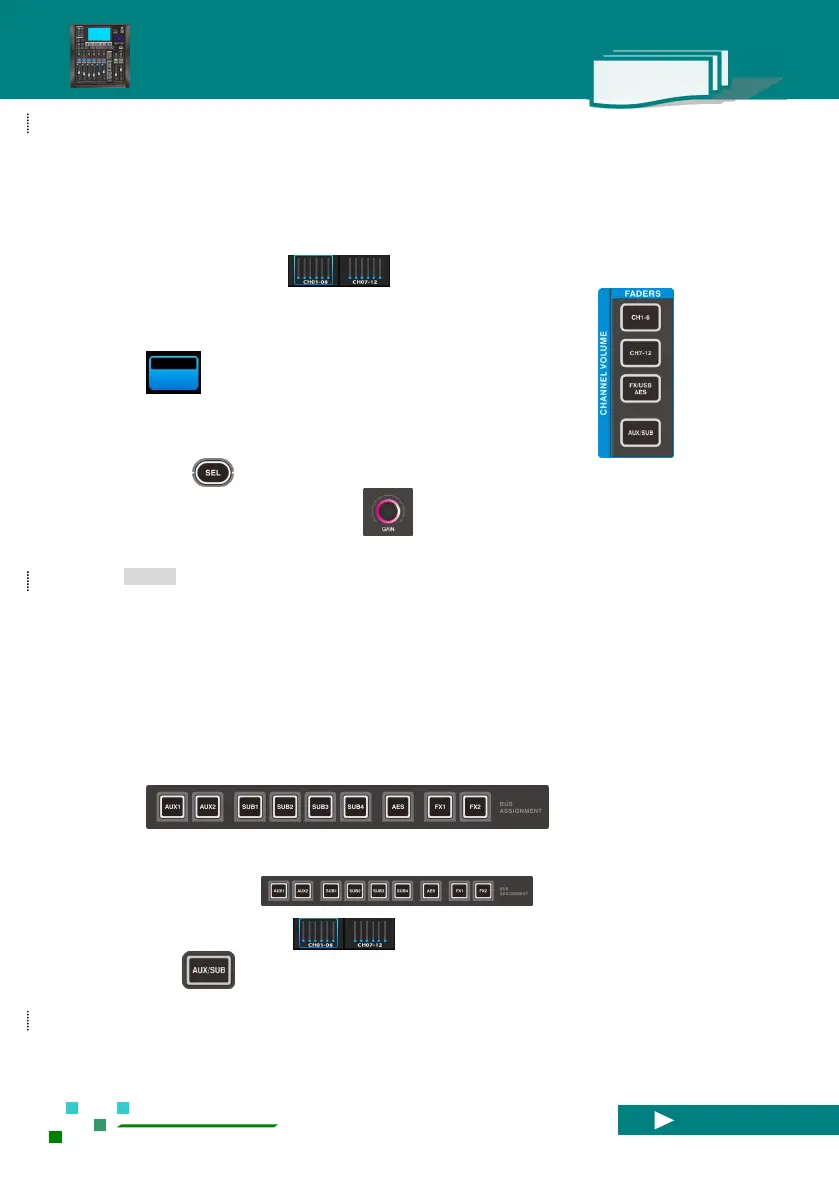
3).In the navigation zone ,you can select the input/output channels ,single click
enter setup of the channel, or you can click the fade pages button ,then click
button to enter the setup the channel. Then you can click【Config】,and adjust the analog
gain,or adjust with the gain knob on the left,check the channel level and make sure it is
within the right level, you can click 【Solo】
t
o monitor,to know about the level of input.
Note: GATE, COMP and EQ / HPF / LPF function will probably effect the input level,or even
lead to dramatically decay of input signal.
4).Same way to setup other input channels,single click other【Solo】 can setup other channels, or you
can use【Copy】function to paste the specifications to other channels rapidly
5).
Single click【Back】to return to overview of channels,put the volume fader to right level,
normally it`s 0dB, single click【MUTE】button to cancel the channel MUTE.
6).Under Default mode, the input channel signal will go through Main L/R as output, you can adjust the
volume to right level, and MUTE off, then you can hear the sound.
7).If you choose mix output as BUS output, single click on the mixer
,now the mixer is under status of
routing setup, the input channels which can be used as routing will be shown with brown color, you
only need to adjust the volume of the input channels, the effect sent volume will also setup here.
8).Single click again will quit the routing setup mode.
9).In the navigation menu you can choose the output group,or single click the fader
page to switch to the output BUS, then put the output volume to right level, MUTE off,
then you can see there would be signal from the related output BUS,check the output level and see if
it`s in the right level.
10). If you need effect function, follow step 7) 8) to setup input routing for the selected effect, then in