05. In the Mode field, specify how to move the data to the destination.
REPLACE The MPC1000 will overwrite the destination with the source data. The data that is already in
the destination will be removed.
MERGE The MPC1000 will merge the source data with the data that is already in the destination.
06. In the Start field, set the start point of destination time.
The MPC1000 will start moving the event to the time selected here.
07. Press the [F6] (DO IT) key.
The MPC1000 will start moving the event.
Changing the key of the event (TRANSPOSE)
You can transpose (change the key of) the note events. This edit only applies to the note events of a MIDI
track. It does not change DRUM track data.
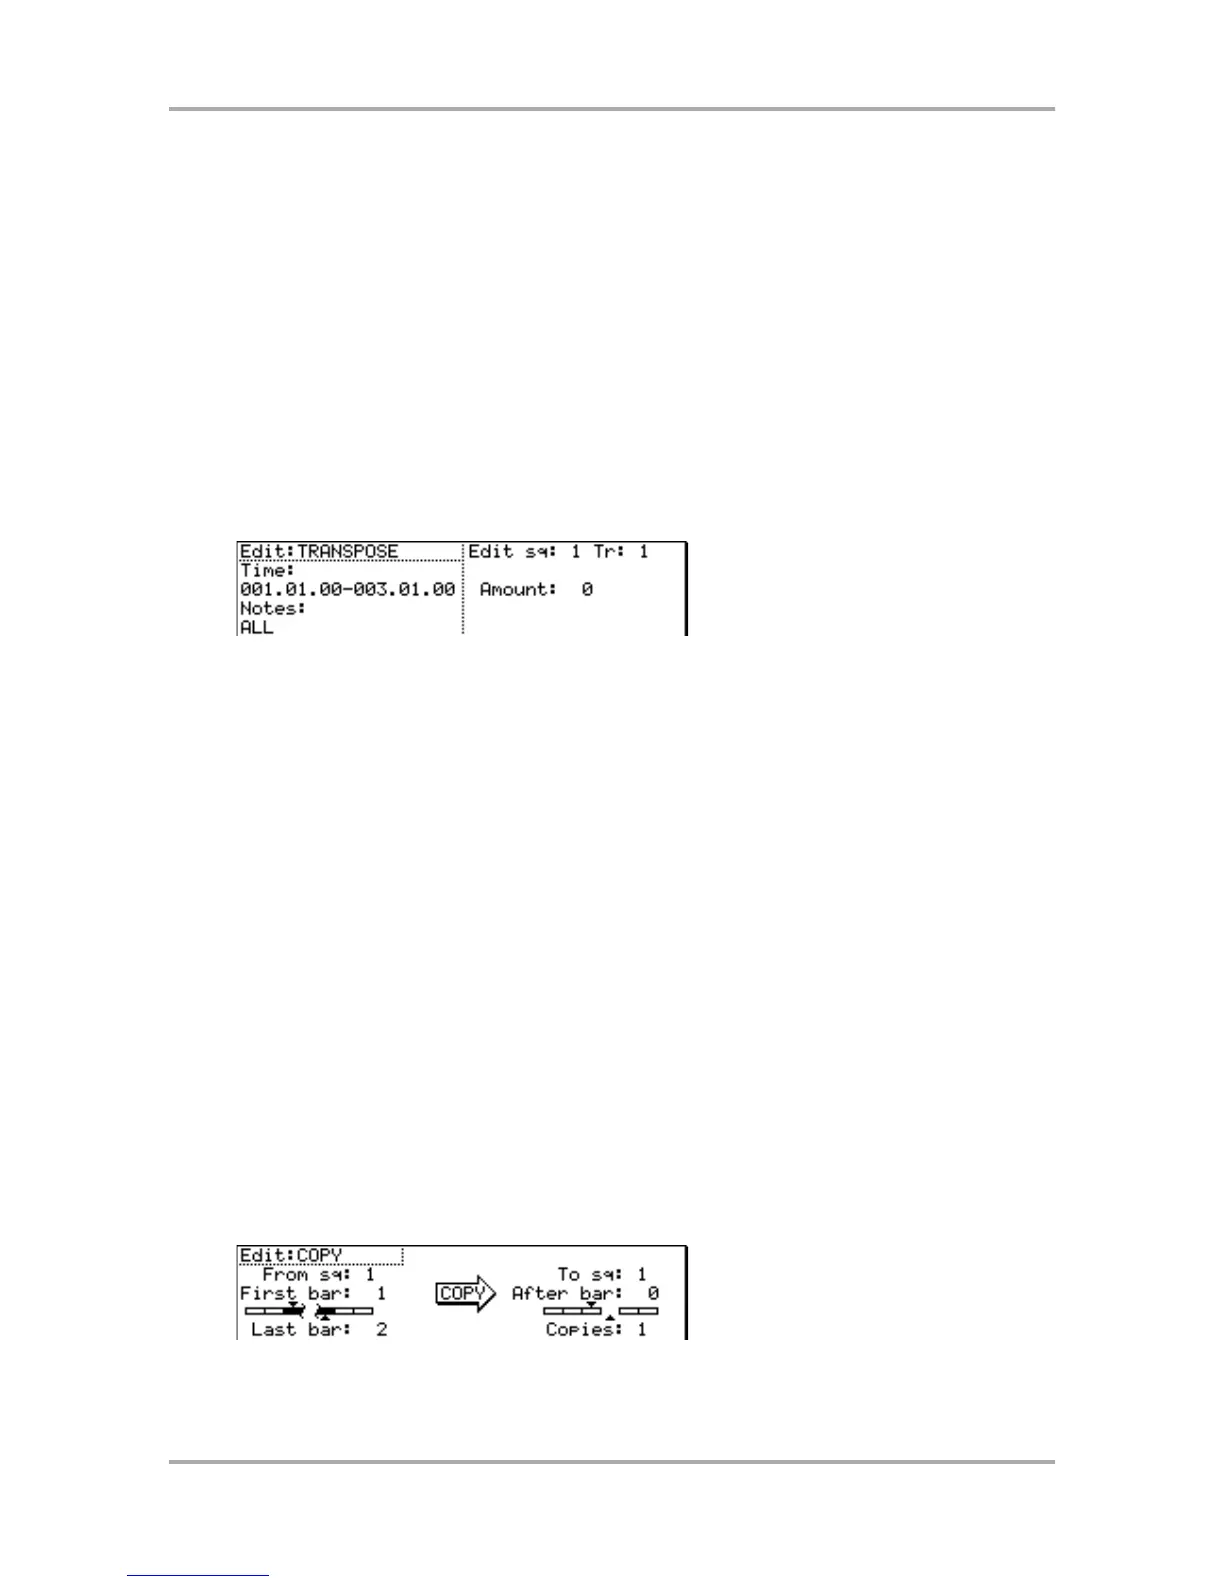
01. Select the Edit field in the EVENT page of the SEQ EDIT mode, and select TRANSPOSE.
The various fields necessary for the transpose will be displayed.
02. In the Time field and the Notes field, select the region that you wish to edit.
03. In the Edit sq field and the Tr field on the right, select the sequence and track that you
wish to edit.
In the Edit sq field and the Tr field, you can select ALL by turning the DATA wheel. When you select ALL, the
MPC1000 will transpose all the sequences and tracks.
Note: This edit only applies to the note events of a MIDI track. It does not change DRUM track data.
04. In the Amount field, set the amount of the transpose.
You can set by semitones.
05. Press the [F6] (DO IT) key.
The MPC1000 will start the transpose.
Selecting the editing region by bar
You can edit the sequence by bar. This is done in the BARS page in the SEQ EDIT mode, which can be accessed
by pressing the [MODE] key and then the [PAD 13].
Copying bars (COPY)
You can copy bars within the selected region to another place. The length of the destination sequence will be
extended to add the copied bars.
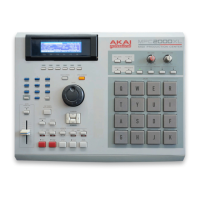
01. Select the Edit field in the BARS page of the SEQ EDIT mode, and select COPY.
The various fields necessary for copying will be displayed.
02. In the From sq field, select the source sequence.
03. In the To sq, select the destination sequence.