BeHear SMARTO User Manual Page 13 of 41
Product Name: BeHear SMARTO Product No.: ABH-410 Doc. No. BHAUM202206.15
Attach the supplied lanyard to wear the amplifier around your neck.
Checking the Battery Status
When the device is powered on, quickly shift and release the Power switch. The battery LED will
flash for 1-2 seconds indicating the current battery level, as follows:
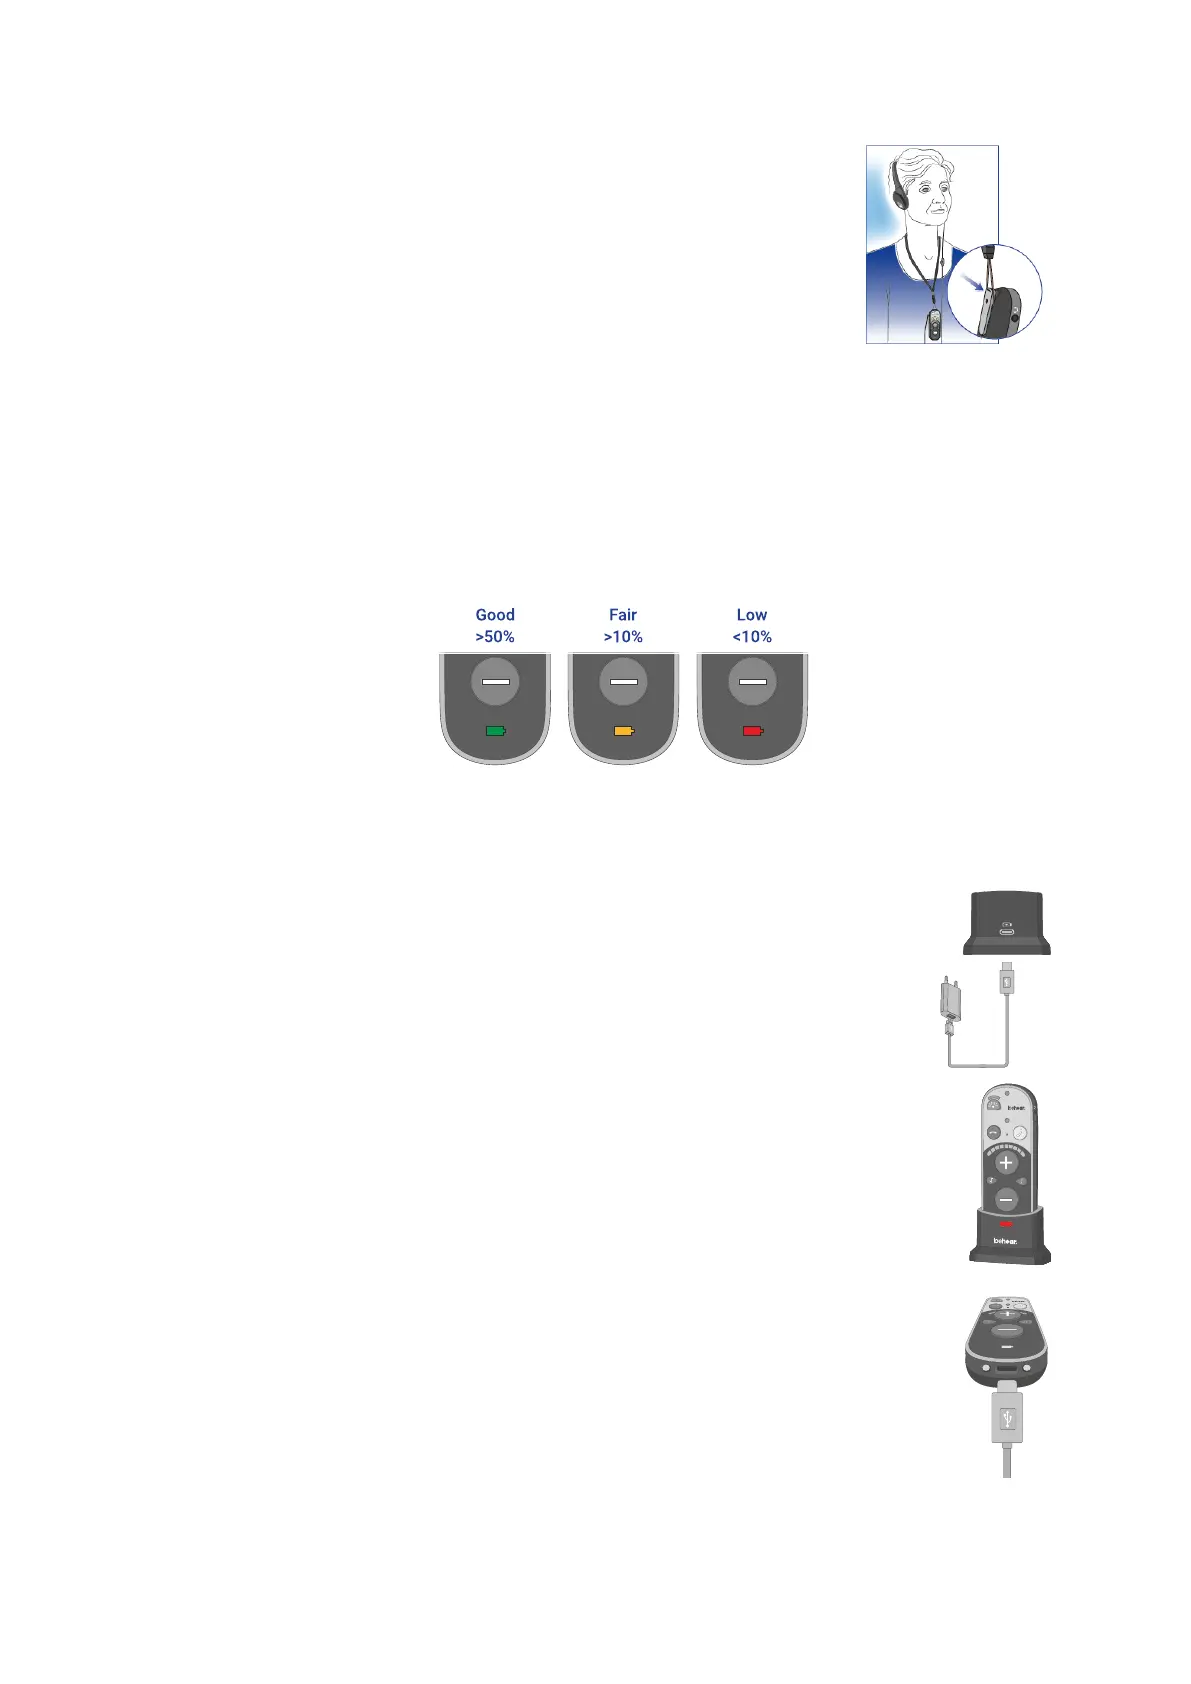
• If the LED turns green the status is good (more than 50% battery charge remains).
• If the LED turns yellow the status is fair (the battery charge level is between 10% and 50%).
• If the LED turns red the status is low (below 10%) and the headset should be recharged
immediately.
Note: If the battery level drops below 10% the LED will flash red periodically.
Charging the Battery
Charging the battery will take approximately three hours. We recommend charging the
battery before using your BeHear SMARTO amplifier for the first time.
To charge the battery using the cradle:
1. Plug the larger end of the supplied cable into a standard AC
outlet USB charger adapter, or into the USB port of a
computer, and the cable’s smaller end into the USB-C port
of the charging cradle.
2. Place the BeHear SMARTO amplifier into the cradle. When the amplifier is
positioned properly the battery LED will light up.
3. A vibration in the amplifier indicates that charging has started. During charging
the battery LED on the device will be red, turning green when BeHear SMARTO
is fully charged.
To charge the battery directly by the cable:
1. Plug the larger end of the supplied cable into a standard AC outlet USB charger
adapter, or into the USB port of a computer.
2. Plug the cable’s smaller end into the USB-C port located in the BeHear SMARTO
amplifier.
3. A vibration in the amplifier indicates that charging has started. During charging
the battery LED on the amplifier will be red, turning green when BeHear
SMARTO is fully charged.
Note: The BeHear SMARTO amplifier should not be used while charging.