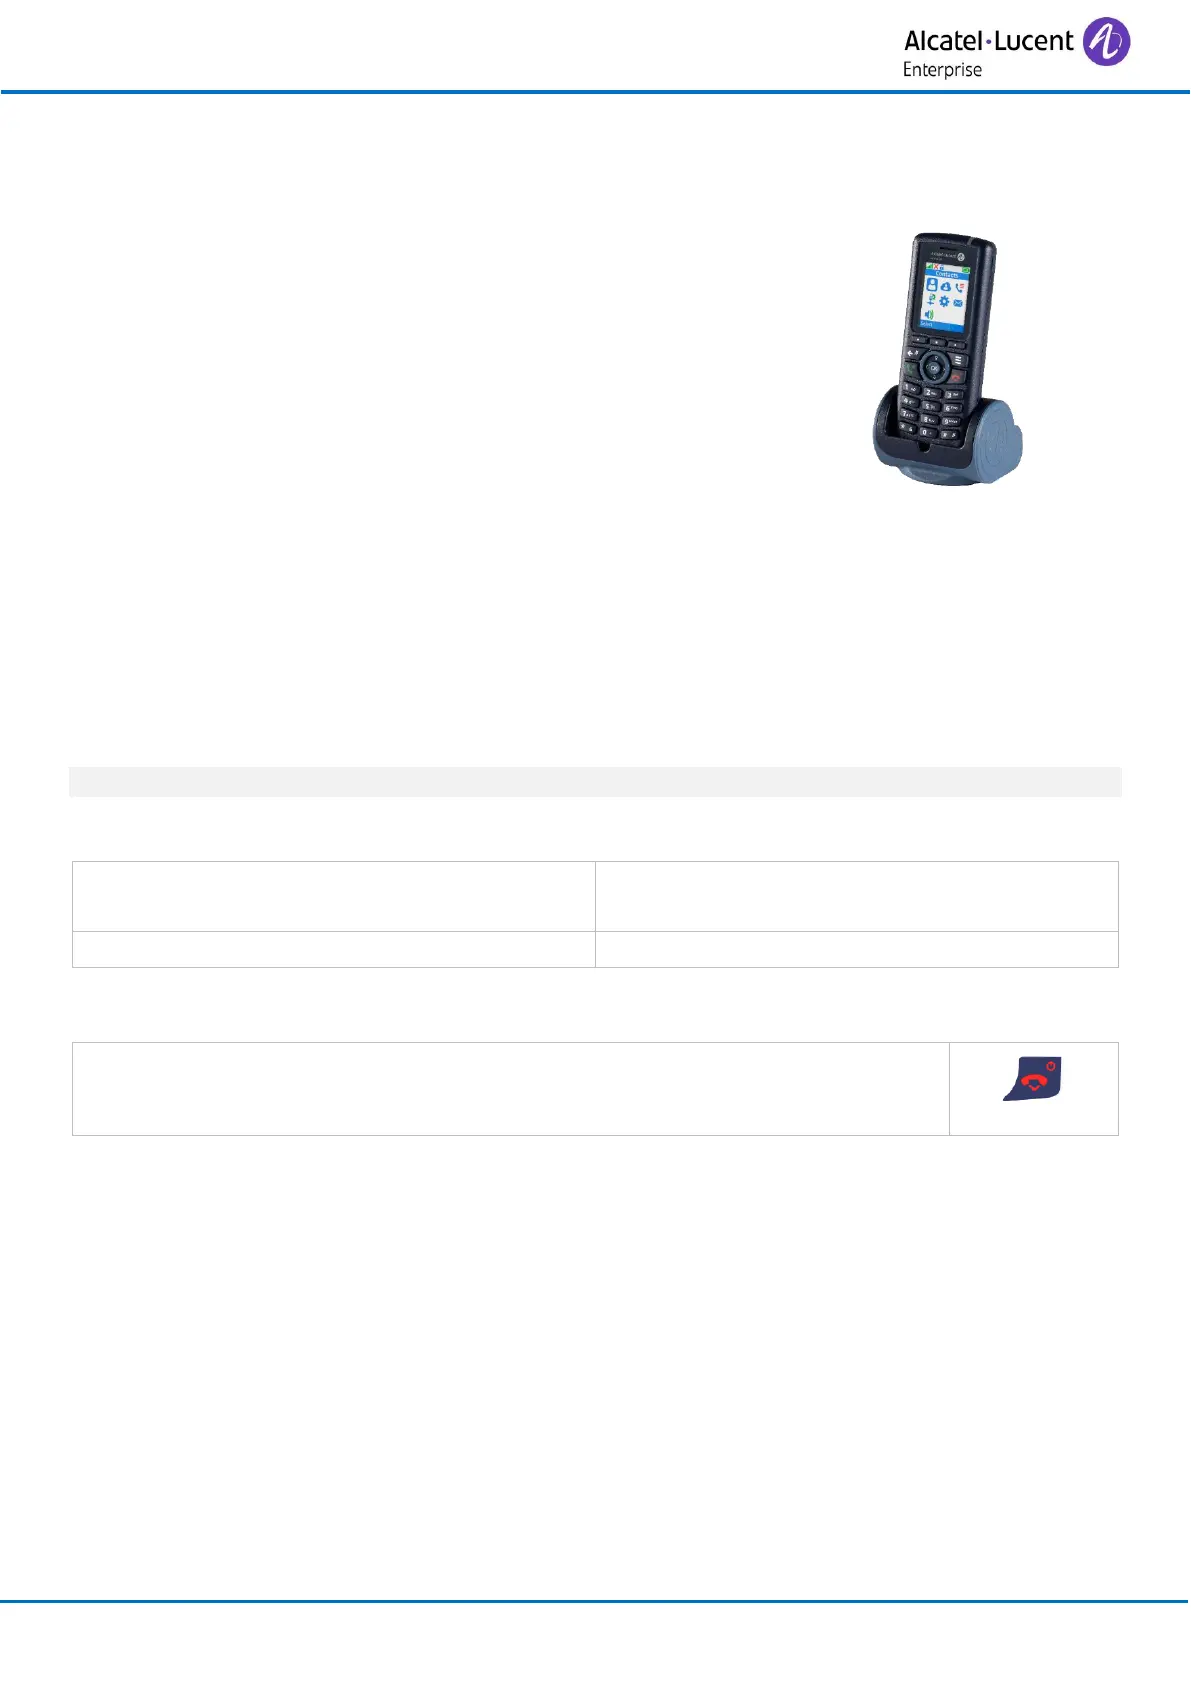
2.3 Charging your telephone battery
2.3.1 Charging the battery on a single charger
Put your phone on its support. Plug the USB cable into a 5V socket
(AC/DC adaptor, computer, …).
The AC/DC adaptor is not provided with the set. Please contact your
provider for a recommended AC/DC adaptator.
You can configure how the handset behaves when it is installed on
the charger using the settings menu. Refer to the chapter on
configuring your telephone: Adjusting your telephone functions.
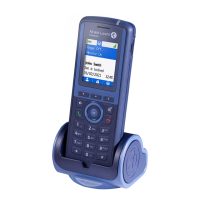
2.3.2 LED
• Green steady: the phone is on the charger and the battery is fully charged.
• Red steady: the phone is on the charger and the battery is charging.
Recharge your telephone battery regularly. The telephone can be on or off when recharging the
battery. If the telephone is to remain unused or out of its charger for several weeks, remove the
battery and store it separately.
It usually takes less than 3 hours to charge the battery to a level of at least 90%.
2.3.3 Autonomy of your telephone
On standby in the radio coverage zone.
Up to 100 hours when screensaver is activated.
Up to 200 hours without screensaver.
In continuous conversation.
2.4 Switching on your telephone
• Press the switch on/off key.
• Your telephone is switched on.
If the display fails to light up or the battery icon is flashing, recharge the battery.
If the radio reception icon doesn't appear on the telephone display:
• Check that you are in an area covered (if you are not, move close to a radio access point).
• Check that the telephone is properly installed in the system (consult the PABX manager).
If the display indicates: 'Auto install ?', see paragraph 'Registering the telephone' or contact your
installation technician.