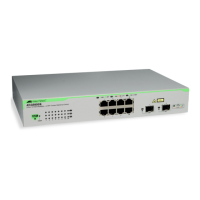
GS910 Series Gigabit Ehternet Unmanaged Switch Installation and User’s Guide
44
Installing the Switch in an Equipment Rack
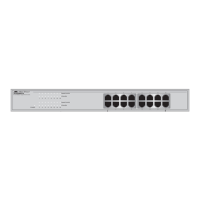
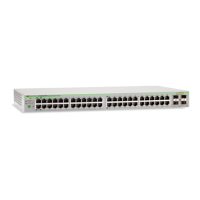
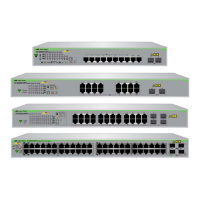
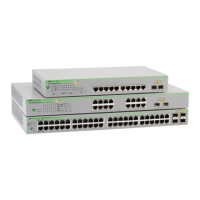
The AT-GS910/8, AT-GS910/8E, AT-GS910/16 and AT-GS910/24
switches can be mounted on a 19-inch equipment rack.
Guidelines for
Installing the
Switch in a Rack
Before planning to install the switch on an equipment rack, review the
following guidelines:
To install the AT-GS910/16 or AT-GS910/24 switch, use the
brackets included in the shipping box.
To install the AT-GS910/8 or AT-GS910/8E switch, you must
purchase the AT-RKMT-J08 rack mount brackets separately.
What to Prepare
for Installation in
a Rack
You need the following items to install the switch in an equipment rack:
A switch
One pair of brackets (For more information, see “Wall and Rack
Mount Brackets” on page 16.)
19-inch equipment rack
Four screws for the equipment rack
Phillips-head screwdriver
Screws for a 19-inch equipment rack are not included in the shipping
box.
Installing the
AT-GS910/8 or
AT-GS910/8E
Switch in a Rack
To install the AT-GS910/8 or AT-GS910/8E switch in an equipment rack,
see “Installation Using the AT-RKMT-J08 Rack Mount Kit” on page 57.
Installing the
AT-GS910/16
Switch in a Rack
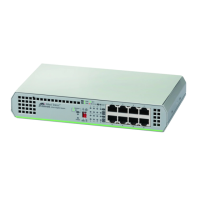
To install the AT-GS910/16 switch in an equipment rack, perform the
following procedure:
1. Place all the items from the packaging on a work table.
 Loading...


